
This is a great lesson using inexpensive materials to teach reductive sculpture.
It uses 'wet' floral foam which I buy at Dollarama. 1 block per student.

Grade 10-12 students start off my sketching a plan for their sculpture. I encourage abstract works but there's always a few who want to carve something realistic. This is always a super popular project!

Once they have a plan, they start carving. Each student gets a box lid to work in (from the boxes of photocopy paper in the office- I hoard these ahead of time). The box lids really contain the mess effectively. They dump them out at the end of each class.
We use simple carving tools like plastics knives, chopsticks and bamboo sticks. I also have some plastic clay tools. Fingers are great for smoothing as the floral foam is incredible soft. Do not drop these- they will break!


Keep carving and then start smoothing with fingers.

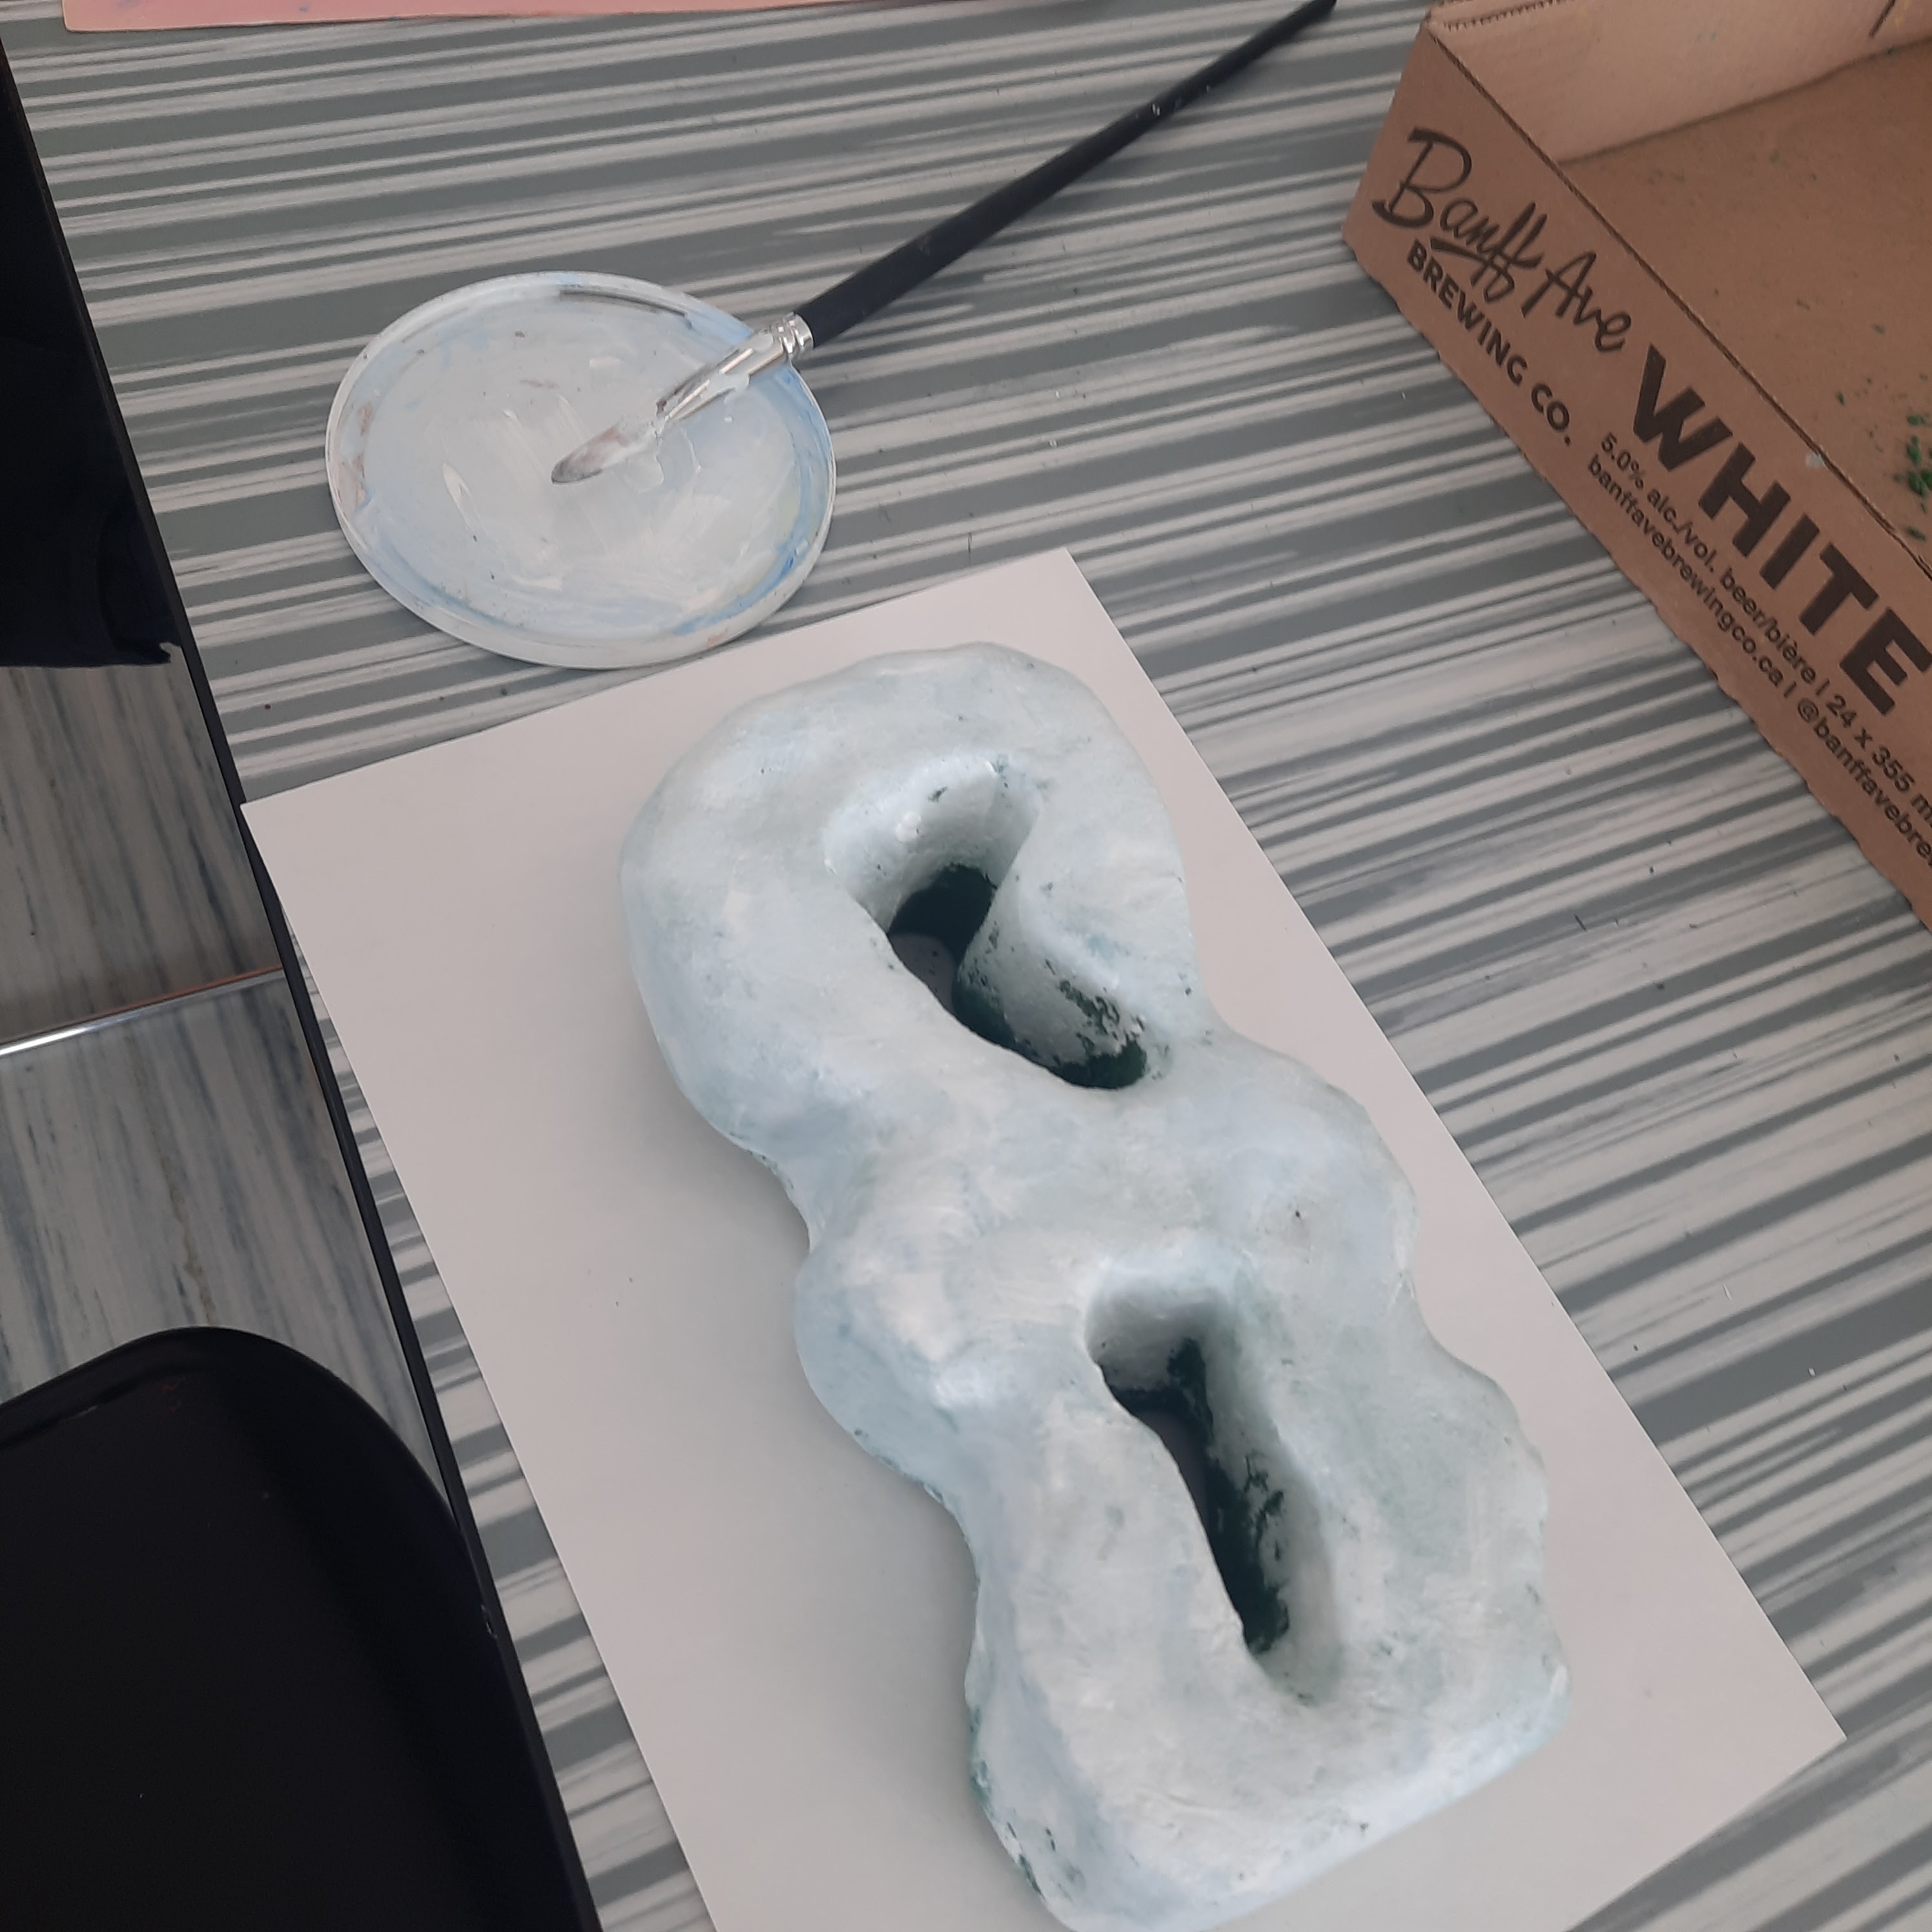
Once you're happy with the carving, prime with a couple layers of acrylic paint.
The foam really sucks up the paint, so you do need two coats.


Then students paint their sculptures using acrylic paint. They are encouraged to mix colours.

Once dry, varnish them for gloss and protection. Students then hot glue them to a wooden base.

Some finished sculptures- Grade 10-12


No comments:
Post a Comment