ABOUT THIS BLOG

"A Faithful Attempt" is designed to showcase a variety of K-12 art lessons, the work of my art students, as well as other art-related topics. Projects shown are my take on other art teacher's lessons, lessons found in books or else designed by myself.
Thanks for visiting!
LAND ACKNOWLEDGEMENT I acknowledge, with deep respect, that I am gathered on Treaty 7 territory. I acknowledge the many First Nations, Métis and Inuit whose footsteps have marked these lands for generations. I respect the histories, languages and cultures of all the Indigenous peoples of Canada, whose presence continues to enrich our community.
Showing posts with label Art history. Show all posts

Tuesday, April 8, 2025

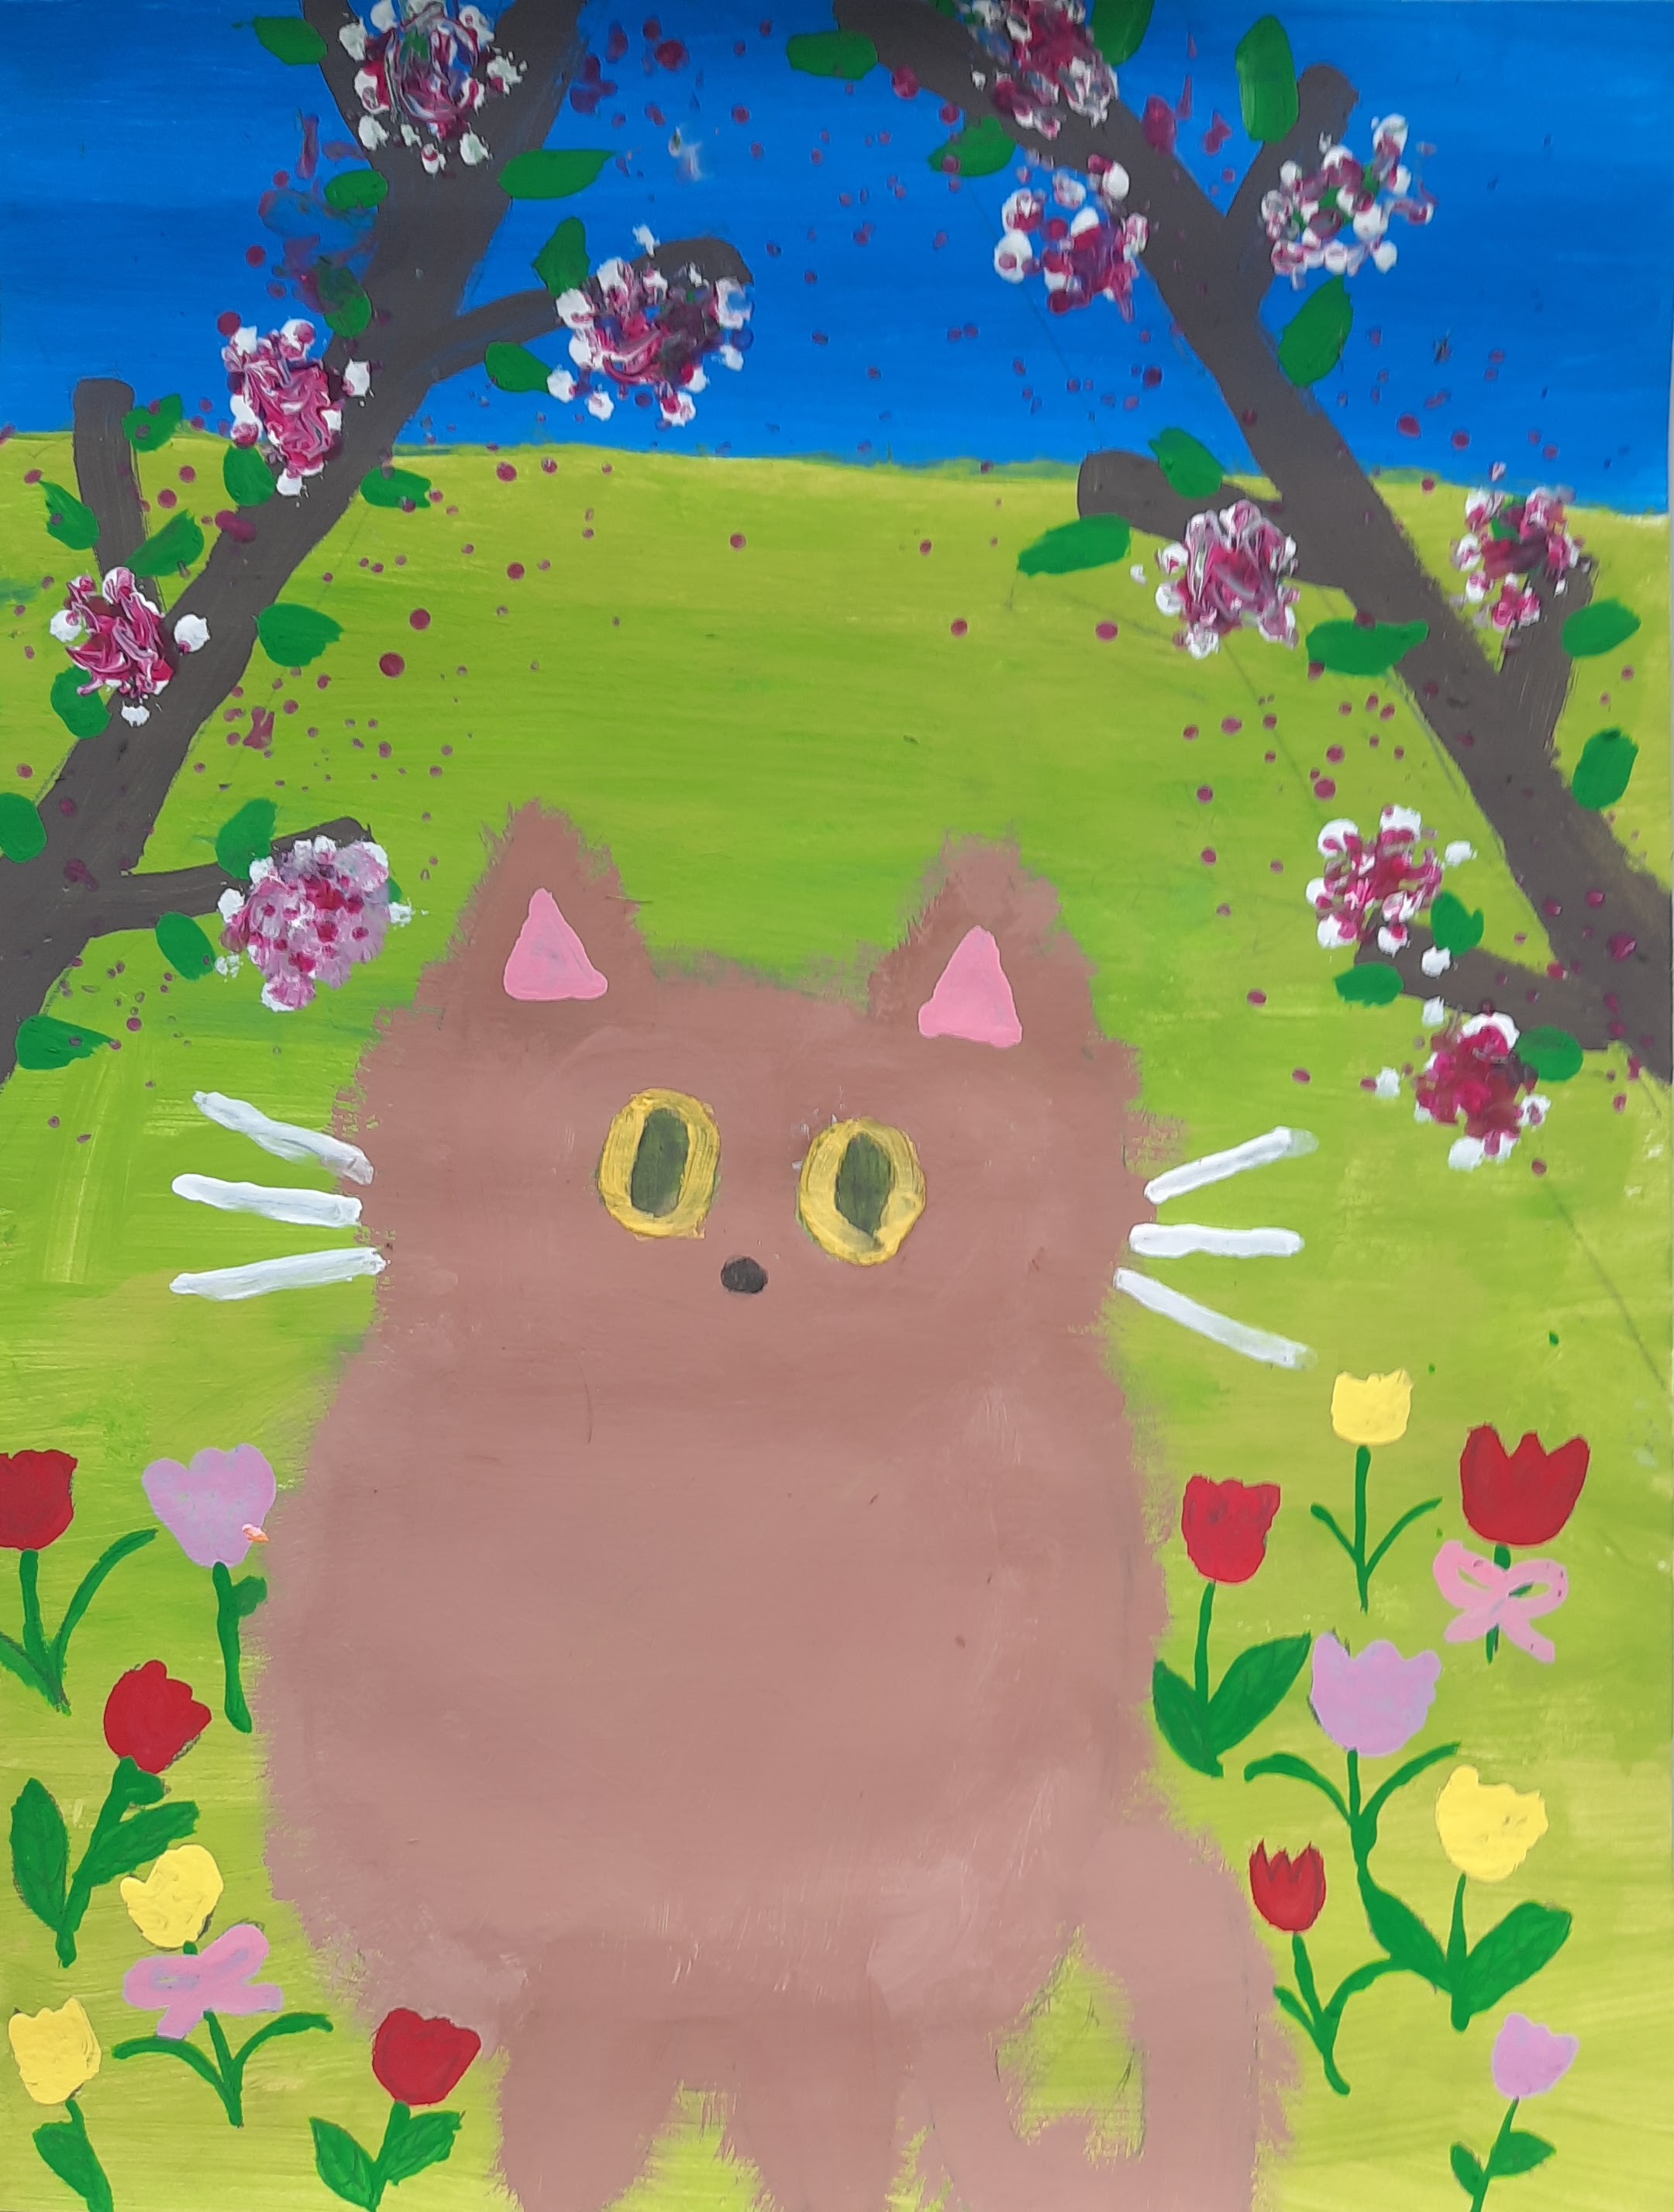
Maud Lewis Style Cat Paintings


Maud Lewis (1903-1970) was a Canadian folk artist known for her vibrant, naive paintings of Nova Scotia landscapes and everyday life, despite facing significant physical challenges due to juvenile rheumatoid arthritis. Maud Lewis was born with a condition that resulted in physical deformities and later developed into juvenile rheumatoid arthritis, which caused her significant pain and limited mobility, especially in her hands. Maud's mother introduced her to painting by teaching her to make and sell Christmas cards. She married Everett Lewis, a fish peddler, and they lived in a small, one-room house in Marshalltown, Nova Scotia, where Maud continued to paint and sell her art. 

Maud was uniquely creative, self-taught, specialized in painting everyday rural life, loved animals and appreciated the beauty of nature. I've seen her work when I visited Halifax- you can also visit her original house which is now housed within the Art Gallery of Nova Scotia. It's so adorable and charming with almost every surface painted in flowers!


Maud's art gained recognition in the 1960s, with her paintings capturing the attention of a journalist and leading to a radio documentary and newspaper article. Maud Lewis's work continues to be celebrated in Canada and internationally, and she is considered one of Canada's most beloved folk artists. 


Grade 4-6 student started off by looking at Maud's cat and landscape paintings on her official website.
We discussed her style of painting and use of colour. 
Then we watched THIS video about her life and art. 

I based my project on a lesson plan from Crayola Canada HERE.

My students learned SO many techniques during this project- so many painting techniques. I would say the Grade 4 students struggled a bit and the Grade 6 students felt the most confident with all the steps. 

Day one, students painted their background paper with a blue sky and mixed yellow and blue to make a custom green colour. Then they drew their cat and added cherry blossom branches. 


Next class the cat and blossoms were painted.


The last class was for all the final details, the face and tulips.


I love how cute and happy they all are!


Sunday, January 5, 2025

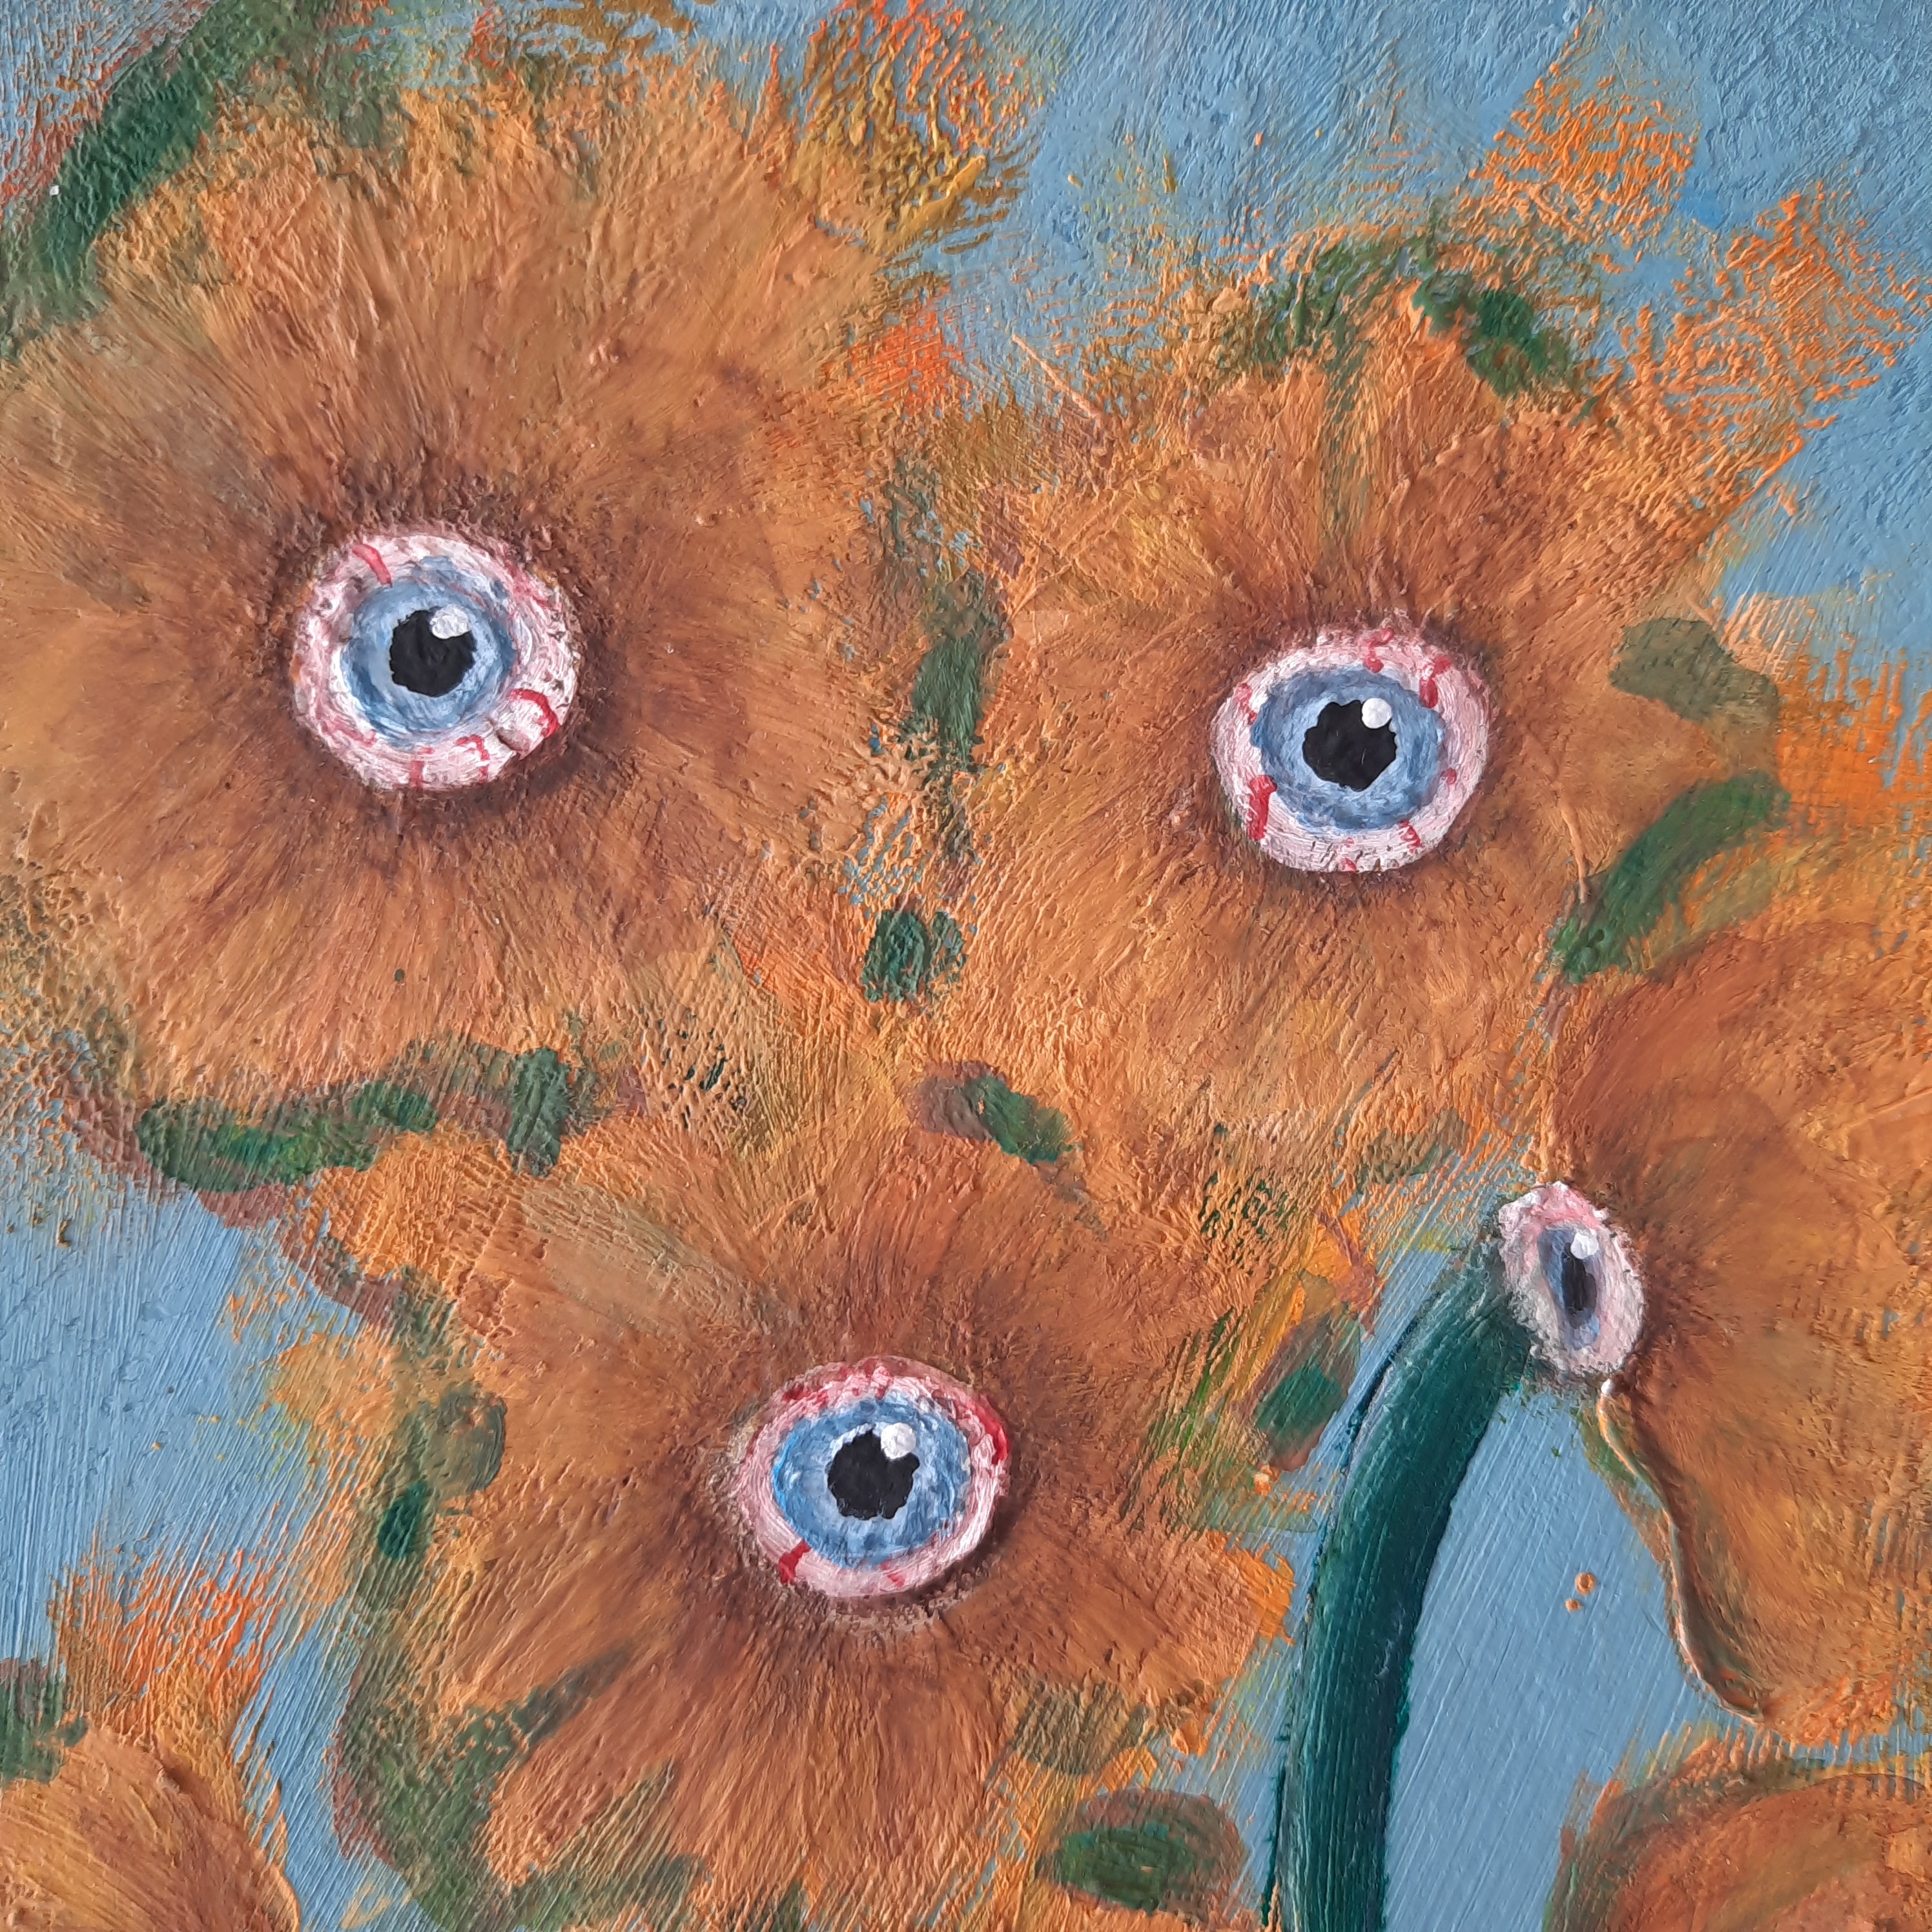
Altered Art History


This is a cool project I generally do at the end of the year with my high school class. 
I call it 'Altered Art History". It's actually based on a project I did when I was either in art school or in high school art class. I can't remember which. 

Basically, you take any famous artwork and alter it in some unusual or creative way. For mine, I re-drew a Brancusi sculpture (The Kiss) and drew it melting away.

Students can choose any medium, but most choose acrylics or watercolours.


They have to submit a little write up at the end. 


This one is a Bob Ross painting after a wildfire- a commentary on climate change. 


Monday, February 13, 2023

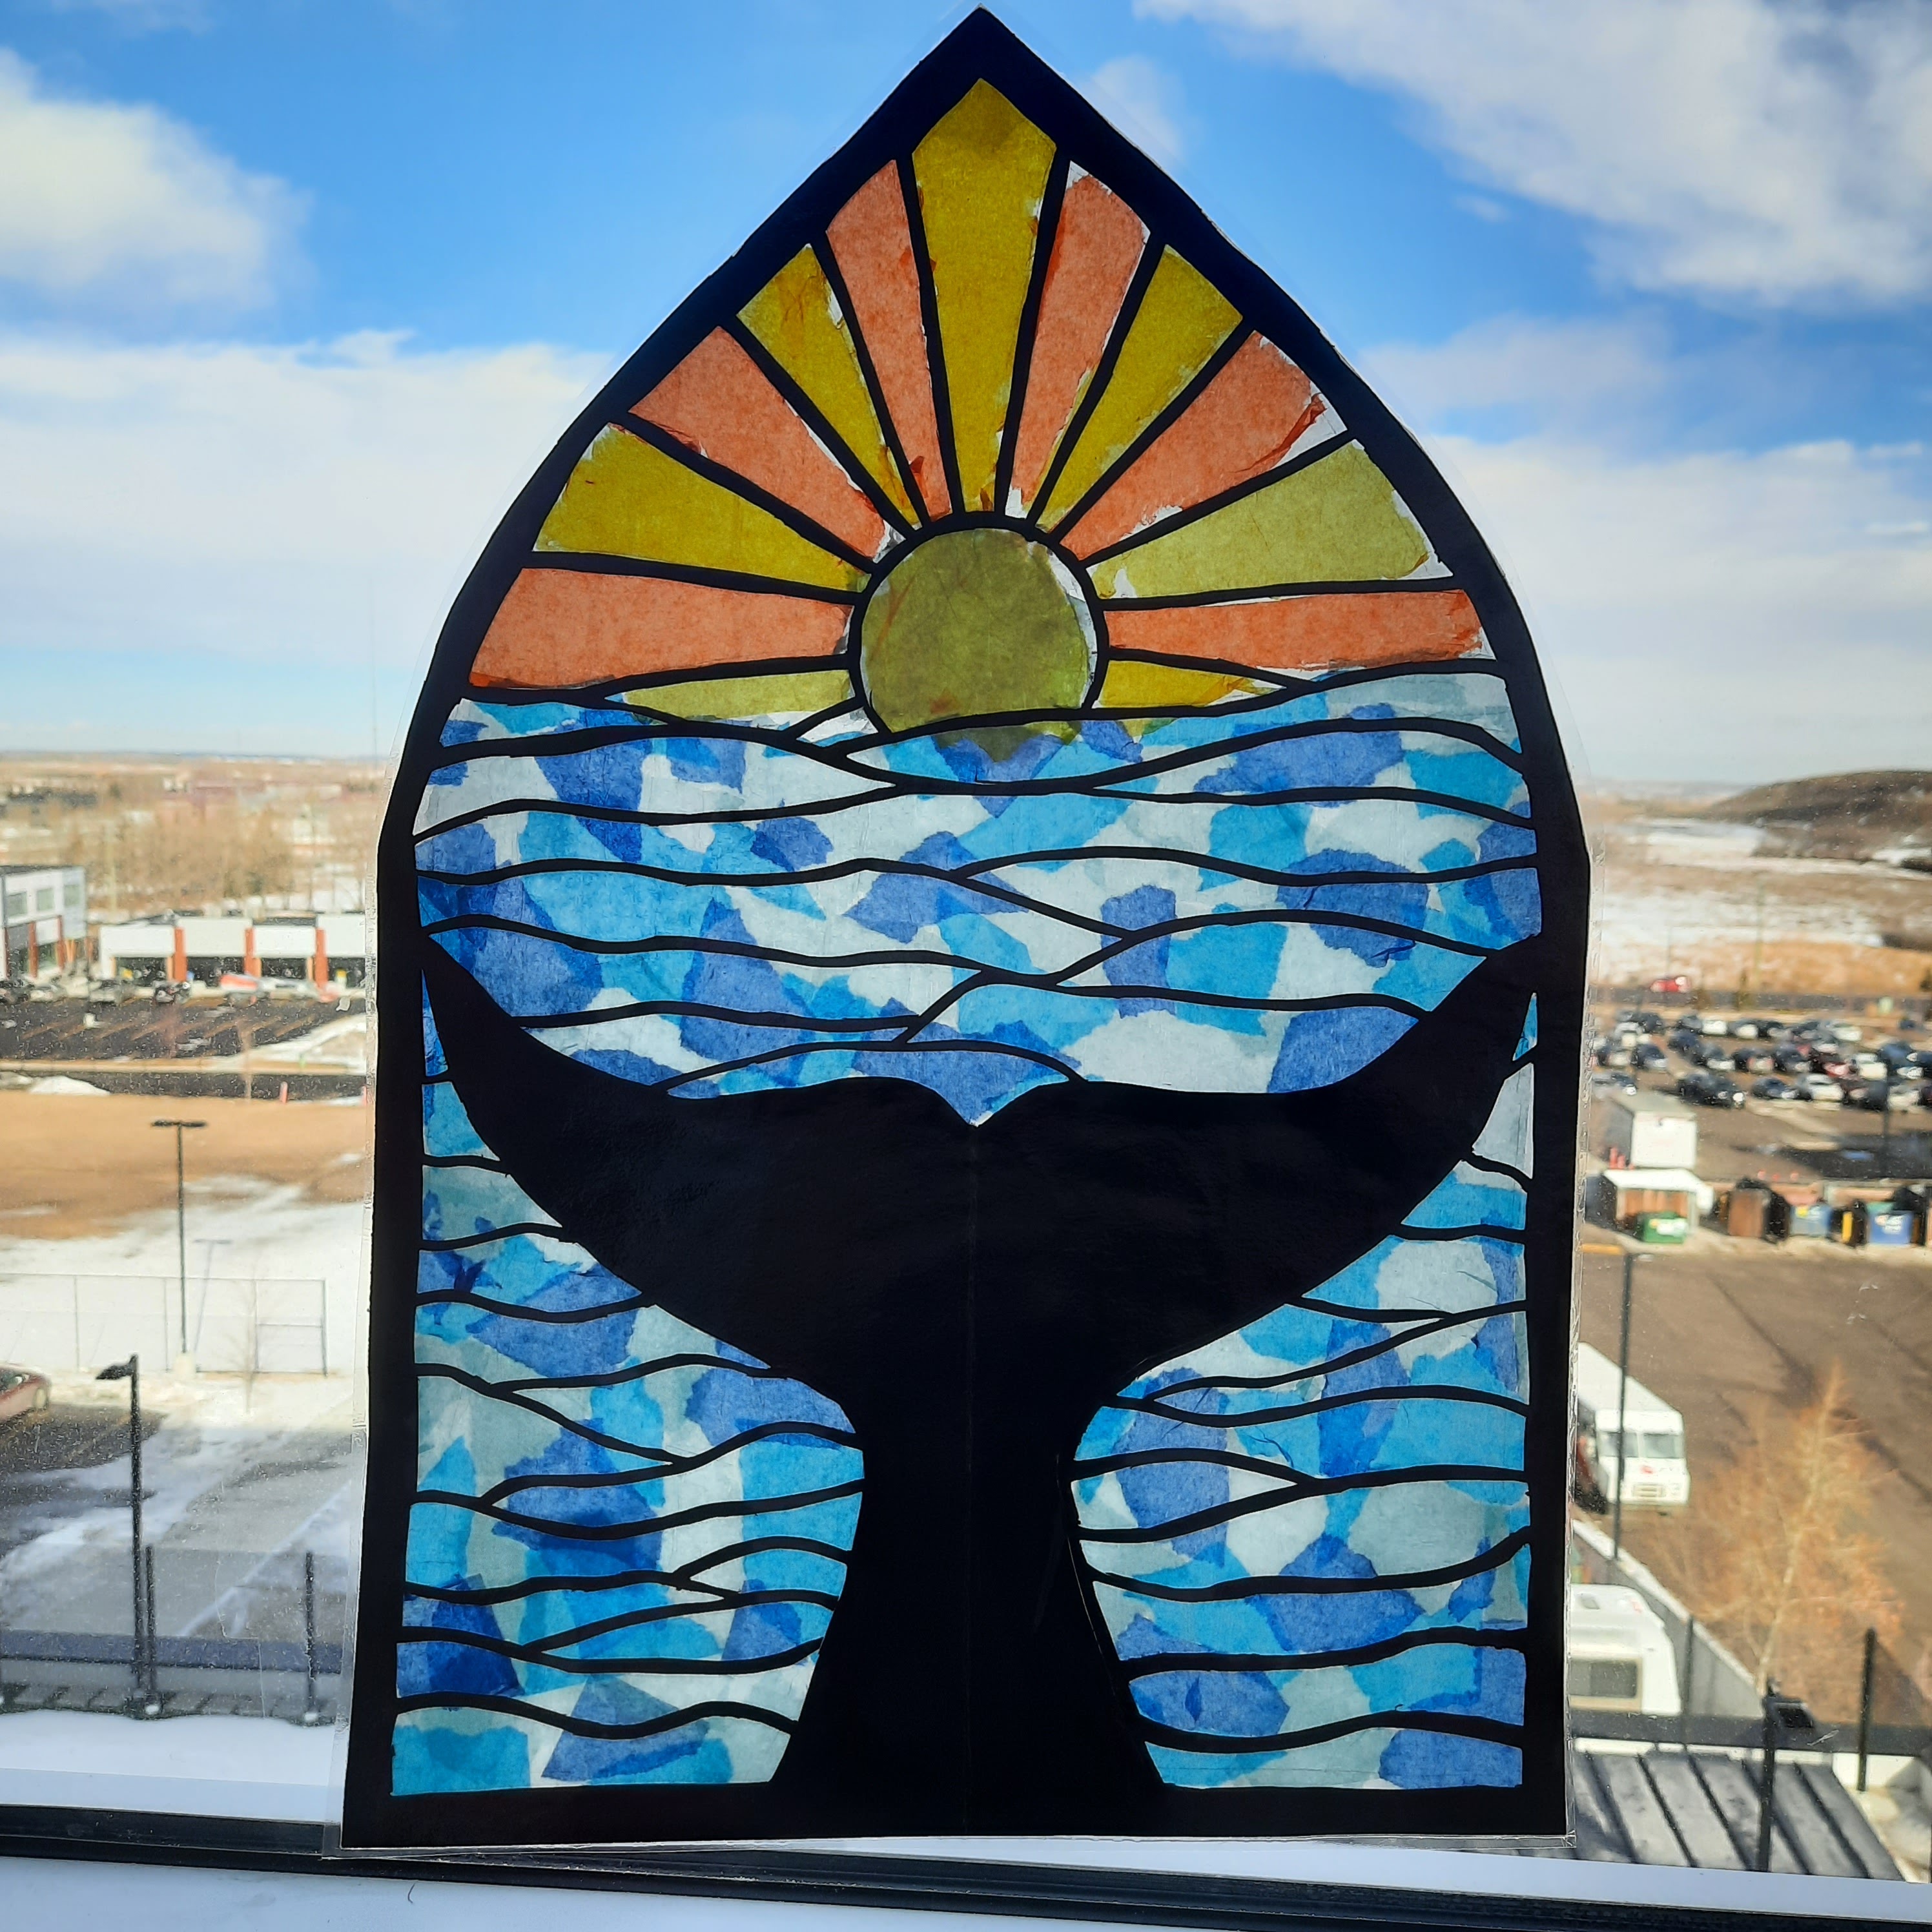
Tissue Paper Stained Glass Art Project


Here's an absolutely stunning faux stained glass project my junior high students recently finished. 
These are made from black construction paper and tissue paper. They took about a month or so to finish, due to the intricate nature of all the steps. 

To start off, I showed students a slideshow about the stained glass in Western Europe during the Middle Ages. I showed them a video of how stained glass is made (the technique hasn't really changed in hundreds of years!). 

So then students started planning their own design. It could be any subject matter. I demonstrated how to make one using thick black construction paper. The key thing is you don't want the lead lines too this. I told them a minimum of 1 cm thickness, but many made them thinner!  This resulted in lots of torn bits that they had to tape together on the back. 

So here are the basic supplies- mini cutting boards, x-acto knives and parchment paper. 
Make sure you use good quality and nice pure black construction paper. Tru-ray is the best brand in my experience. Anything less than that doesn't not cut cleanly and is too flimsy. 


To make it symmetrical, some student folded their paper in half vertically.
They drew their design in white pencil crayon. Shading in what needs to be cut out really helps. 
Include a border as well, to hold the whole thing together. 


A finished cut piece. Then cut a sheet of parchment paper slightly larger and trace the black paper outline onto it and cut that out. This will be what you glue the tissue paper too. 


There are two ways to attach the coloured tissue paper. I call the first way kaleidoscope


Using watered-down glue, just collage various ripped colours of tissue onto the parchment paper 


And voila. Let the tissue paper dry and then glue the black paper on top carefully using white glue. 


The second method is if students want a specific colour for each section. You basically cut tissue slightly larger than each space and glue stick it on the back. This technique takes a bit longer.  


Here's some more progress photos:


back view


I hung these in a long hallway with lots of windows and they looked stunning with the light shining through!


Related Posts Plugin for WordPress, Blogger...