ABOUT THIS BLOG

"A Faithful Attempt" is designed to showcase a variety of K-12 art lessons, the work of my art students, as well as other art-related topics. Projects shown are my take on other art teacher's lessons, lessons found in books or else designed by myself.
Thanks for visiting!
LAND ACKNOWLEDGEMENT I acknowledge, with deep respect, that I am gathered on Treaty 7 territory. I acknowledge the many First Nations, Métis and Inuit whose footsteps have marked these lands for generations. I respect the histories, languages and cultures of all the Indigenous peoples of Canada, whose presence continues to enrich our community.
Showing posts with label wax crayon. Show all posts

Thursday, March 26, 2026

Faux Batik with Wax Crayons


This is a great fool proof lesson (if you use the right paper) that yields fantastic results for all students. I've posted this lesson previously HERE and HERE.
I normally teach it to Grades 4-6.

All you need is:
photocopy paper (whatever size you like), Sharpies, wax crayons and dark acrylic paint.

Students draw a design of their choice on the photocopy paper. I encourage them to draw large, somewhat simple designs. Tiny, intricate designs don't work well necessarily with this process We're aiming for something big and bold, perhaps with simple patterns as well. You could give a specific theme like flowers, insects, food, etc. 

Trace over your drawing with Sharpie. We use paper placemats under our work so the Sharpie doesn't bleed through onto our tables (but if it does, hand sanitizer gets it off - aka: rubbing alcohol!!)


Press hard when you colour. If you don't, this won't work.


Once it's all coloured, the students really enjoy crumpling it up. They get all nervous and it's so cute to see! So crumple it up a couple of times. This creates cracks in the paper that the acrylic paint will stick to.

Painting station- I offer dark blue or purple acrylic paint, watered down.
Cover the entire piece with paint and wipe off immediately!


Wipe off excess with paper towels or damp sponges.


Friday, July 4, 2025

Wax Resist Watercolour Flowers


Another great lesson I tried from Deep Space Sparkle!

The key to this working out well and having a real wax resist effect, is to really emphasize pressing hard with the white wax crayons. My kids didn't so you couldn't really see the effect. But the kids enjoyed it and they turned out nice nonetheless. Grade 4 and 5's at work below!


Wednesday, October 27, 2021

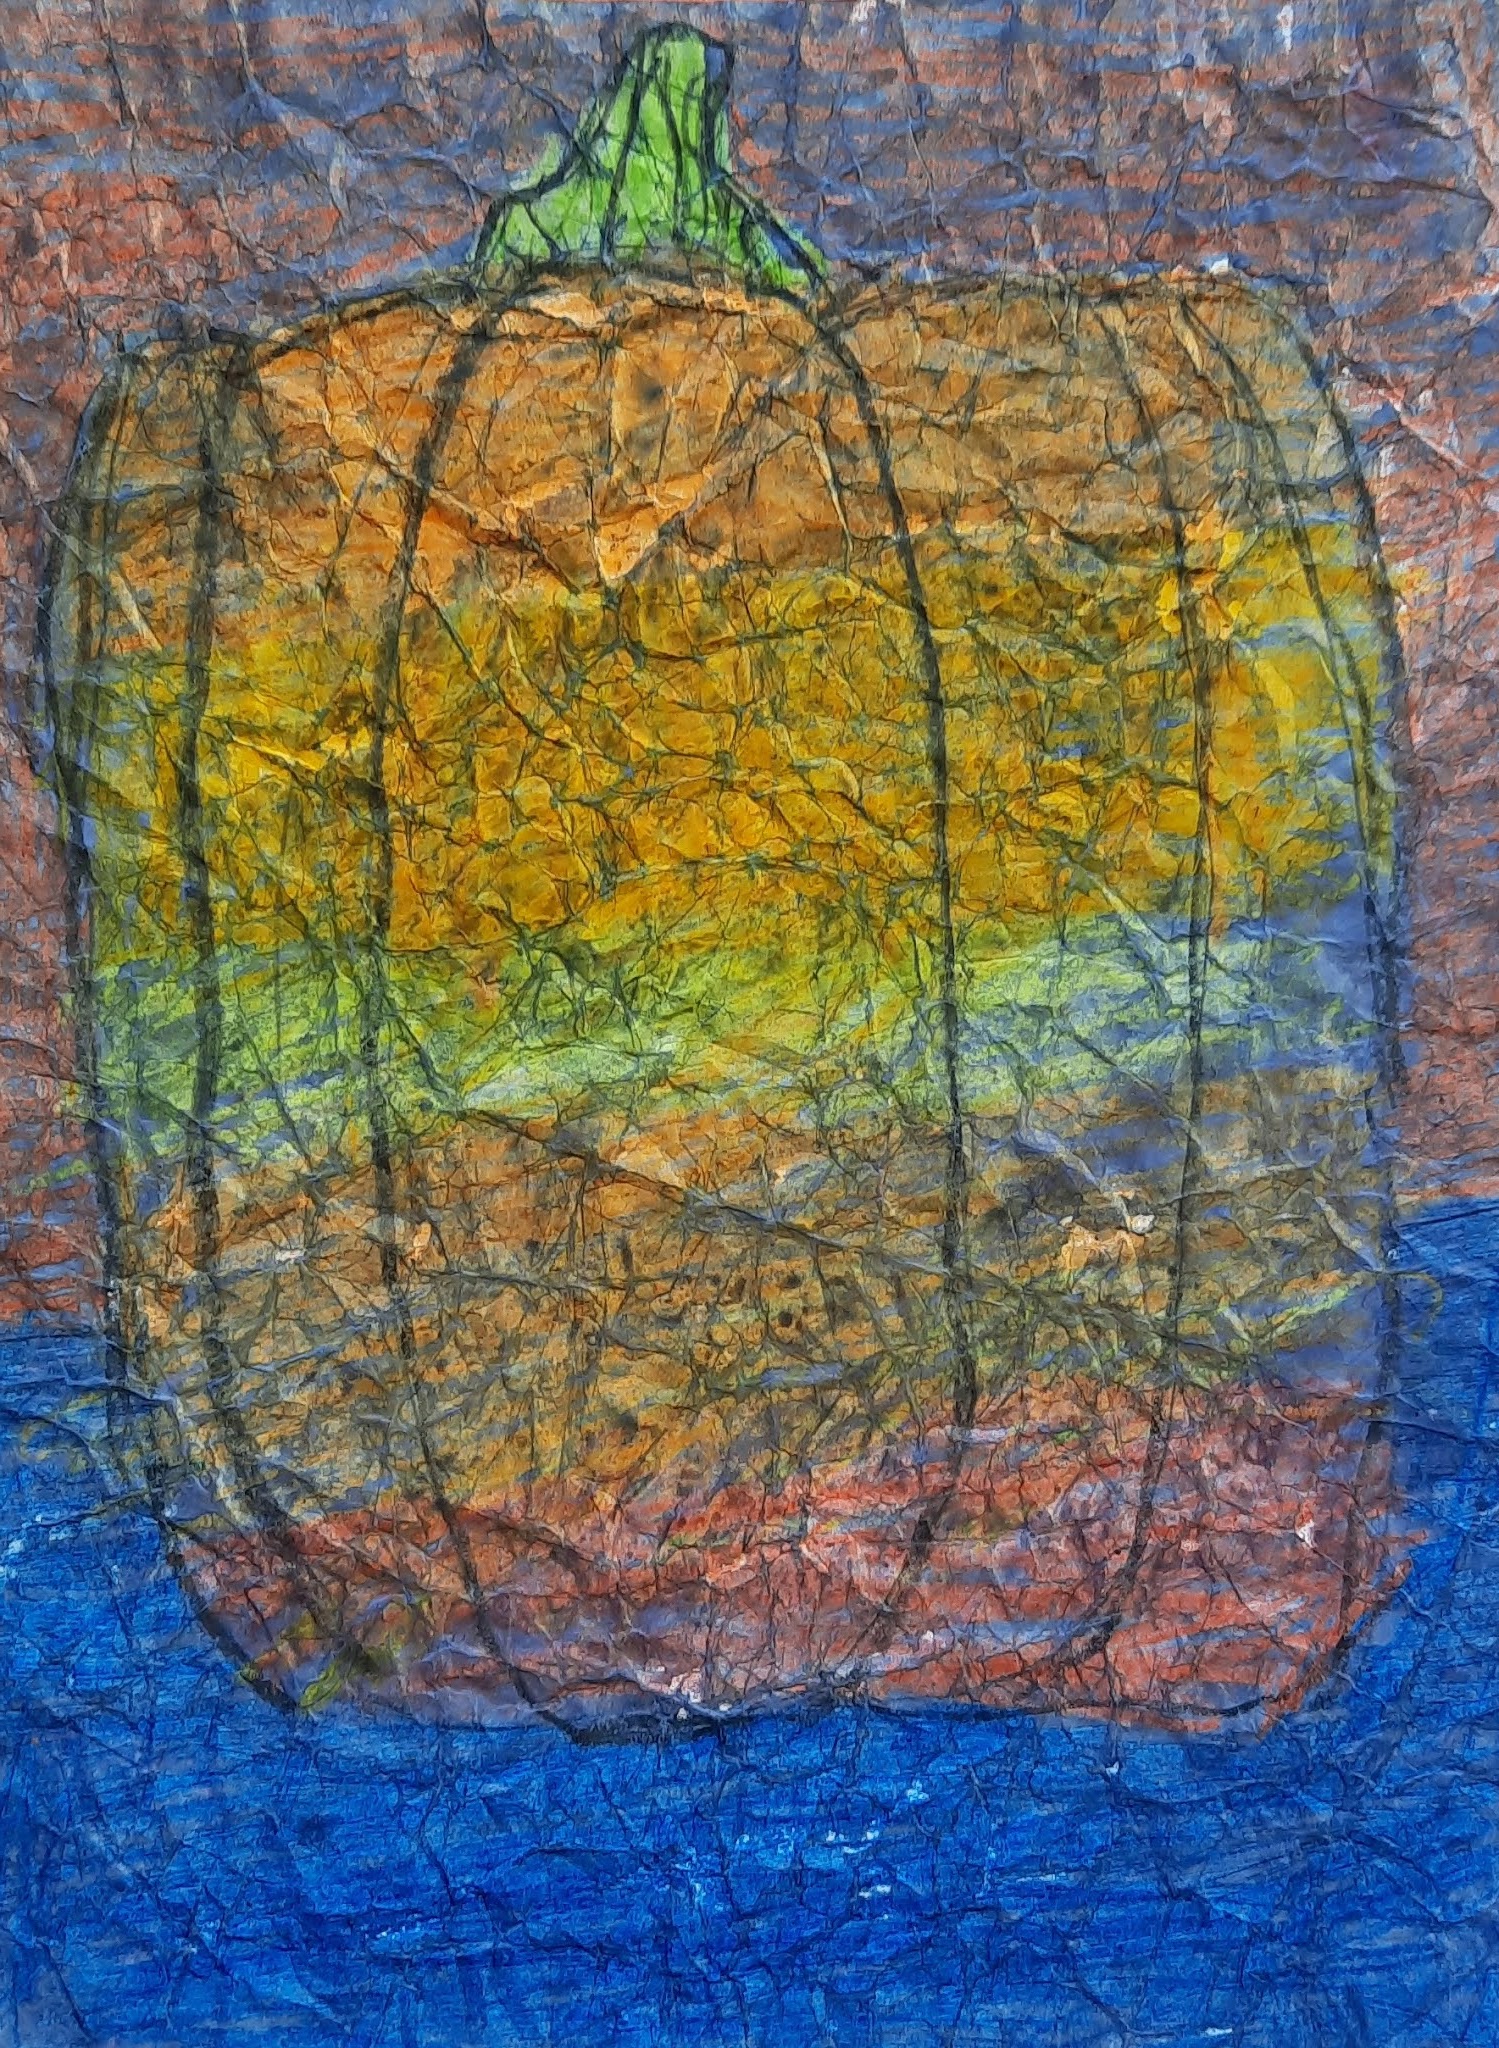
Wax Crayon Batik Style Pumpkins


Wax Crayon Batik- one of my favourite techniques to use with students- it creates a really cool texture and kids get a big kick out of crumpling up their artwork!

See my post about this lesson previously HERE with all the steps.

Tips: use thin copy paper
Press hard with wax crayons, use lighter colours
Crumple and flatten paper three times
Use ink consistency acrylic or dark watercolour


Sunday, June 2, 2019

Wax Crayon Faux Batik


This is a great fool proof lesson (if you use the right paper) that yields fantastic results for all students. I've posted this lesson previously HERE.

All you need is:
photocopy paper (whatever size you like), Sharpies, wax crayons and dark acrylic paint.

Students draw a design of their choice on the photocopy paper. I encourage them to draw large, somewhat simple designs. Tiny, intricate designs don't work well necessarily with this process We're aiming for something big and bold, perhaps with simple patterns as well. f course you could give a specific theme like flowers, insects, food, etc. 

Trace over your drawing with Sharpie. We use paper placemats under our work so the Sharpie doesn't bleed through onto our tables (but if it does, hand sanitizer gets it off - aka: rubbing alcohol!!)


Then colour in the design with a thick layer of wax crayon. I have to really emphasize to the kids that the colouring needs to be thick or the paint won't resist.  It's best to also stick to only lighter colours of wax crayons. 


Once it's all coloured, the students really enjoy crumpling it up. They get all nervous and it's so cute to see! So crumple it up a couple of times. This creates cracks in the paper that the acrylic paint will stick to. Flatten it out and then scrub on some dark acrylic paint (we use blue, purple and dark red)- we use large bristle brushes to really push or scrub the paint into the paper. Sometimes watering down the paint a bit with water helps as well. Then wipe off the excess using paper towels. Work in sections and don't let the acrylic paint dry! 
The design will be revealed but will be darker and textured.
Rub off as much paint as you need- you can always go back and add more if necessary.


You can see the faux batik effect created with the paint in all the cracks. 
Creates a really beautiful textural effect. 


Some Grade 4 - 6 finished works:


Related Posts Plugin for WordPress, Blogger...