ABOUT THIS BLOG

"A Faithful Attempt" is designed to showcase a variety of K-12 art lessons, the work of my art students, as well as other art-related topics. Projects shown are my take on other art teacher's lessons, lessons found in books or else designed by myself.
Thanks for visiting!
LAND ACKNOWLEDGEMENT I acknowledge, with deep respect, that I am gathered on Treaty 7 territory. I acknowledge the many First Nations, Métis and Inuit whose footsteps have marked these lands for generations. I respect the histories, languages and cultures of all the Indigenous peoples of Canada, whose presence continues to enrich our community.
Showing posts with label Art of the Middle Ages. Show all posts

Tuesday, January 20, 2026

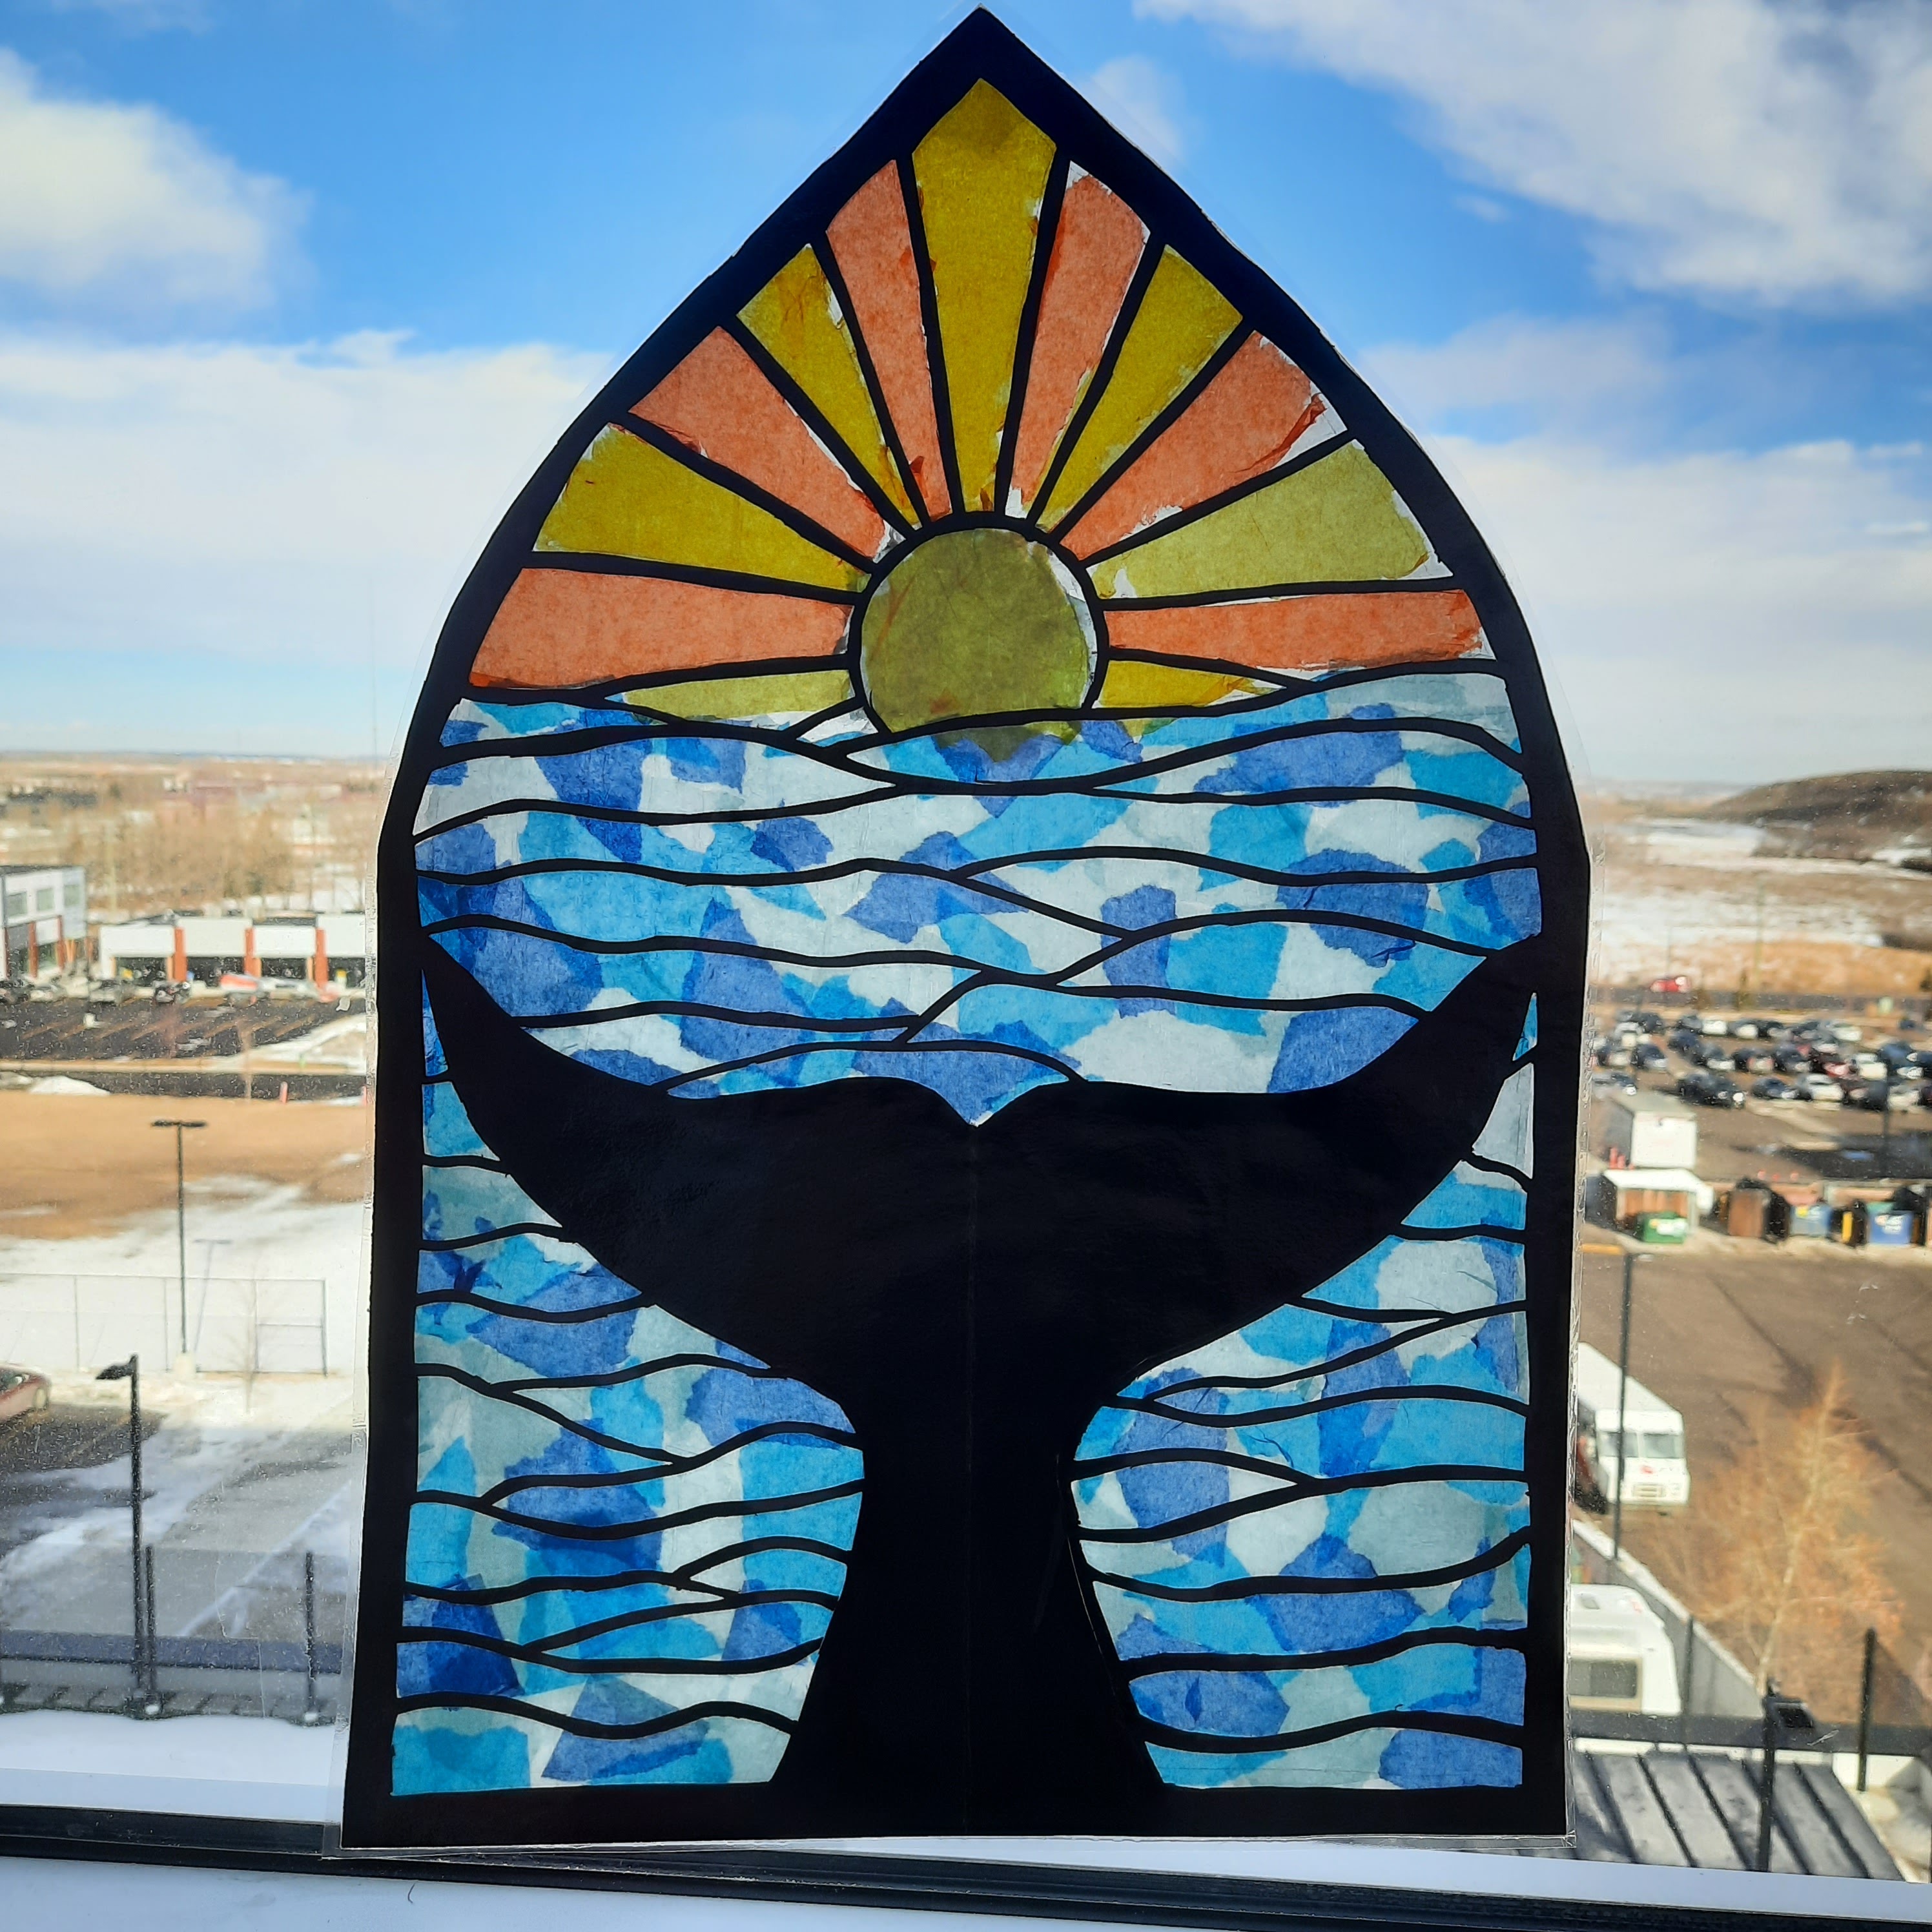
Tissue Paper Faux Stained Glass Art Project


This is a faux stained glass lesson I have taught a few times over the past 15 years. Sadly, I am now seeing a decline in the ability of my junior high students to use X-acto blades. This was the first time I was super nervous using them with the class and might have to re-think this lesson in the future. The overall fine motor skills seems to appear generally weaker. I last taught this 3 years ago and had no issues.

Nonetheless, if you're interested in trying this out, check out my previous post HERE which has all the steps. Make sure you use really sturdy, good quality black construction paper for this project to be successful.

I store my tissue paper chaotically in drawers, lol.


Students sketch out a stained glass design of their choice on sturdy black construction paper. 
Then they cut it out using X-acto knifes on cutting boards.


Trace and cut out tissue paper shapes to glue on the back. This project took about 3 weeks to complete, depending on the complexity of each students' design. I laminate these once finished to help make them sturdier and protected.


Some finished artworks: Grade 7-9


Monday, July 10, 2023

Rose Windows- Faux Stained Glass


Rose windows are particularly characteristic of Gothic architecture and may be seen in all the major Gothic Cathedrals of Northern France. 


When it comes to famous windows, few are quite as vivid as the Rose Windows in the Notre-Dame Cathedral in Paris. This is a great lesson on symmetry and colour symbolism.

The cathedral is considered one of the finest examples of French Gothic architecture. Construction of the cathedral began in 1163 and was largely completed by 1260. The cathedral is a widely recognized symbol of the city of Paris and the French nation. 

Every detail of the Rose Windows was carefully planned to give a message to onlookers. The colors chosen hold specific meaning that just about anyone viewing them at the time they were built would understand. 

While the Rose Windows of Notre Dame are strikingly beautiful, the art form used there was made to inform as much as it was to please the eye. The general population at the time they were built was illiterate, and they relied on pictures and symbols to tell them stories that they were unable to read. Much of the art from this time was used to impart religious lessons and stories to the common people, most of it referring to the bible. This is why some of the most intricate and representative art from this time is found in these beautiful cathedrals.


To make these faux stained glass rose windows, start by tracing two circles- one on parchment paper and one on black construction paper (I prefer Tru Ray as it's a rich black colour).

You will create a collage of colours onto the parchment paper using watered down white glue and tissue paper. Some of my students wanted their shapes to have their own specific colours so they cut them out and glued them behind each cut out which is much more time consuming.


Once everything is glued down nice and smoothly, fold your black circle in half three times and cut out shapes- just like what one would do for a paper snowflake.


Then, using dots of white glue, carefully glue the black paper on top of the tissue background (you might need to trim the tissue paper down a bit so it doesn't show) and place heavy boards or books on top to really seal it all together nicely. Put between wax paper in case some glue seeps out. 
I laminated all of my students work so they are much more durable. 
Fair warning, when these are hung in a window (they look gorgeous)- the sun WILL fade the colours significantly.

These were made by Grade 4,5 6 students. As you can see, none used the 'kaleidoscope' method I showed them above, lol. They all wanted each shape to have a distinct colour!


Monday, February 13, 2023

Tissue Paper Stained Glass Art Project


Here's an absolutely stunning faux stained glass project my junior high students recently finished. 
These are made from black construction paper and tissue paper. They took about a month or so to finish, due to the intricate nature of all the steps. 

To start off, I showed students a slideshow about the stained glass in Western Europe during the Middle Ages. I showed them a video of how stained glass is made (the technique hasn't really changed in hundreds of years!). 

So then students started planning their own design. It could be any subject matter. I demonstrated how to make one using thick black construction paper. The key thing is you don't want the lead lines too this. I told them a minimum of 1 cm thickness, but many made them thinner!  This resulted in lots of torn bits that they had to tape together on the back. 

So here are the basic supplies- mini cutting boards, x-acto knives and parchment paper. 
Make sure you use good quality and nice pure black construction paper. Tru-ray is the best brand in my experience. Anything less than that doesn't not cut cleanly and is too flimsy. 


To make it symmetrical, some student folded their paper in half vertically.
They drew their design in white pencil crayon. Shading in what needs to be cut out really helps. 
Include a border as well, to hold the whole thing together. 


A finished cut piece. Then cut a sheet of parchment paper slightly larger and trace the black paper outline onto it and cut that out. This will be what you glue the tissue paper too. 


There are two ways to attach the coloured tissue paper. I call the first way kaleidoscope. 


Using watered-down glue, just collage various ripped colours of tissue onto the parchment paper 


And voila. Let the tissue paper dry and then glue the black paper on top carefully using white glue. 


The second method is if students want a specific colour for each section. You basically cut tissue slightly larger than each space and glue stick it on the back. This technique takes a bit longer.  


Here's some more progress photos:


back view


I hung these in a long hallway with lots of windows and they looked stunning with the light shining through!


Related Posts Plugin for WordPress, Blogger...