ABOUT THIS BLOG

"A Faithful Attempt" is designed to showcase a variety of K-12 art lessons, the work of my art students, as well as other art-related topics. Projects shown are my take on other art teacher's lessons, lessons found in books or else designed by myself.
Thanks for visiting!
LAND ACKNOWLEDGEMENT I acknowledge, with deep respect, that I am gathered on Treaty 7 territory. I acknowledge the many First Nations, Métis and Inuit whose footsteps have marked these lands for generations. I respect the histories, languages and cultures of all the Indigenous peoples of Canada, whose presence continues to enrich our community.
Showing posts with label 3-D. Show all posts

Wednesday, September 3, 2025

Toilet Paper Food Sculptures


This is one of my students and staff favourite projects!  
Toilet Paper Food is such a fun yet economical project that yields really impressive results. 
You truly only need toilet paper, water and watercolours. 

See all the steps at my previous post HERE.

This year's results:  Grade 7-9


Sunday, April 9, 2023

Science & Art: Large Forest Tower Habitats


Although this is an art blog, I posted a lesson back in 2017 (see it HERE) that was taught by an amazing Science teacher (and friend!) at my school. I posted about it because it is such a creative project full of detail and artistic elements. Little did I know it would become one of my top viewed posts (over 85,000 views). 

This is a lesson I look forward to every year. Grade 6 Science students construct large scale forest tower habitats out of boxes. Many of these are over 4 feet tall!

They are essentially stacked boxes (some are made from empty photocopy paper boxes which students can collect from the school or their parents' workplaces). Others are made from stacked shoe boxes or other smaller types of sturdy boxes or foam core.

I believe there are about three choices for types of forest: Deciduous forest, Boreal (Coniferous) forest and Tropical Rainforest. Students need to include four layers: canopy, understory, shrubbery and forest floor. They also need to include abiotic factors (sun, clouds).

Then the insides are covered with construction paper and/or painted in some way. Each layer represents a different layer of the chosen habitat. I teach some of these kids Art so it's interesting to see how they approached this project and what materials and techniques they used. 

Materials used within each box range from handmade items to store-bought items: Cardboard tubes for trees, animals made from plasticine or bought at the dollar store or printed out from the internet, lots of dried or fake plants and leaves, or plants made from construction paper, pipe cleaners, dried moss, etc. All the elements are neatly labelled. They're so fun and interesting to look at! I think the kids did an outstanding job and learned about habitats along the way. Being able to express their learning in such a creative way is really special.

*Important to note- students complete these at home so I know there is a lot of parent help/support with these. They are then displayed at school for a couple of weeks for the school community to enjoy. 


Monday, January 2, 2023

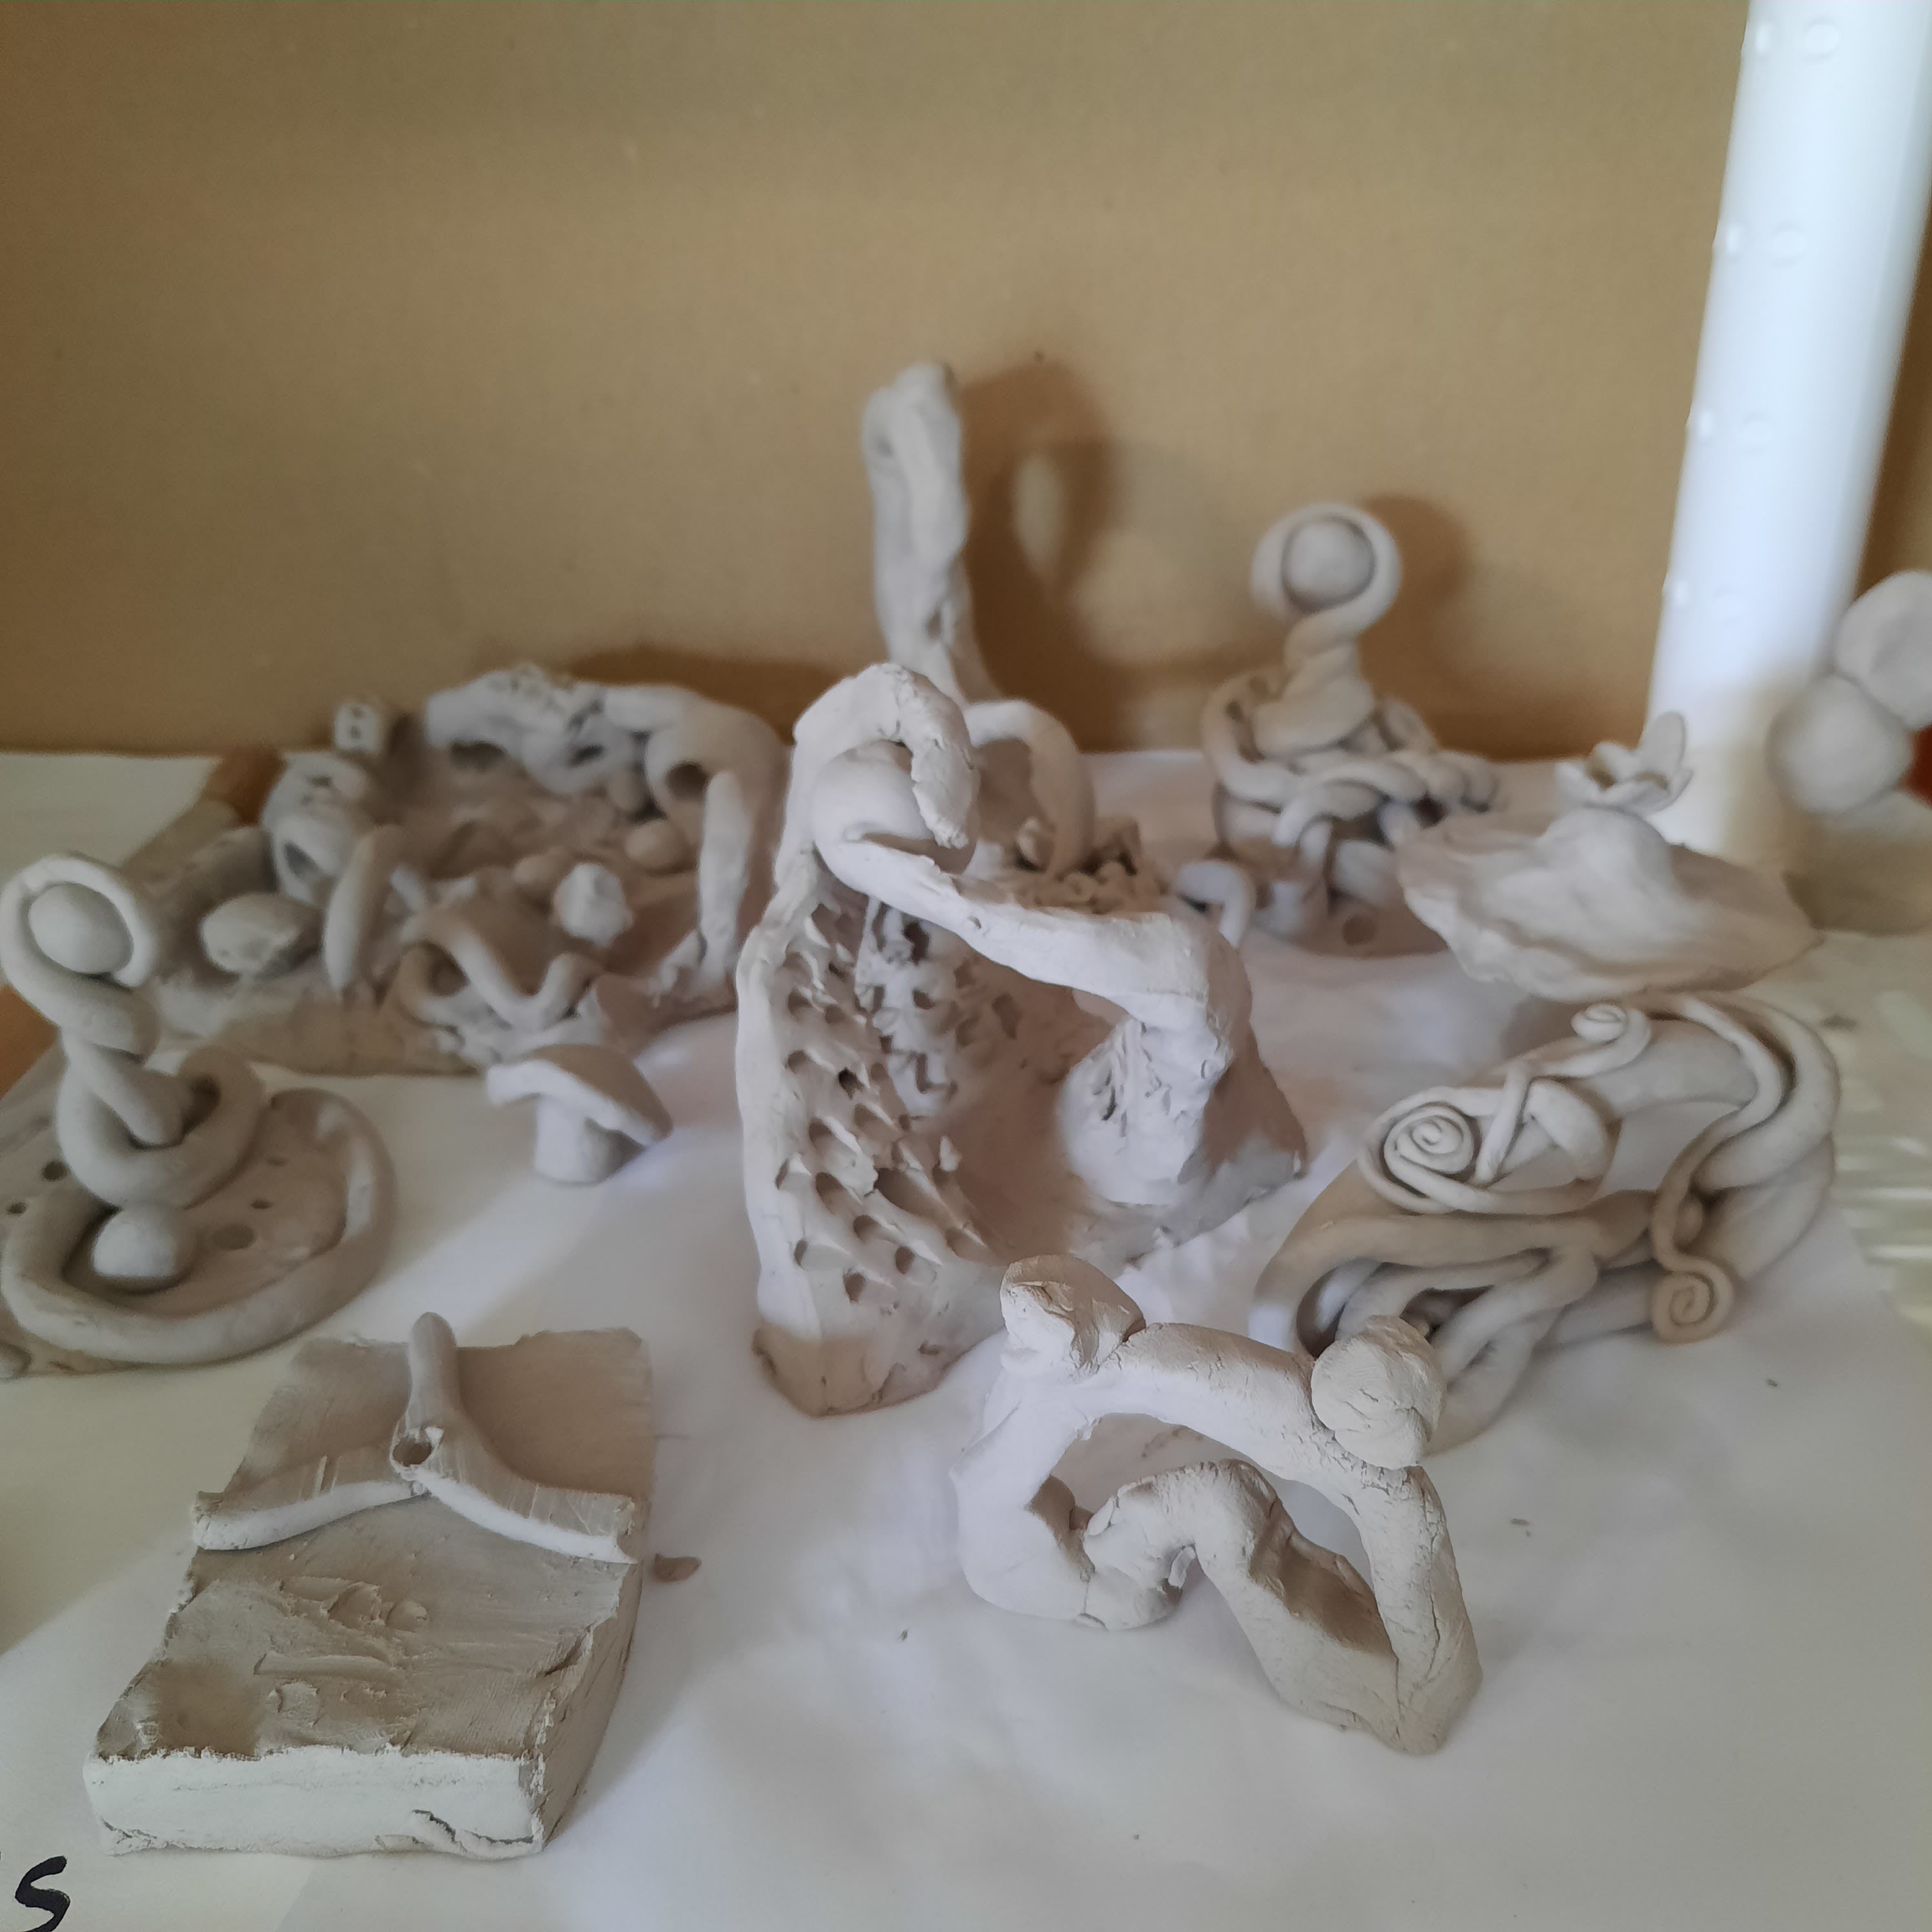
Abstract Air Dry Clay Sculptures


This is a wonderful abstract lesson I saw posted on a high school art teachers Facebook group I belong to. The challenge was to create an abstracted sculpture that represents the students' soul/essence through form and colour. In the original lesson, the teacher used Amaco brand air dry clay. I just used this argile clay I found that the Dollar store and it worked well. Each student got one packet. 
This was taught to a mixed Grade 7,8,9 class.


These are some of the tools I provided- all free stuff I gather from restaurants.


Students work with their clay on tar/roof paper. I bought a roll from the hardware store for a painting project once and have SO much left over!  I read somewhere it works great as placemats for clay work and it's true!

I start off with a slideshow showing some examples of simple modern abstract sculptures- in particular, English artist Barbara Hepworth. In 1931, Hepworth was the first to sculpt the pierced figures that are characteristic of both her own work and, later, that of Henry Moore.


So students got to work sculpting- they had one 80 minute period to create these all in one go. They were encouraged not to have any thin or tiny parts, as they would just be too fragile once dry. 
We always have some pieces that break off, but most are easily mendable with glue.


Once sculpted, leave to dry for at least a day or so.


When I see the class a week later, they start painting their mini sculptures with acrylic paint. I encourage them to mix colours and do nice blending. 


Once painted and dry, we varnish them with a glossy water based varnish 
for both shine and protection. 


I did this project at the end of June last year, so it was a bit of a mad rush to get them completed. 
Misjudged my timeline as always- June is always a write off and I forget that every year, 

So I only managed to photograph two finished ones!
See my previous post on this project HERE,


Related Posts Plugin for WordPress, Blogger...