
This is a wonderful abstract lesson I saw posted on a high school art teachers Facebook group I belong to. The challenge was to create an abstracted sculpture that represents the students' soul/essence through form and colour. In the original lesson, the teacher used Amaco brand air dry clay. I just used this argile clay I found that the Dollar store and it worked well. Each student got one packet.
This was taught to a mixed Grade 7,8,9 class.

These are some of the tools I provided- all free stuff I gather from restaurants.

Students work with their clay on tar/roof paper. I bought a roll from the hardware store for a painting project once and have SO much left over! I read somewhere it works great as placemats for clay work and it's true!
I start off with a slideshow showing some examples of simple modern abstract sculptures- in particular, English artist Barbara Hepworth. In 1931, Hepworth was the first to sculpt the pierced figures that are characteristic of both her own work and, later, that of Henry Moore.

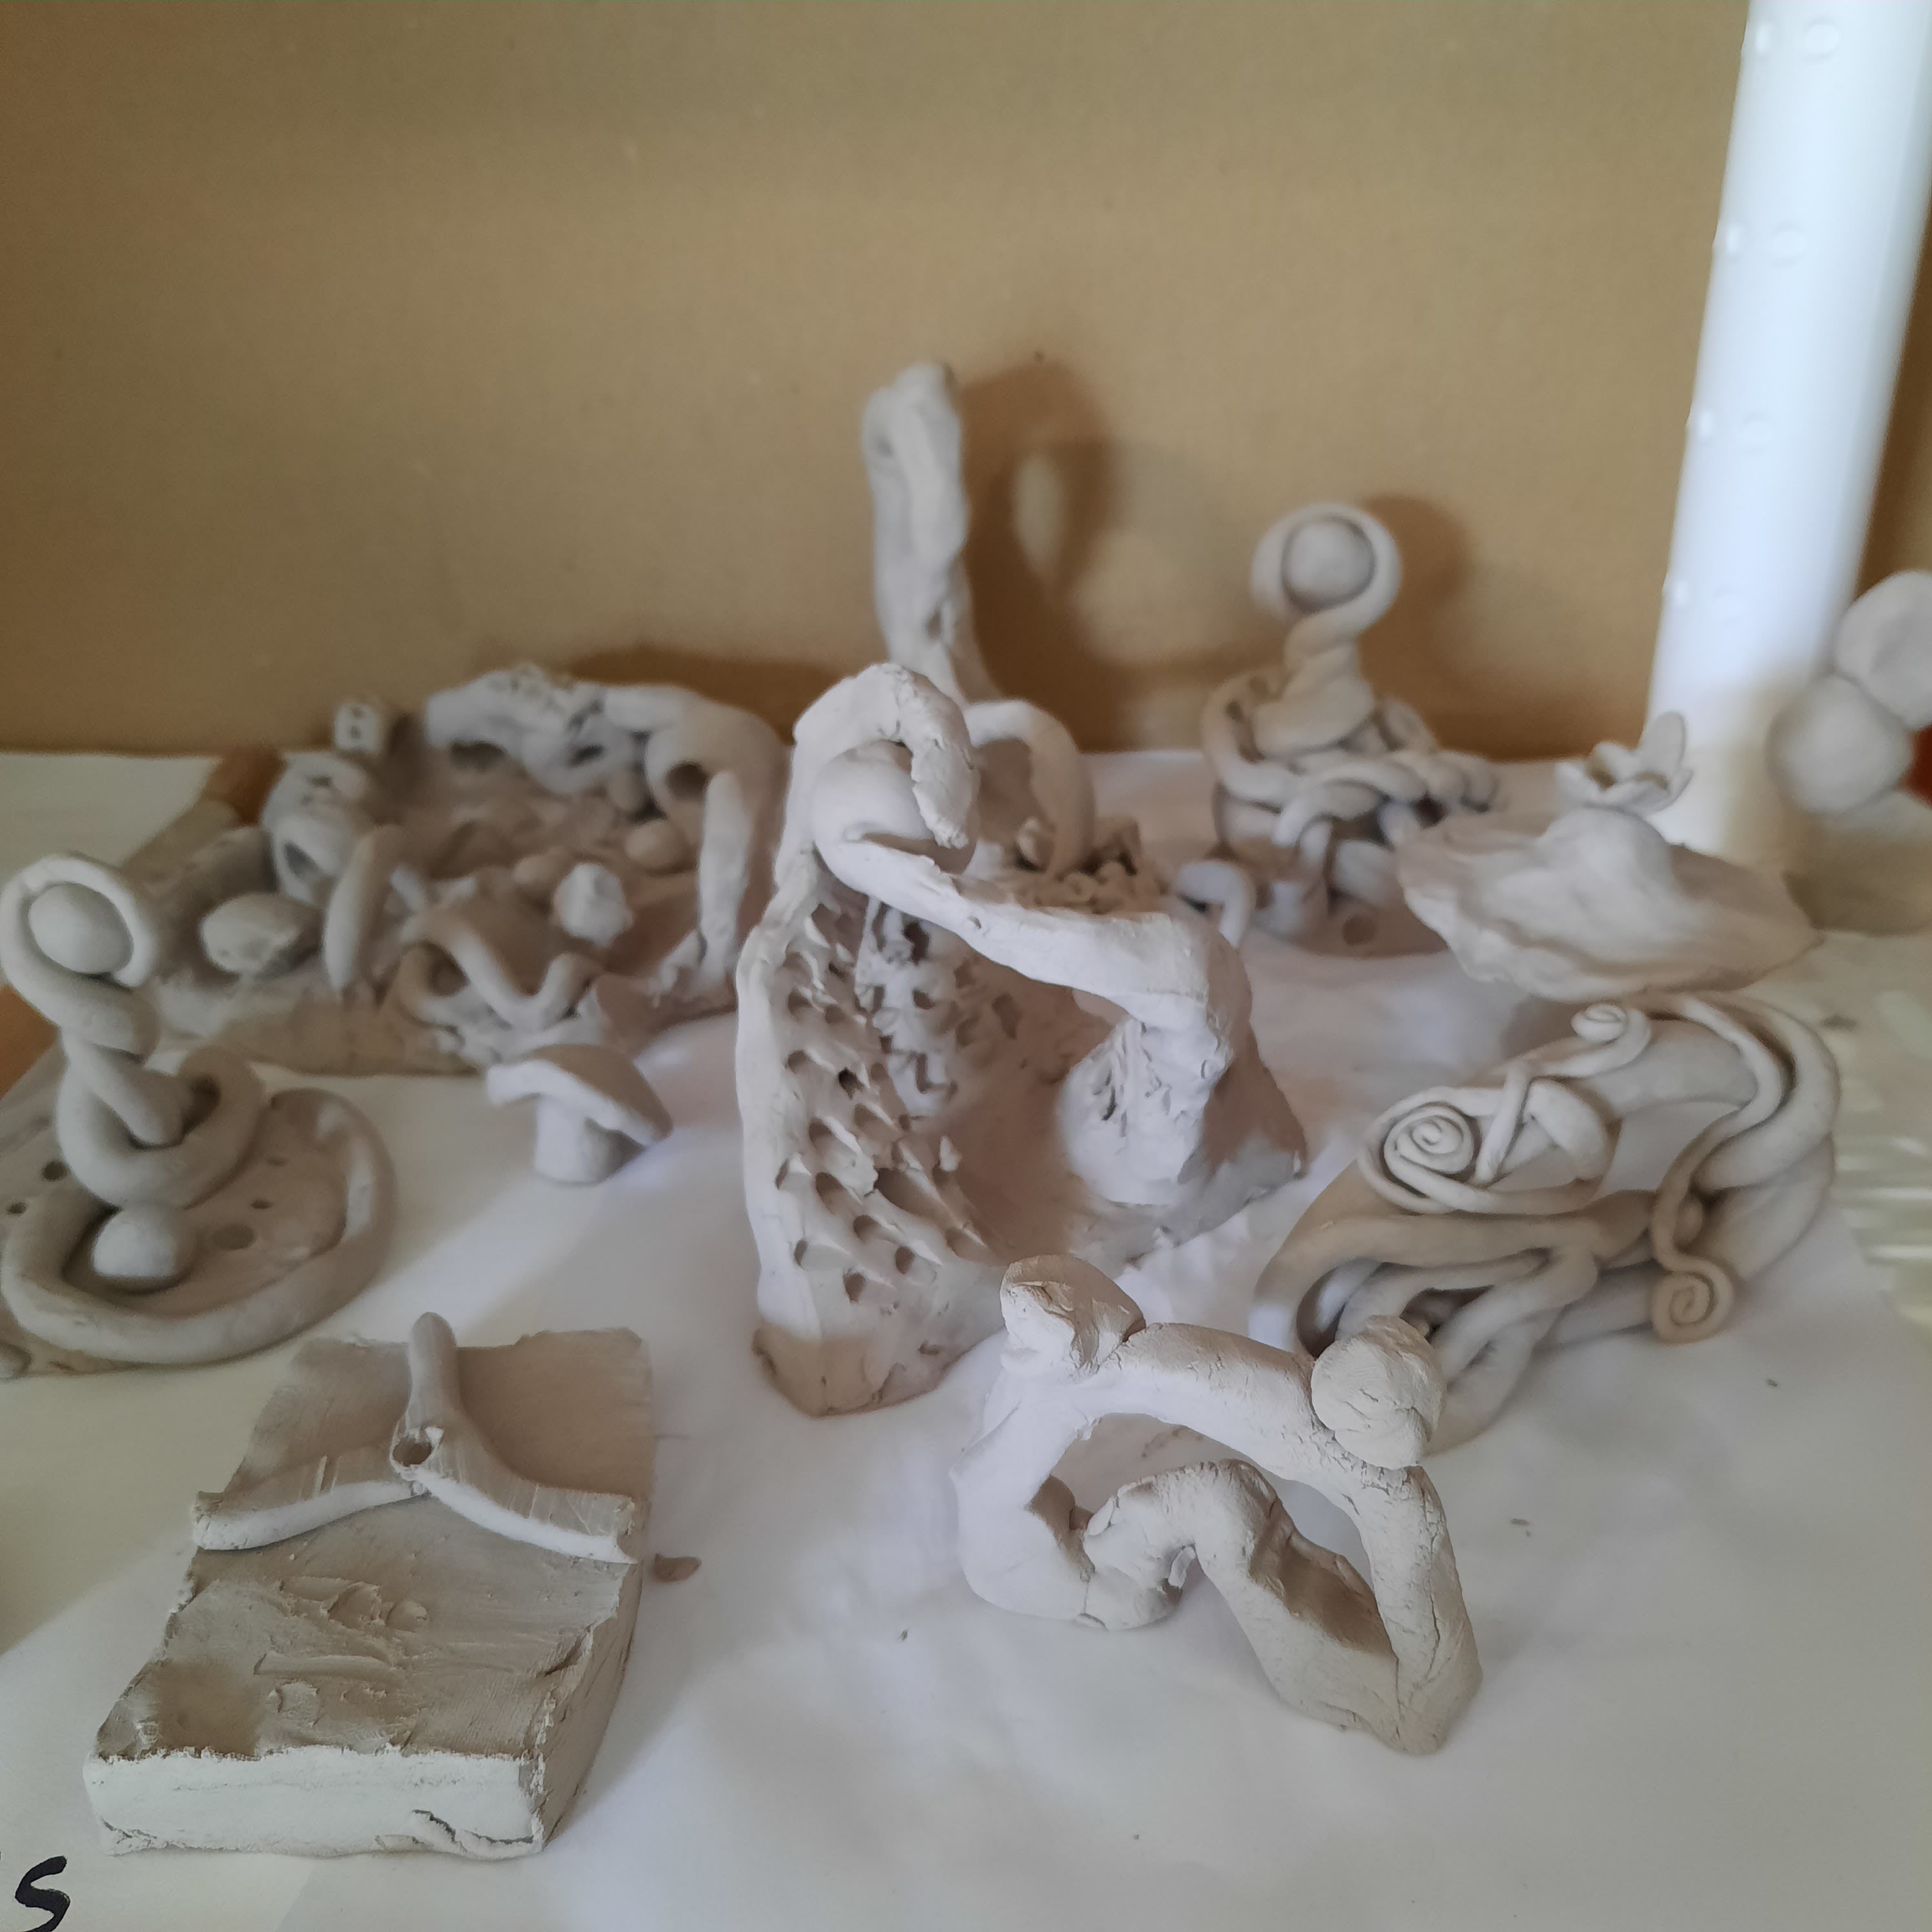
So students got to work sculpting- they had one 80 minute period to create these all in one go. They were encouraged not to have any thin or tiny parts, as they would just be too fragile once dry.
We always have some pieces that break off, but most are easily mendable with glue.


Once sculpted, leave to dry for at least a day or so.
When I see the class a week later, they start painting their mini sculptures with acrylic paint. I encourage them to mix colours and do nice blending.


Once painted and dry, we varnish them with a glossy water based varnish
for both shine and protection.

I did this project at the end of June last year, so it was a bit of a mad rush to get them completed.
Misjudged my timeline as always- June is always a write off and I forget that every year,
So I only managed to photograph two finished ones!
See my previous post on this project HERE,


No comments:
Post a Comment