ABOUT THIS BLOG

"A Faithful Attempt" is designed to showcase a variety of K-12 art lessons, the work of my art students, as well as other art-related topics. Projects shown are my take on other art teacher's lessons, lessons found in books or else designed by myself.
Thanks for visiting!
LAND ACKNOWLEDGEMENT I acknowledge, with deep respect, that I am gathered on Treaty 7 territory. I acknowledge the many First Nations, Métis and Inuit whose footsteps have marked these lands for generations. I respect the histories, languages and cultures of all the Indigenous peoples of Canada, whose presence continues to enrich our community.
Showing posts with label Op Art. Show all posts

Thursday, July 2, 2026

Op Art


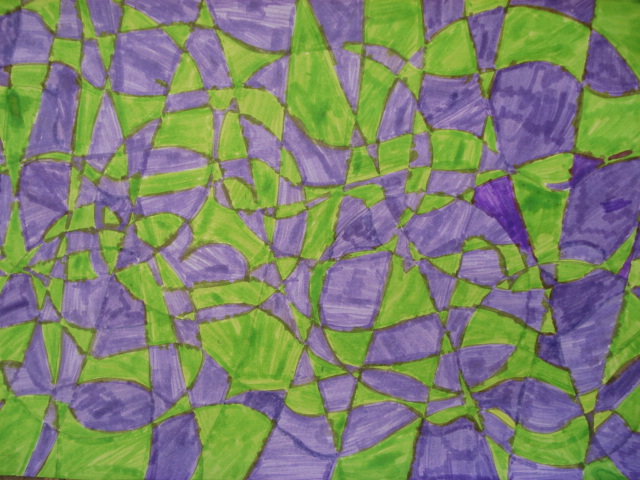
This was the final art project I did with my Grade 4-6 class this year. We managed to get it completed in two- 80 minute periods. Some boys reminded me they requested an Op art project this semester so I had to quickly find one, lol.

Luckily I found THIS lesson on the website Art with Mrs. Filmore and it worked really well. I definitely didn't explain it well enough and about 30% of both classes had to re-start, some had to re-start 3 times. So I do suggest you have the kids follow along as she does in her video tutorial. 

I also pre-drew the first lines as I knew it would take my kids forever to do it correctly and we had limited time. I would say this project took a lot of patience for my kids to complete but they all completed it in the end and were very happy with their results!
These were about 8" x 8".


Some Grade 4-6 results:


Wednesday, September 20, 2023

Wavy Waves Op Art


Here's a great lesson to add to your Substitute teacher binder!
I found this lesson on the Kids Artists website.

You simply need markers and photocopy paper.
These were completed by my Grade 6 students.  
Great for reinforcing careful colouring with markers as well as value.


Monday, January 24, 2011

Op Art: 3-D Spheres


This is a great lesson for when you have a Substitute teacher as you only need
pencils, rulers and markers.

There are many versions of this lesson floating around the internet~ this is how we did ours:

First, I showed Grade 7 students samples of Op Art- works mainly by Hungarian artist Victor Vasarely, who is widely regarded as the father of the Op Art movement.


Op Art is a style of visual art that makes use of optical illusions. Op art works are abstract, with many of the better known pieces made in only black and white. When the viewer looks at them, the impression is given of movement, hidden images, flashing and vibration, patterns, or alternatively, of swelling or warping.

With students, discuss the idea of creating a 3-dimensional illusion of form
and movement on a sheet of paper.


Victor Vasarely, Vega-Nor, 1969
Trace some circles (2-3 and different sizes) on a sheet of thin white paper. We used the larger size of regular copy paper (11 x 17") but using 8.5 x 11" would take much less time.
We use plastic lids which I hoard ;) to trace for the circles.


Divide the circle down the middle, then add curved lines on either side- this helps give the illusion of form. Do the same thing the opposite way until you have a checkerboard design.
Using a ruler, measure out a checkerboard design for the background. Don't make the squares too small or it will take FOREVER to colour.


So this one below is all ready for colouring. Choose two colour of markers; contrasting colours seem to work best, in my opinion. Now, use your darker colour of marker and  mark a small dot in every second square so you know where to use that colour.

TIP: students should tape together the two colours they are using and label them with their name so they don't get confused next class as to which colour they used. I noticed this was a bit of a problem with this project, especially if students used the class set of markers.


Colour, colour, colour. This is a good project for students to start at the beginning of the year, then keep it in their folder for 'I'm finished, what do I do now?" moments. It can be a bit repetitive to work on this for long periods of time, especially if you use larger paper.


For the last magical step, use a piece of vine charcoal or a charcoal pencil, and outline/shade around one half of the sphere, blending it out with your finger. This helps give the illusion of the sphere 'popping' out of the background.

Ta Da!


Display board courtesy of my teaching assistant (Grade 9 student volunteer).


Tuesday, December 28, 2010

Checkerboard Op Art


This was a lesson I left for my Substitute Teacher when I was away at a conference. It is an introductory Op Art lesson, hence I used it with my Grade 6's. It is fairly easy, anyone can teach it and it uses limited materials (only markers). I found the lesson here on the Incredible Art Deaprtment website and altered it a bit.

To be honest, I thought this lesson would be a bit boring, as it's just so much repetitive coloring.  In the end, some kids did complain a bit (the rushers- heh, heh), but not as much as I expected.  I often ask my students how they are enjoying the project if it's the first time I'm teaching it and they are very honest with me (sometimes too much!) -- it is a good gauge for me whether or not I will do the lesson again. 

With this one, the paper was quite large, so next time I would just use regular 8x10"  (A4) paper. One warning- some of the markers ran out; other kids couldn't remember which colour they used the previous class- something to keep in mind if you teach this.


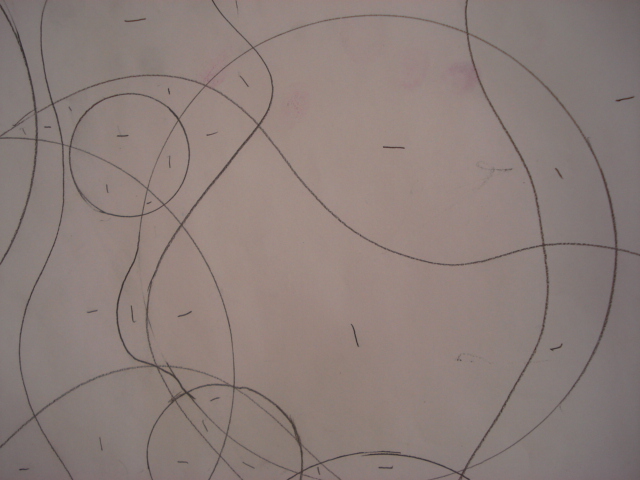
Trace a variety of sizes of circle (we use plastic lids). Draw slightly wavy or straight lines in one direction; rotate the paper and draw some more lines. Don't draw too many lines or it gets too complicated to colour. Mark every other 'section' with a dot- this will be where the darker colour will go. These seem to look best when two very contrasting colors are used.

In-progress

Ta da!


Related Posts Plugin for WordPress, Blogger...