ABOUT THIS BLOG

"A Faithful Attempt" is designed to showcase a variety of K-12 art lessons, the work of my art students, as well as other art-related topics. Projects shown are my take on other art teacher's lessons, lessons found in books or else designed by myself.
Thanks for visiting!
LAND ACKNOWLEDGEMENT I acknowledge, with deep respect, that I am gathered on Treaty 7 territory. I acknowledge the many First Nations, Métis and Inuit whose footsteps have marked these lands for generations. I respect the histories, languages and cultures of all the Indigenous peoples of Canada, whose presence continues to enrich our community.
Showing posts with label Tropical. Show all posts

Wednesday, June 27, 2018

Radial Seascape Watercolours


This was a perfect end of the year project. It didn't take too long to finish,  and it kept the kids engaged. I traced a large circle onto sheets of smooth 8 x 11" cardstock. Students used watercolour and painted it generously with lots of water and paint to create little puddles of pigment. Then they laid plastic wrap over-top. Let these dry overnight and you will be left with a beautiful watery pattern from the plastic wrap.


On a separate sheet of paper, students drew an underwater creature of their choice. 
They coloured them using either watercolour or coloured pencils. Cut out the water circle, then the object and glue it on top. These took about 2- 40 minute period to complete.


Friday, July 28, 2017

Funky Flamingos


This is one of my all-time favourite projects to do with my Grade 4's. The results are always colourful and fun and the flamingos are so charming to look at.
We start the project by doing the background seascape first. On heavy white paper, they use either tempera cakes or watercolours to paint a simple three level seascape: sand, ocean and sky. 
This takes one class.
Next class, I start off my showing a Youtube video about fun flamingo facts. 
Then, using photo reference material. students each do one practice drawing of a flamingo. 
Then, on heavy white paper, they draw their good copy, outline in Sharpie and paint it using tempera. I give them red and white to mix their own shade of pink as flamingos 
come in varying colours of pink/coral.


Once dry, some students need to touch up their flamingos with Sharpie again. They choose a pink tail feather and have the option of using a sticker googly eye. I have virtually given up on using regular googly eyes as I have never found a glue to keep them on!! Any tips from art teachers out there? 
Finally, they cut out their flamingo, glue stick it to their background paper and bring it to me so I can hot glue on their tail feather. 


Some Grade 4 results:


Sunday, September 14, 2014

Big Puffy Fish


Another school year underway! 
I have tons of photos of new projects- just need to find the time to start editing them all! The first couple weeks back is always such a crazy busy time as teachers and students all know!!

First up: Big Puffy Fish created by Grade 4/5 students. I have a new display mini-room attached to my art room, so wanted to fill it with a 3D project. I used large sheets of white paper from a big paper roll (the kind schools have to cover bulletin boards, etc)  I pulled off a long sheet, and folded it in half. I did this for each student. They each ended up with a folded piece of paper about 24" wide or so. We looked at pictures of different types of fish, They could choose to do a realistic one or create a fantasy one. Then, on one side of their folded paper, they drew their fish- really big. Then, they traced over the lines with a black wax crayon. They then took this drawing, and held it up to a window, and traced the design onto the other side. So then we had a perfect two-sided fish.

They added first accent lines with oil pastels, then used tempera paint (in the puck/disc style) to paint the fish. One class we painted one side, then the second class the other side. Once each fish was dry, students did what I call a 'bubble cut' around their fish, meaning they left a 1" border of white paper around the edges. I stapled all around this, leaving a bit of space for stuffing. Students stuffed their fish using paper towels. Then I stapled them shut, punched a hole at the top, and the kids tied a long piece of yarn through the hole for hanging purposes.


Here's the first drawing stage with the black wax crayon...


One side painted and drying....


Finished works- had to photograph them on the floor because they were so big!


side view to capture the 3D effect


Sunday, July 13, 2014

Inside-Out Seascapes


This is a great lesson I found in a 2007 edition of "Arts & Activities" magazine. It was created by Art Teacher Judy Kalil from Florida. It's a seascape lesson with a twist- the seascape is inside the underwater creature's body, so it's super fun and imaginative for students!

I've done this lesson both as a watercolor and with colored pencils (perfect for a sub lesson). 

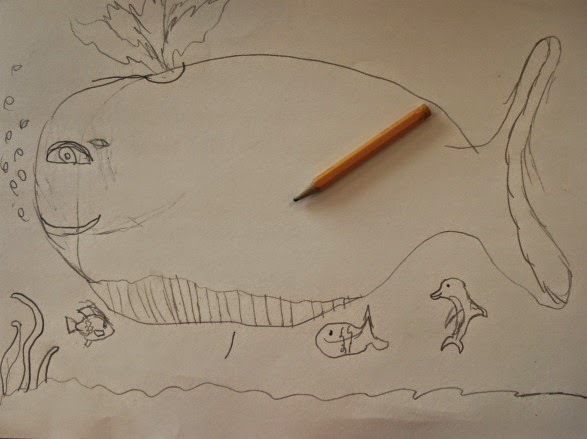
So students started off by researching and choosing an underwater creature to draw. Fish are more or less the simplest and most popular, but you can also look at whales, sharks, octopuses, etc.
Draw the main outline/shape of the body. Don't add any details inside the body other than an eye and a mouth. Draw some sand along the bottom of the ocean and a few little seascape-y accessories.


Inside the body, draw the main details of the seascape. We brainstormed ideas of what one might find in a seascape (boats, pirate ships, islands, palm trees, coral, etc.) to help give a starting point.


Once the drawing is complete, outline everything with a permanent black marker/pen.


Next class period: crack open the watercolors! 
We painted the inside seascape first and then the background last. 


Completed watercolor examples:


Colored pencil examples:


Related Posts Plugin for WordPress, Blogger...