ABOUT THIS BLOG

"A Faithful Attempt" is designed to showcase a variety of K-12 art lessons, the work of my art students, as well as other art-related topics. Projects shown are my take on other art teacher's lessons, lessons found in books or else designed by myself.
Thanks for visiting!
LAND ACKNOWLEDGEMENT I acknowledge, with deep respect, that I am gathered on Treaty 7 territory. I acknowledge the many First Nations, Métis and Inuit whose footsteps have marked these lands for generations. I respect the histories, languages and cultures of all the Indigenous peoples of Canada, whose presence continues to enrich our community.
Showing posts with label printmaking. Show all posts

Friday, October 27, 2023

Kasuma Pumpkin Prints


For this Halloween themed project, Grade 4-6 students looked at the work of the "Princess of Polka Dots", Yayoi Kasuma. She lives and works in Japan.

For Yayoi Kusama, pumpkins have been a lifelong source of fascination. She was first drawn to them in childhood, citing their “generous unpretentiousness” and “spiritual balance,” and has explored them continually in her painting, sculpture, installation art, and poetry. They first appeared in her work in the 1940s and have been the subject of some of the most important works of her career. Today, polka-dotted pumpkins are synonymous with the artist and her idiosyncratic style.


Students started off by drawing a realistic pumpkin with segments. 


Then outline it in Sharpie and create the Kasuma dot pattern within each segment. 
Start large, then medium, then small.


Once it's all dotted in, cut a sheet of tin foil the same size as the paper.
Using bingo daubers, draw a pattern all over the tin foil. Spray it with a water bottle to wet the whole sheet of foil.  Then press the pumpkin drawing face down onto the wet tin foil. Rib the back gently and them lift to reveal the colourful print!


Some completed Grade 4,5,6 artwork!


Wednesday, August 23, 2023

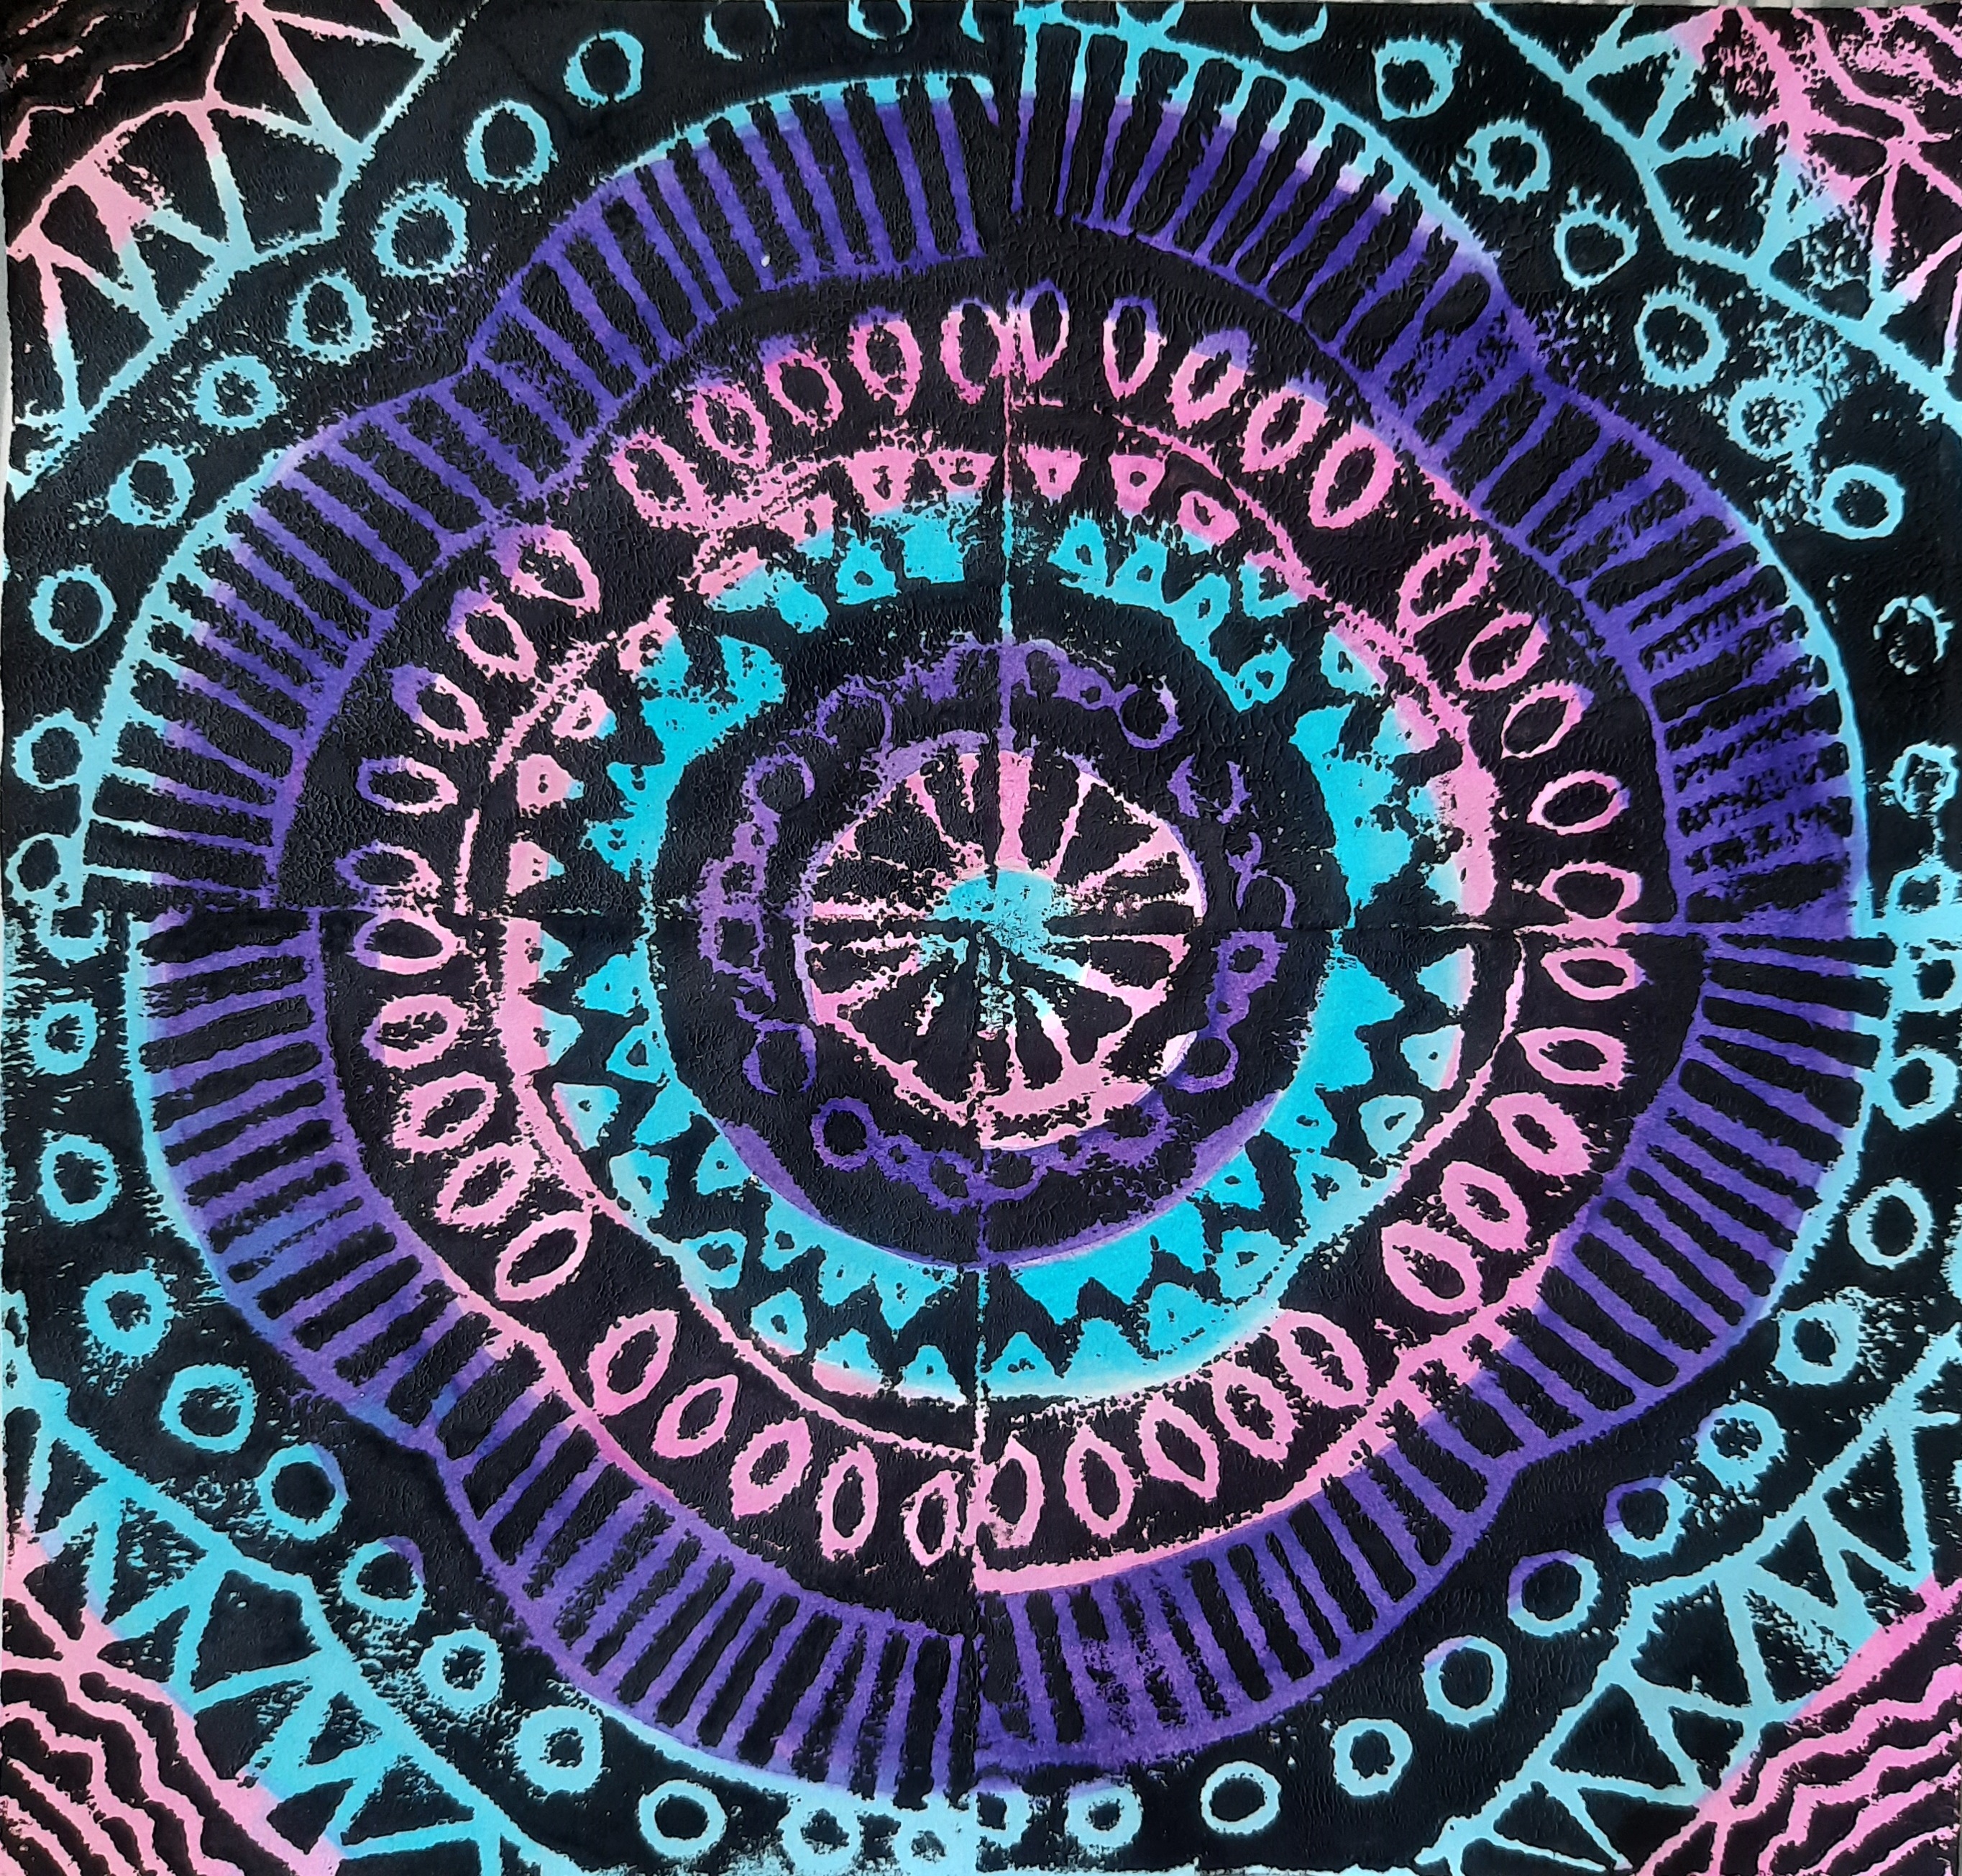
Radial Symmetry Printmaking


This is a gorgeous styro print project I saw online HERE a few years ago. I finally got around to teaching it this past year. Let me tell you- the struggle was REAL!  This took forever to complete and many of my students got frustrated. There's a large amount of unpredictability in this lesson and my perfectionists really struggled with getting 'perfect' prints. Nonetheless, it pushed us out of our comfort zones and they learned a lot about printmaking with this project. 

I did this lesson with a mixed group of Grade 7-9 students. I don't know how teachers do this with elementary aged students!!

I followed the directions posted HERE. They are great!

So the lesson involves quite aa bit of prep in terms of cutting your styrofoam into perfect squares, then cutting heavy white paper into a larger square that will fit 4 prints. Thank you rulers and paper cutter.

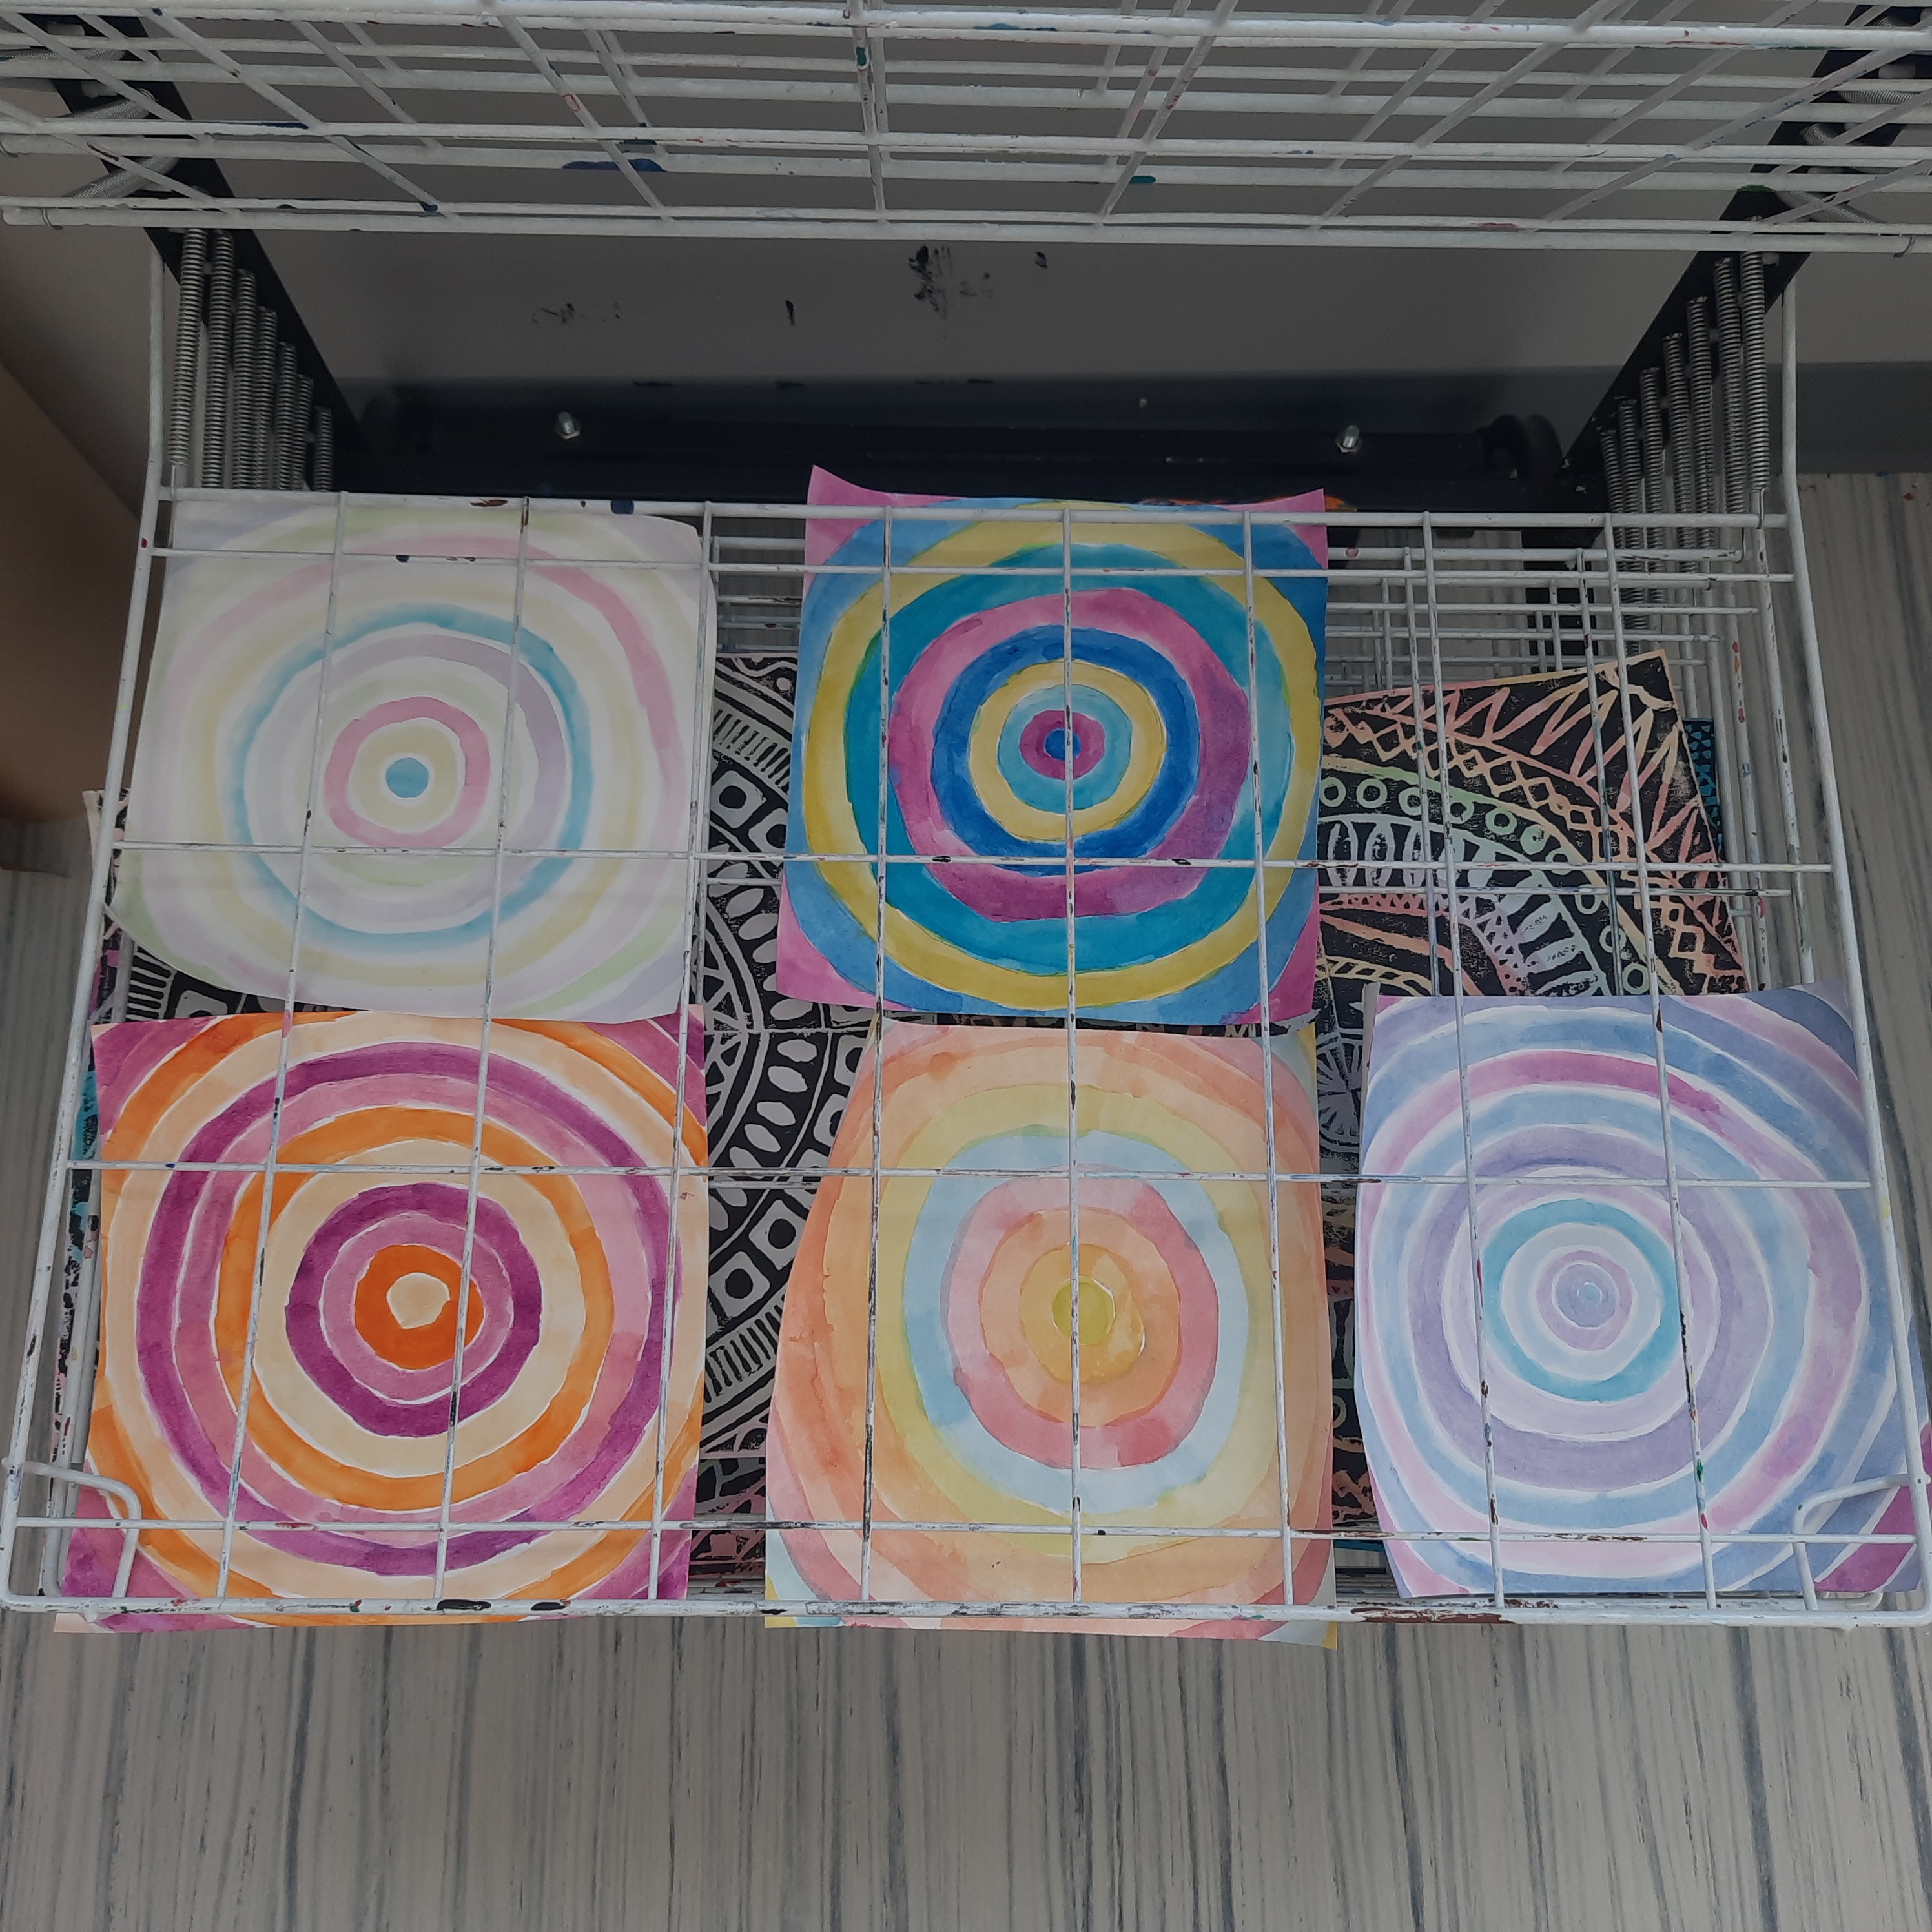
The first class students painted radial circles on their white paper using watercolour. You can basically use any medium for the background colour. Let dry.


Then students draw their design on white copy paper the same size as their styrofoam square. Tape the paper design on top and press through with a dull pencil to transfer the design. Press down entire areas; this will allow more of the background colour to show through once printed.


Students made a couple of practice prints and then printed on their good copy. It was stressful, lol
Getting the right amount of ink on the brayer was the hardest part by far. 
Use printing ink- it works the best.


Make sure to draw the arrow pointing to the center of your design, otherwise the radial part doesn't work!  Some students messed this up. 


Here's an example of when the print is incorrectly placed. They just had to continue this pattern to make it symmetrical. Not the end of the world but yeah.


Some finished prints:  Grade 7.8.9


Sunday, July 30, 2023

Cyanotype Printing


Summer holidays is when I get the chance (and energy!) to take some art workshops. I'm lucky to live in a large city which has a couple of galleries that offer FREE workshops. 

This was a great cyanotype workshop I took one afternoon. It was actually for kids and their parents. I don't have kids so took (forced) my *somewhat* willing niece, lol. 

They provided all the supplies and great instruction.

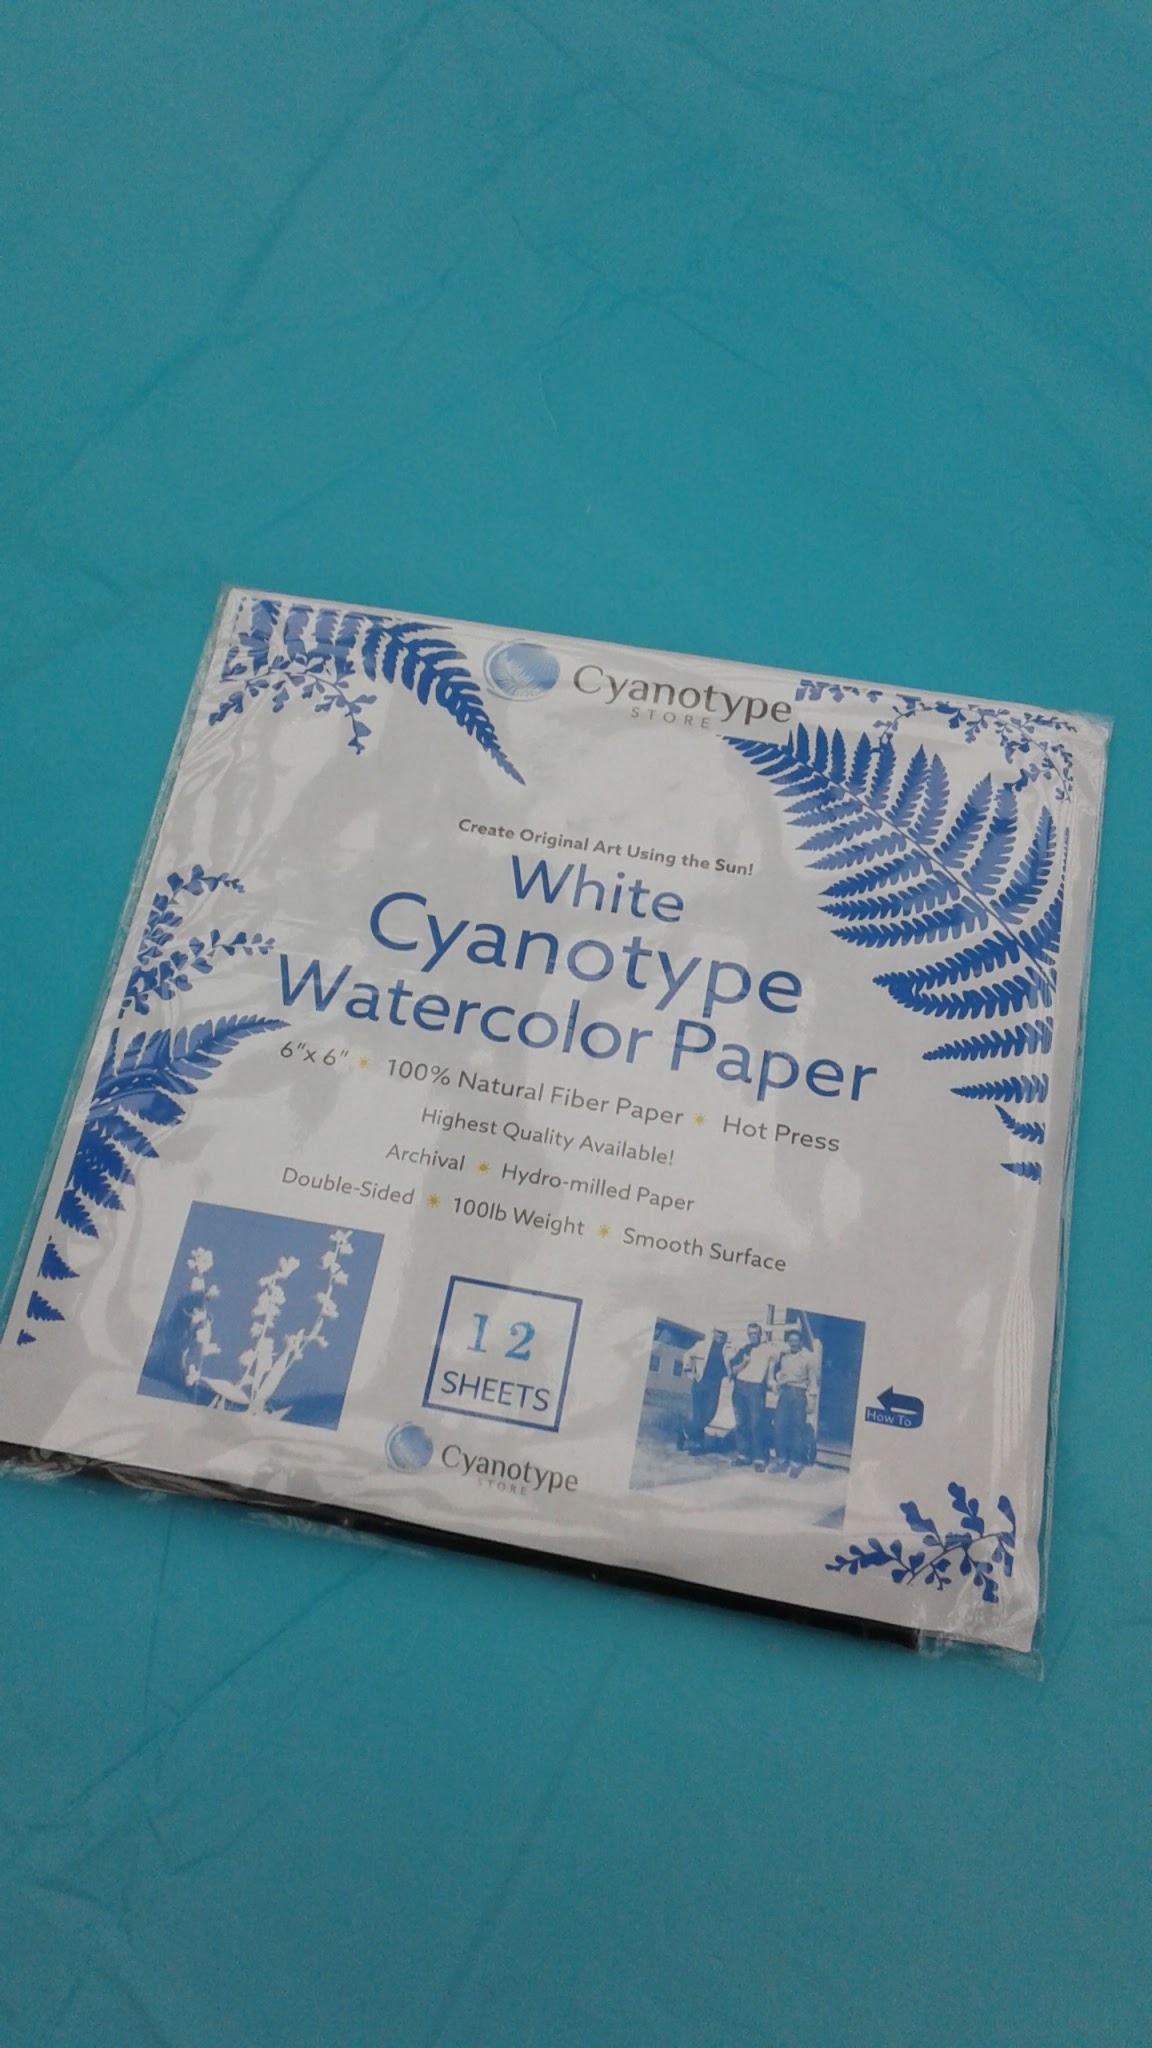
They used pre-bought cyanotype paper. I can't wait to buy my own chemicals so I can paint it onto watercolour paper to get that cool jagged rough painted edge.

The process involves mixing two chemicals: potassium ferricyanide and ammonium citrate to create a photosensitive solution. This is then applied straight after mixing to an absorbent surface (paper, fabric).
But this pre-painted paper is convenient for classroom use for sure. 


Traditional cyanotype is a camera-less photographic process that produces beautiful Prussian blue prints. This process was discovered by Sir John Hercshel in 1842, and was used as a means of reproducing drawings and diagrams (blueprints).

In the mid-nineteenth century, artist and botanist, Anna Atkins brought the process to the attention and imagination of the public when she produced a series of cyanotype prints of seaweeds. She placed the algae specimens directly on to photosensitised paper creating a silhouette effect, known as a photogram.


They started with a slideshow showing examples from contemporary artists. The creative possibilities of objects that they used was amazing!!


We were shown all the objects we could use for our print. They encouraged the use of transparent glass pieces, seen below. These were convenient because they were heavy, and would not blow away in the wind (my city is VERY windy). Otherwise, for the typical botanical and feather prints, you each need to have a piece of glass to put over your print so the pieces don't fly away. 


On the back of our paper, we were told to write the exposure time down- this would show us how to get the richest blues. Go from 5 min to 10 min. This was full summer sun. 


Place your paper on cardboard (so you can carry it easily outside) and put your glass pieces on top however you want. 


Place in full sun and set your timer.


Bring back inside, remove the glass pieces and then place in a water bath.
They also had a bin filled with diluted hydrogen peroxide- this really speeds up the process.


So they had two bins below- one with water and then hydrogen peroxide. I forget the ratios unfortunately. 


Then leave your print to dry on newspaper. Overall a really cool and fun art project!


Related Posts Plugin for WordPress, Blogger...