This is a really cool low-bas relief project that I based on Mexican milagros. I posted about this previously HERE.
You need: thin cardboard scraps, cardboard for a base (cereal boxes, scrap mat board, etc), good quality scissors that can cut cardboard, white glue, black issue paper, metallic wax crayons (paper removed).
So I save cereal boxes from home and collect 'good' cardboard throughout the year and keep it in a big box. I also get scrap mat board donated from a framing store. I pre-cut all the cereal boxes into nice clean rectangles using my large paper cutter.
Students started off by sketching a design of something they like. The need to include the word- it can be in any language. Start by gluing a slightly smaller thin piece of cardboard onto a larger one. This will rete a border. Students will then cut out all their shapes for their design. They need to think in terms of 'layers'. I encourage them to have 4 layers (including the border). Glue all the pieces down with white glue. Let dry overnight.


I need to then flatten these all overnight as they warp pretty badly. I just stack a bunch of heavy board and books on top.
Then the students cut a sheet of black tissue paper about an inch larger than their design and crumple it up (gently) to create texture. Then they cover their whole cardboard design with a thin layer of white glue. They paint this on using old paintbrushes. Lay the black tissue on top and carefully pat it all around the shapes using another dry paintbrush. Work from the center outwards.
Be slow and gentle because the paper can tear!


Wrap the excess around the back and glue down.


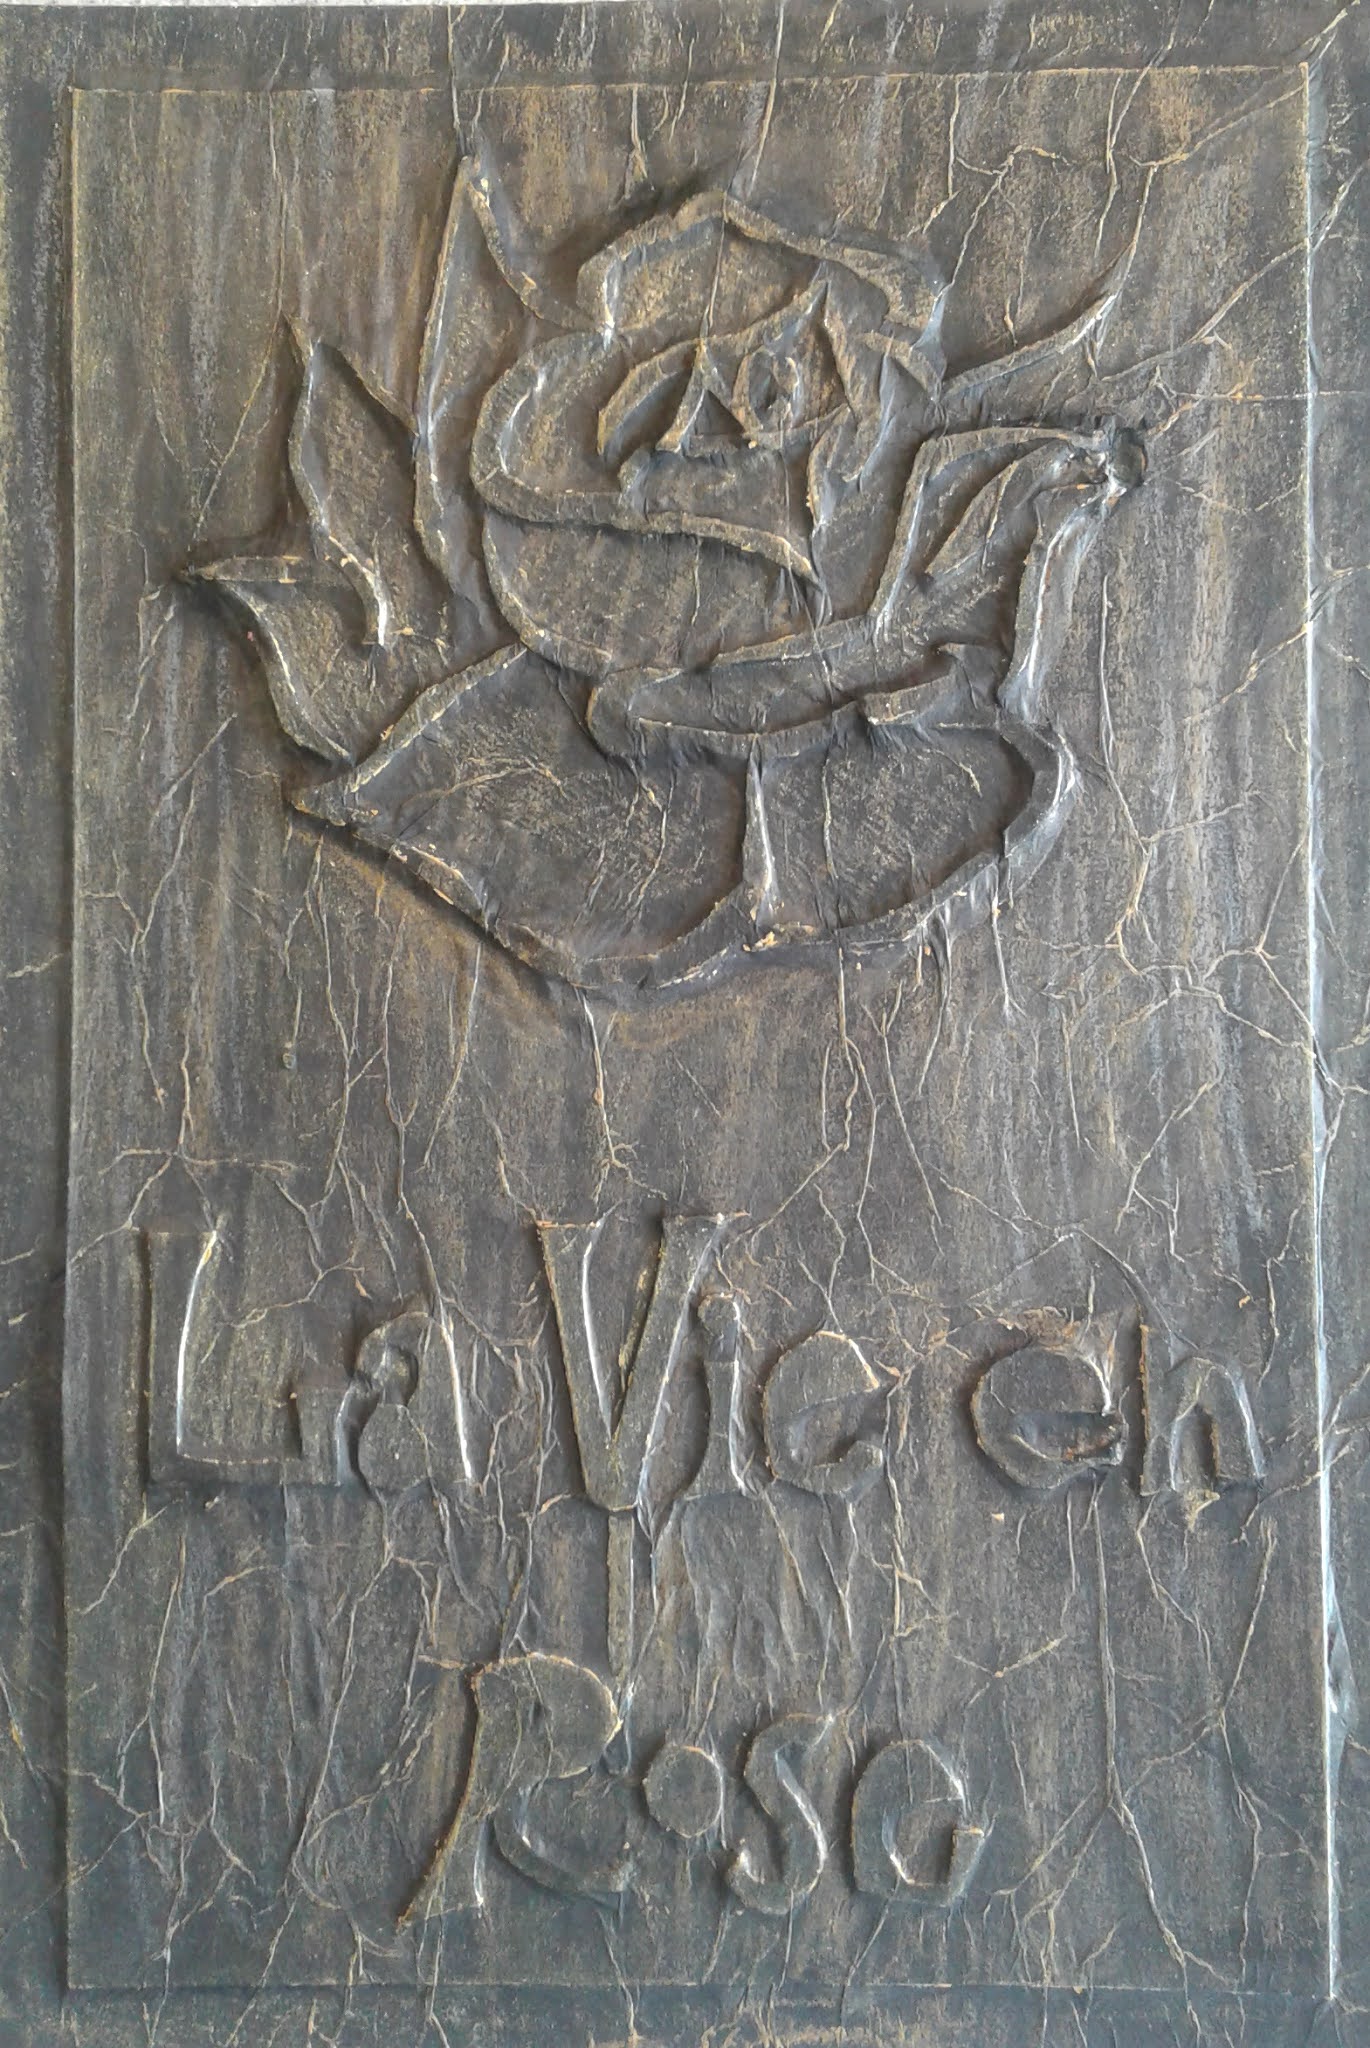
Then, using the side of a metallic wax crayon, rub over the entire design and this will really highlight the design and make it 'pop. It also makes it look liked aged metal like tarnished silver or pewter.

Some Grade 7 - 9 finished artworks:


No comments:
Post a Comment