ABOUT THIS BLOG

"A Faithful Attempt" is designed to showcase a variety of K-12 art lessons, the work of my art students, as well as other art-related topics. Projects shown are my take on other art teacher's lessons, lessons found in books or else designed by myself.
Thanks for visiting!
LAND ACKNOWLEDGEMENT I acknowledge, with deep respect, that I am gathered on Treaty 7 territory. I acknowledge the many First Nations, Métis and Inuit whose footsteps have marked these lands for generations. I respect the histories, languages and cultures of all the Indigenous peoples of Canada, whose presence continues to enrich our community.

Friday, January 13, 2023

Heart Notans


Nōtan (濃淡) is a Japanese design concept involving the play and placement of light and dark elements as they are placed next to the other in the composition of art. This use of light and dark translates shape and form into flat shapes on a two-dimensional surface. Nōtan is traditionally presented in paint, ink, or cut paper, but it is relevant to a host of modern-day image-making techniques, such as lithography in printmaking, and rotoscoping in animation.

We can also look at it in terms of positive and negative space.
These were created by junior high students.
The biggest challenge is keeping track of all the small pieces and not losing them! 

They create a large heart shape from coloured paper. Then they cut out shapes from the edges and flip them over and glue them in a mirror image outside of the heart shape. 

I found the idea for the project HERE on the Apex Elementary Art blog.


Some finished notans: 


Monday, January 9, 2023

Modigliani- Style Portrait Paintings


This is one of my all time favorite lessons to teach to my junior high (Grade 7-9) students. 
I get so excited for the new results every time I teach it. 

You can see my previous posts on this lesson HERE and HERE.

It's inspired by one of my favourite artists, Amedeo Modigliani (1884-1920). He is known for portraits and nudes in a modern style characterized by elongation of faces, necks, and figures that were not received well during his lifetime but later found acceptance and now sell in the millions at auction. 


Students start by sketching their portrait on heavyweight white paper. I provided lots of calendar photos for them to reference Modigliani's style. 


Then they paint the skin with tempera.


Then move onto the hair and clothing and background.


Once everything is painted, they outline all their pencil lines with a charcoal pencil and blend it out for a soft shaded effect.


Some Grade 7-9 finished pieces


Monday, January 2, 2023

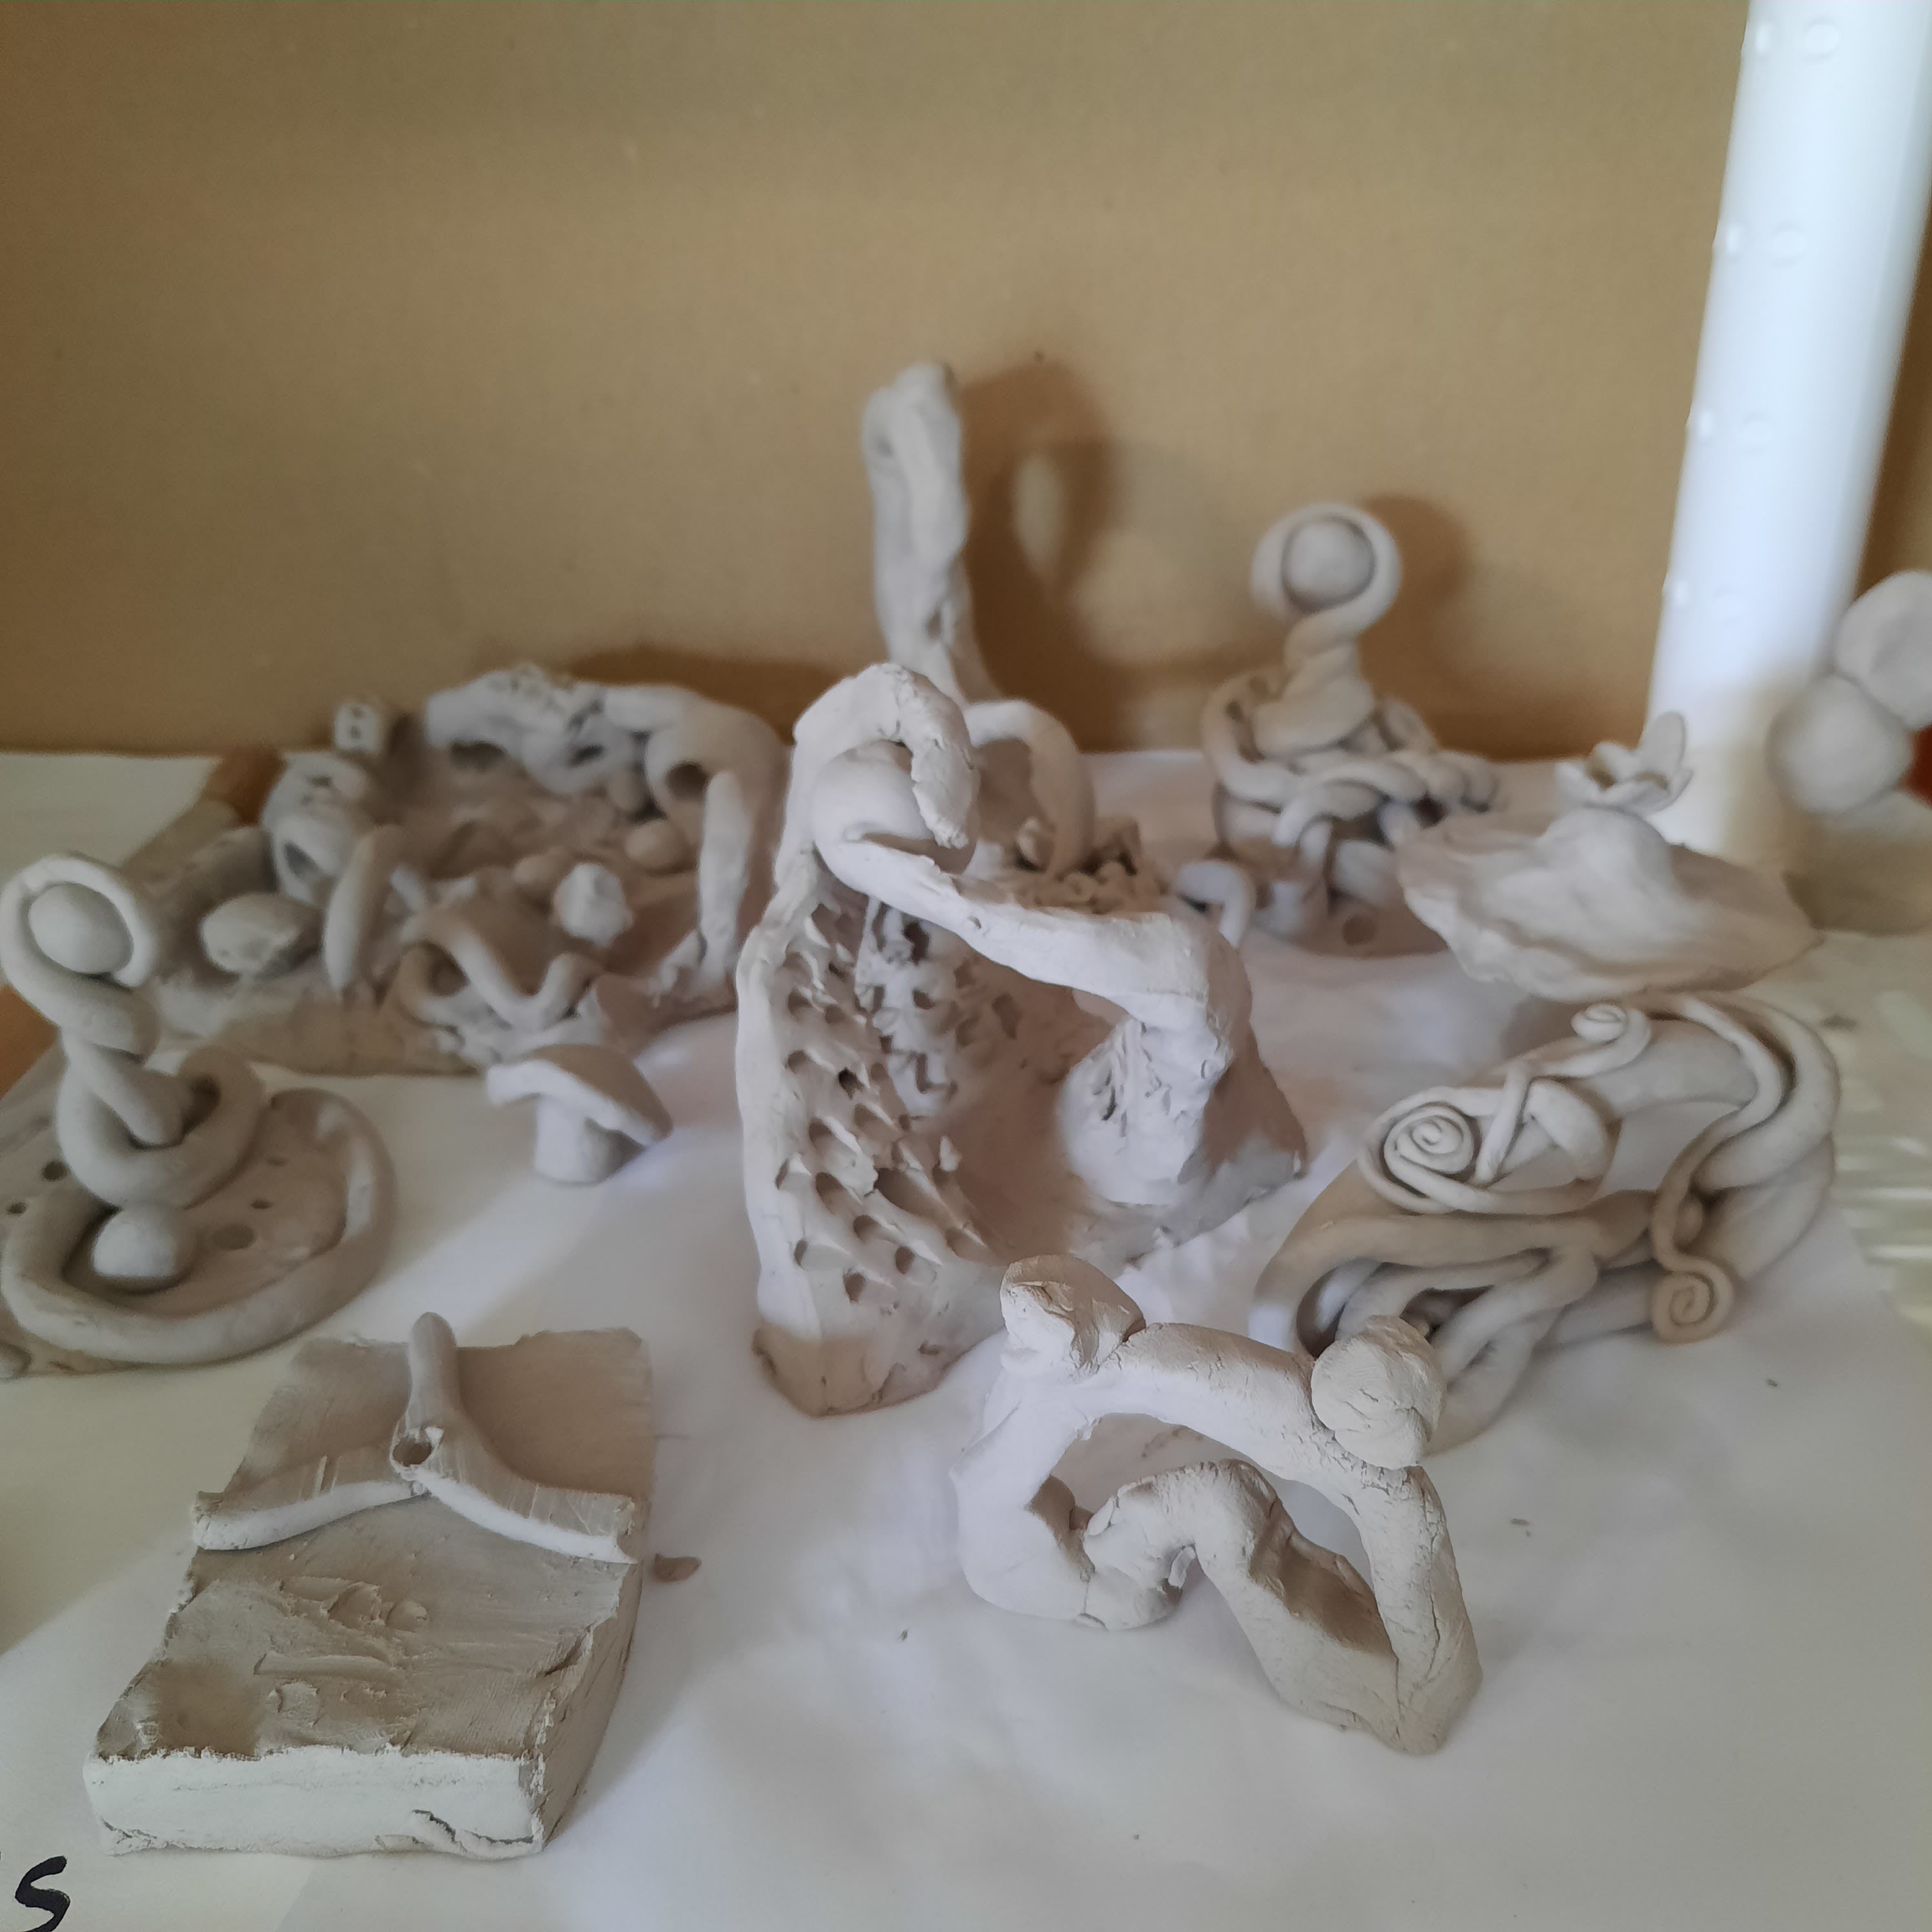
Abstract Air Dry Clay Sculptures


This is a wonderful abstract lesson I saw posted on a high school art teachers Facebook group I belong to. The challenge was to create an abstracted sculpture that represents the students' soul/essence through form and colour. In the original lesson, the teacher used Amaco brand air dry clay. I just used this argile clay I found that the Dollar store and it worked well. Each student got one packet. 
This was taught to a mixed Grade 7,8,9 class.


These are some of the tools I provided- all free stuff I gather from restaurants.


Students work with their clay on tar/roof paper. I bought a roll from the hardware store for a painting project once and have SO much left over!  I read somewhere it works great as placemats for clay work and it's true!

I start off with a slideshow showing some examples of simple modern abstract sculptures- in particular, English artist Barbara Hepworth. In 1931, Hepworth was the first to sculpt the pierced figures that are characteristic of both her own work and, later, that of Henry Moore.


So students got to work sculpting- they had one 80 minute period to create these all in one go. They were encouraged not to have any thin or tiny parts, as they would just be too fragile once dry. 
We always have some pieces that break off, but most are easily mendable with glue.


Once sculpted, leave to dry for at least a day or so.


When I see the class a week later, they start painting their mini sculptures with acrylic paint. I encourage them to mix colours and do nice blending. 


Once painted and dry, we varnish them with a glossy water based varnish 
for both shine and protection. 


I did this project at the end of June last year, so it was a bit of a mad rush to get them completed. 
Misjudged my timeline as always- June is always a write off and I forget that every year, 

So I only managed to photograph two finished ones!
See my previous post on this project HERE,


Thursday, December 29, 2022

Drawing on the Right Side of the Brain Exercises


Millions of people around the world have learned to draw using the methods outlined in Dr. Betty Edwards’s groundbreaking book Drawing on the Right Side of the Brain. Betty Edwards (born 1926 in San Francisco, California) is an American art teacher.

Edwards's method of drawing and teaching was revolutionary when she published it in 1979. It received an immediate positive response, and is now widely accepted by artists, teachers, and others around the world. Underlying the method is the notion that the brain has two ways of perceiving and processing reality – one verbal and analytic, the other visual and perceptual. Edwards' method advocates suppressing the former in favor of the latter. It focuses on disregarding preconceived notions of what the drawn object should look like, and on individually "seeing". Drawing, says Edwards, has five component skills of perception and drawing:

Edges and lines (includes copying drawings and contour drawing exercises)
Negative space (i.e. space between items)
Relationships (i.e. perspective and proportion between things)
Light and shadows (shading)
The whole: gestalt which emerges as the first four are taught 

I bought the workbook as I was interested to see if I could use these methods to teach my students. 
We did the following exercises and I was really surprised at how well they turned out!  
This was Grades 7-9 students. 


One exercise is a simple observational drawing of the hand holding an object. 
First they used a black marker:


Then in pencil


Chair drawing
FOCUS: Understanding Relationships: Positive and Negative Spaces:

Try it! https://www.youtube.com/watch?v=ybS_GreHWm4&ab_channel=LeviJones


Exercise One: Drawing Upside Down

One of the exercises in Betty Edwards' wonderful book Drawing on the Right Side of the Brain is to copy a sketch of Picasso's "Portrait of Igor Stravinsky" but draw it upside down. The point of the exercise is to draw what we actually see and to discourage us from om focusing on recognizable shapes that our brain interprets from its stored concept of that shape. 

Before you can draw accurately, you have to observe accurately.

One of Ms. Edwards’ teaching methods is to simply flip a picture upside down.

This creates a minor disruption in our left brain’s ability to insert assumptions, “OH THAT’S A FACE!" and we’re more apt to actually SEE the shapes in front of us. And tah dah! Students draw with more accuracy.
These were all drawn upside down!


Another upside down drawing exercise:
https://www.youtube.com/watch?v=8h8xttOtmPo&ab_channel=LeviJones

"Man Reading the Bible" by Van Gogh


Related Posts Plugin for WordPress, Blogger...