
This plaster sculpture project is one of my all time favourite high school art lesson- the students love it to0. I've taught it a number of times and results keep getting more an more creative each time. By the end of this lesson, students are masters at using plaster.
The initial lesson came from an article I read years ago entitled: "Revealing the Hopes of Adolescents through the Art of Tattoos" by Michael Gerrish. I can no longer find it online. But you can find some lesson plan references and other plaster adaptations HERE.
You need: plaster gauze, acrylic paints, petroleum jelly, water, scissors
*I usually cover the tables with bulletin board paper as this can get messy/dusty.

Students start by pre cutting the plaster into manageable strips. They coat their hand/arm with either petroleum jelly or plastic wrap (most choose petroleum jelly).

They have to do a sketch which shows their overall plan- hand pose and tattoo design.
Their tattoo needs to incorporate designs/symbols/imagery which expresses
their past, present and future.

Then they layer on the strips dipped in water- massage gently to activate the plaster. Overlap strips slightly. Two layers is usually sufficient for strength.
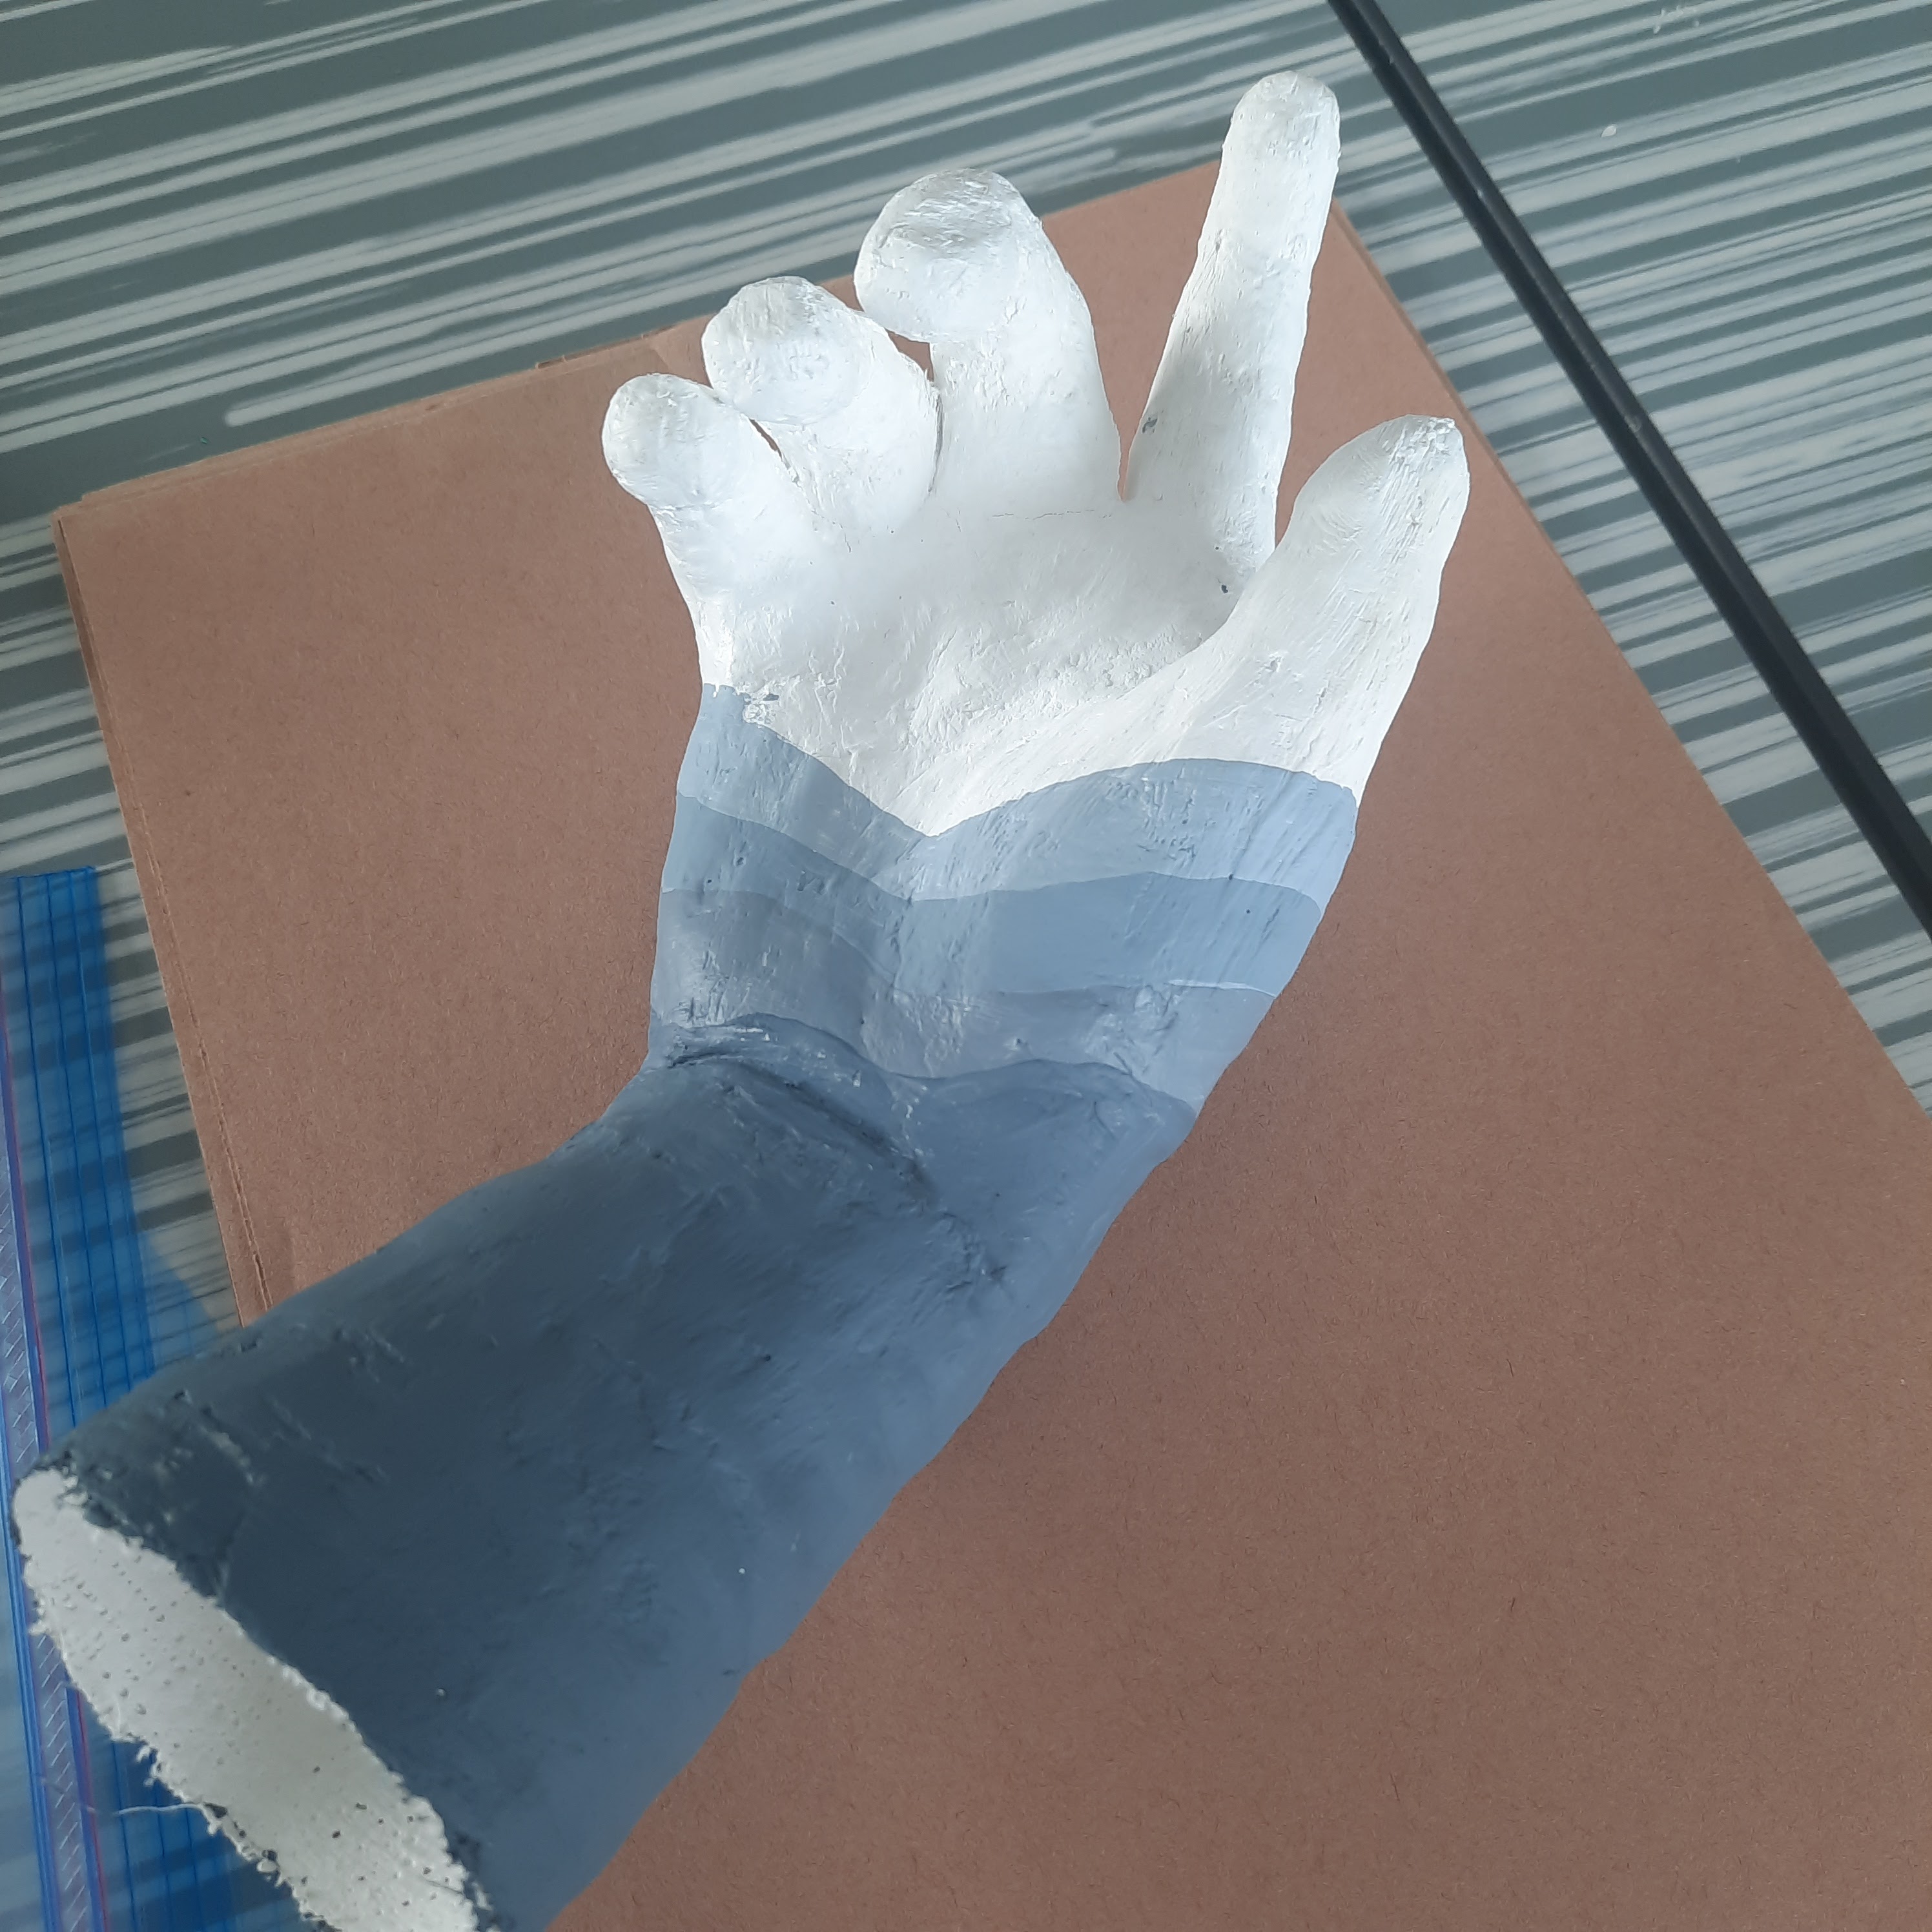
Most opt to do a full hand cast- it's tricky- you cast the palm first, then the individual fingers. Once dry, you attach them all together.


Some choose to do full arms - cut those off carefully!


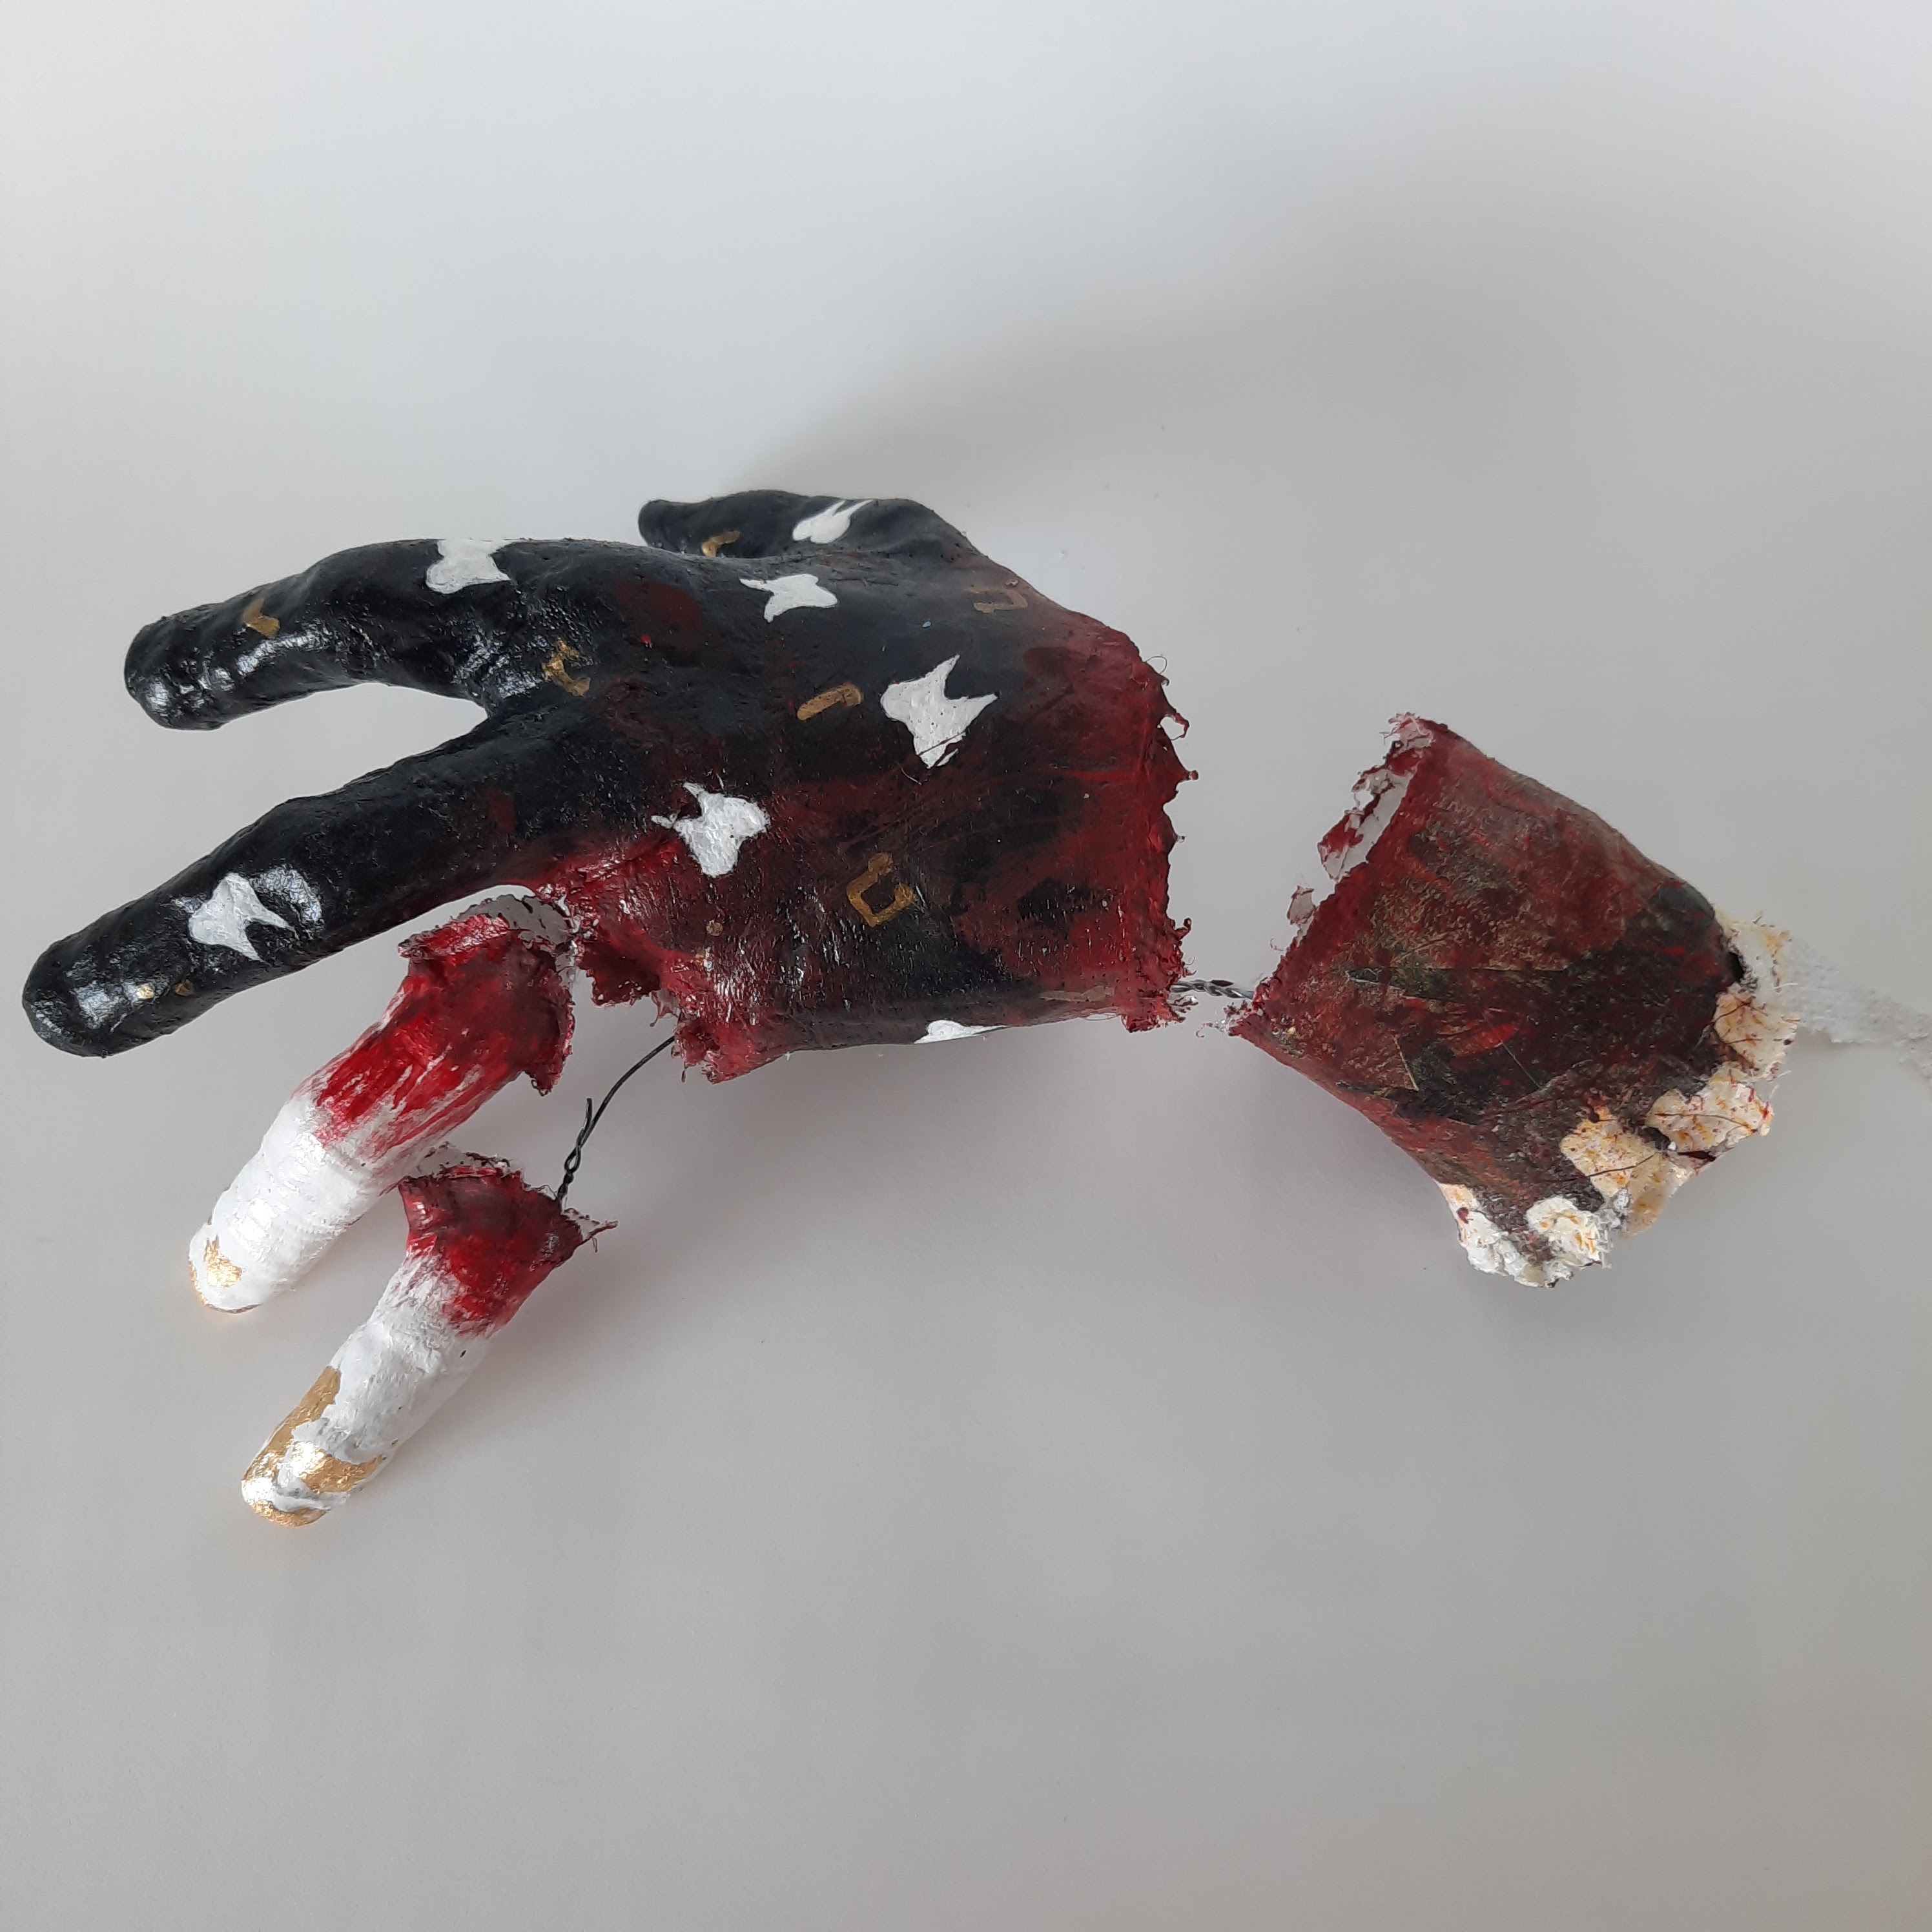
There's always one student who chooses to cast their whole hand in one go- it usually never ends well as you can see below! But some do!


Once dry and nice and solid, it's time to paint. At this point, a lot of my students like the sand down their sculptures with sandpaper. They tend to prefer a really smooth surface on which to paint.

This student made a test piece to see if he could do a pencil design as he strongly disliked paint.

Painting with a fine detail brush below.


Most students stick with acrylic paints. Many choose to add other materials such as wire, hot gluing on decorative items, adding a wooden base, etc.

Love this one and how carefully the student set it up to dry, lol.


This students chose to do a full chest cast as well as arms.

Fine detail work with a micron pen.

Base coat below.
Some finished sculptures- these are Grade 10, 11 and 12 students. I love how these turned out. Students also submit a write-up explaining their designs- they are very powerful to read.


Media: pencil and India ink


3 comments:
Wow ! Some are very talented and creative. Well done to them and of course to yoo.
Teacher form France
Merci beaucoup Anne-Lorraine :)
This is a really cool lesson idea! I think I found the article you mentioned. It is in a pdf file with other education and art education-based texts on page 48.
https://eric.ed.gov/?id=ED401678
Post a Comment