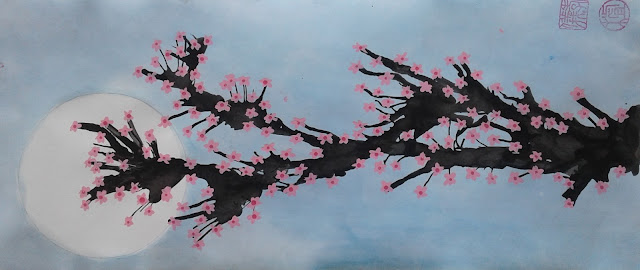
This cherry blossom painting lesson is one of the most popular on my blog according to my stats and hits from Pinterest!
There are a few steps so definitely plan for some drying time in between layers. You'll need watercolours for the background blue sky and then tempera or acrylic for the branch and blossoms.
See my original post with more photos of the process HERE.
I cut long pieces of thick white paper ahead of time. Basically cut posterboard in half or so. Use a plastic container and hold it down on one end and paint all around it with blue watercolour (or watered down tempera paint). This will create the full moon. Let the sky dry.
Then water down some brown tempera to an ink-like consistency. Blob some on the end opposite the moon and then, using a straw, blow the paint across the paper to create an organic looking branch. Let dry. then use pink or purple tempera to create tiny flower blossoms all over the branch with a small round brush.
Some Grade 7-9 results!
These look absolutely gorgeous hung together and get a lot of
positive comments from staff and parents.


No comments:
Post a Comment