ABOUT THIS BLOG

"A Faithful Attempt" is designed to showcase a variety of K-12 art lessons, the work of my art students, as well as other art-related topics. Projects shown are my take on other art teacher's lessons, lessons found in books or else designed by myself.
Thanks for visiting!
LAND ACKNOWLEDGEMENT I acknowledge, with deep respect, that I am gathered on Treaty 7 territory. I acknowledge the many First Nations, Métis and Inuit whose footsteps have marked these lands for generations. I respect the histories, languages and cultures of all the Indigenous peoples of Canada, whose presence continues to enrich our community.

Friday, February 22, 2013

Chinese New Year Inspired Spiral Swirly Snake


This is a somewhat late posting of a Chinese New Year art project I did with Grade 1 students. 
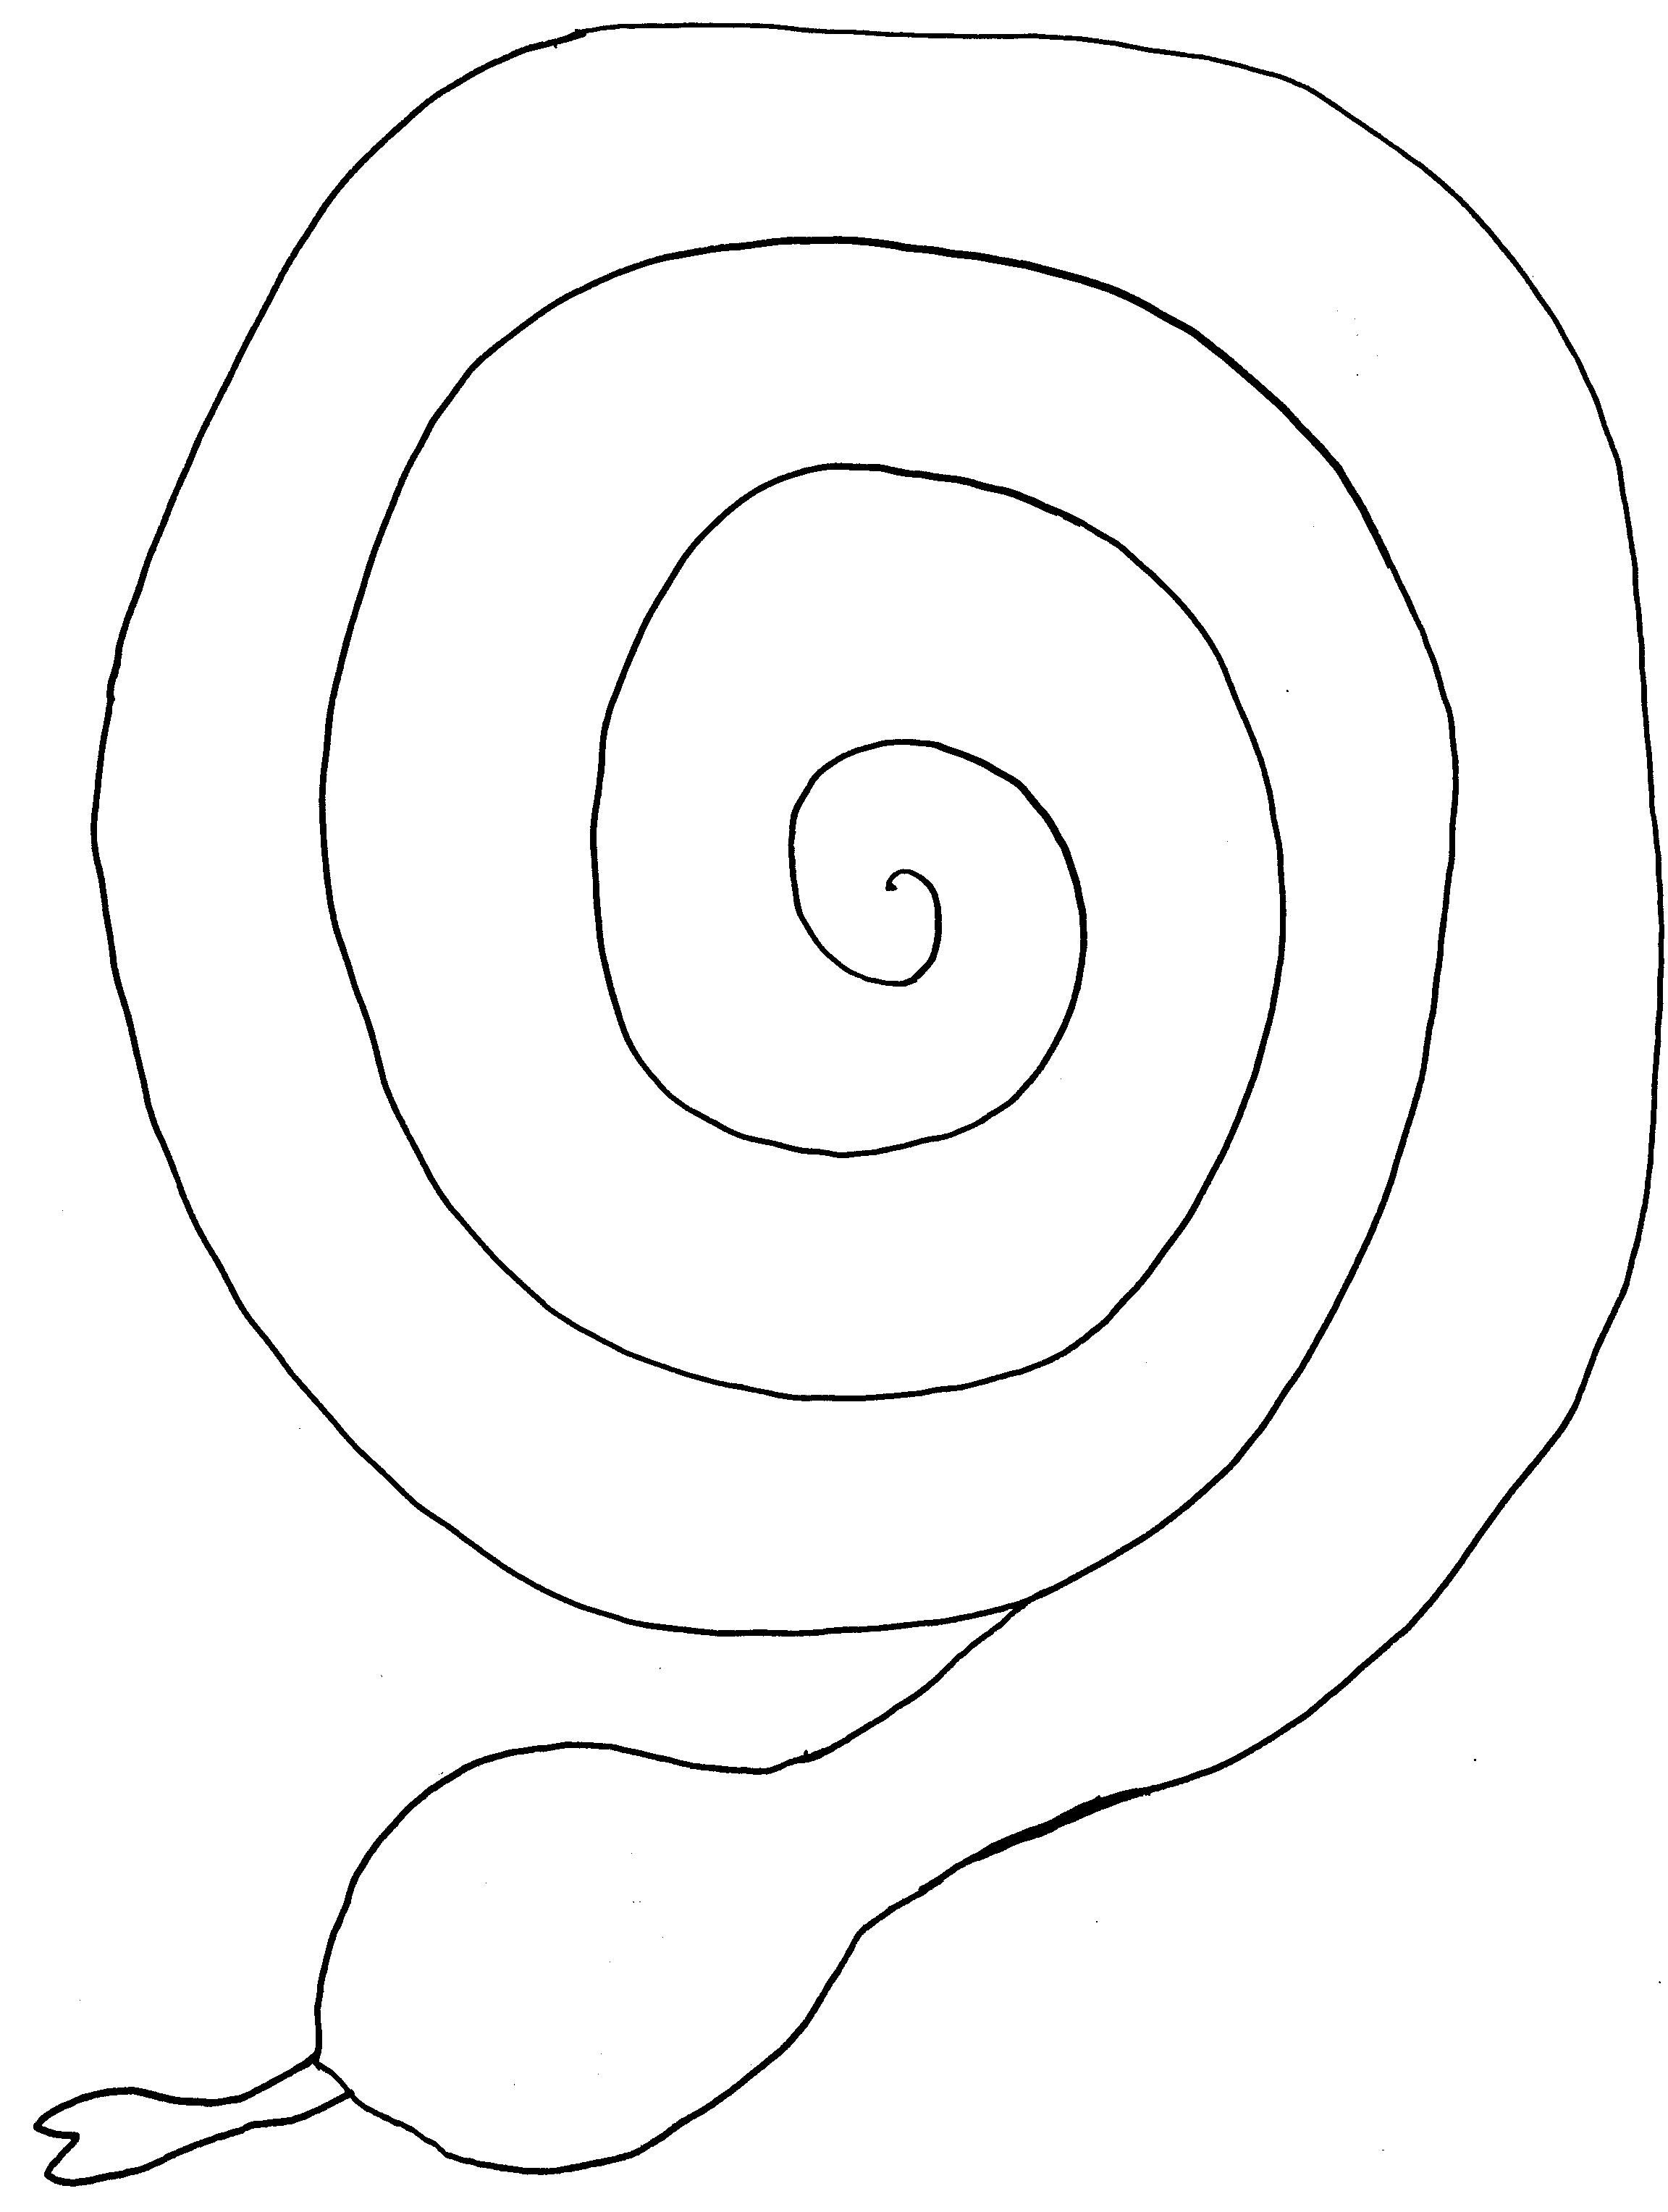
2013 is the Year of the Snake so I immediately thought of the classic spiral snake craft and thought it would be manageable for Gr.1 kids.

Start off by showing the kids some images from Chinese New Year celebrations: the dragon and lion dances, the red lanterns, fireworks, etc. I also told them about the traditional colours used- most notably RED, which is considered a lucky and prosperous colour. 
Other colours commonly seen during this time are yellow and orange.

To start the project, each kid was given a blank spiral snake template which was double sided with the snake pattern on both sides. There are loads of different templates on the internet; I tried out a bunch beforehand and really liked this one from from The Lunchbox Season website.

Next time I would photocopy these onto cardstock as they would just end up being sturdier. Nonetheless, basic copy paper does work. Students coloured theirs using markers, but you could also paint them, or whatever you want, really. We talked about patterns and different ways we could colour the snakes to make them look interesting.


Once one side is coloured, flip over the paper and colour the back side as well, as both sides will be visible once the snakes are hung up. Allow about two classes for this whole colouring process. Then students simply cut them out following the black line. Add googly eyes or draw them on with a marker.


Here are some finished ones:


For hanging, I started off by poking a hole in the tail, then threaded yarn through it and after about 5 minutes of tediousness (and realizing I had to do 25 of these) I figured I needed an easier and faster way!! lol
So I cut pipe cleaners in half and found they were much easier and faster to thread through a hole in the tail, twist and voila, you have a hanging hook/loop thingy.


Here's one hung up. If there's a slight breeze in the room, they twirl around really slowly 
and are quite relaxing to look at! 


Saturday, February 2, 2013

Cave Art Paintings


Here is one of my favourite lessons: Cave Art. These were created by 6th grade students. 

 We looked at the famous Caves of Lascaux, in France and watched a Youtube video about them.
 These paintings are estimated to be 17,300 years old. They consist mostly of primitive images of large animals, most of which are known from fossil evidence to have lived 
in the area at the time. The images include bison, bulls, horses, mammoths, etc. 


The caves were discovered by chance in 1941 by French teenager Marcel Ravidat, and his three friends. They found a hole in the ground while exploring a forest and Marcel  climbed down into it- this tunnel led to the caves. The boys initially kept the caves a secret, but soon told their teacher about it, as they knew him to be interested in archaeology and prehistoric art. From then on, the caves became famous around the world.

The original caves are now closed to the public (due to deterioration of the paintings cause by too many visitors), but the French authorities have recreated the caves nearby which are supposedly very realistic. You can visit an excellent online version here:
(You get to take a virtual tour through the caves and listen to soothing music too! lol)

I hung up large cave art posters for the kids to refer to. They are called "Lascaux Cave Art Prints" which were ordered from the company Crystal Productions. It also comes with a DVD. What I find so fascinating about these caves is that you can see extinct animals such as the mammoth and animals not typical for the area today (hyenas, lions, panthers, woolly rhinoceroses, in France!)

Lascaux may be one of the more famous sites for cave art in the world, but of course, there are many others including the '"Cave of Swimmers" in the Sahara Desert and the Chauvet Cave in southern France. A documentary called "Cave of Forgotten Dreams", by Werner Herzog, was recently made about these caves. There's also the Cave of Altamira in Spain.

Here's an interesting video of the rock art found in the 'Cave of Swimmers' (made famous in the movie "The English Patient".) These painted caves in Egypt were 'discovered' (the local Bedouins already knew about them) by the Hungarian explorer László Almásy in October 1933. They are unusual in that they depict many human figures swimming, which shows that the Sahara Desert once had lakes and water.


To recreate cave walls, we used brown butcher paper and scrunched it up a bunch of times to make it nice and textural. We also added transparent washes of brown-ish tempera paint to give it even more depth. Then, using chalk pastels, we added more texture lines (cracks, irregularities on the cave walls) using dark brown and black chalk.  Blend, blend, blend.

Then students made a stylized stencil of an animal(s) out of cardstock. They freehand drew these and looked at the posters for inspiration. Then stencil (use a pouncing up-and-down motion with a round brush) these onto the background paper using natural colored tempera paint. Paleolithic artists have five main colors at their disposal: yellow, red, brown, black and white. White is more rare, but it is seen at Lascaux cave. The colours used were produced from ochre (reds and yellows), manganese dioxide (violet and black) and charcoal (black). These minerals were pulverized on stone palettes and mixed with animal fat to moisten them before they were applied with the fingers, bone spatulae or brushes. (source)


Here's an example of an animal stencil- just use scrap card or old file folders.


(My kids use paper palettes as they don't require cleaning afterwards!)


Nice variety of colours and use of overlapping....


Great sense of motion in this one!

Friday, January 4, 2013

Winter White Landscape Paintings


I love winter themed art projects, especially landscape ones. 
There's nothing quite like a landscape covered in freshly fallen snow.
This Grade 7 project uses tempera paint and charcoal. It's a great lesson for teaching and/or reviewing parts of a landscape: background, foreground and middle ground,
as well as colour theory and colour mixing.
 
I talk to the students about "tints" (any colour plus white; also known as a pastel) and we talk about all the different 'colours' of white we can see in the winter. If there's snow where you are it's great to go outside and actually observe the 'colour' of snow. If not, (or if it's too cold), it's good to show a slideshow of inter photos. In terms of snow, it isn't simply one colour of basic white: it has many variations, depending on the light and time of day.

Image Source


We use cool tempera colours for the white tints: blues and purples plus white.
Update: for those interested, we used "Pro Art Liquid Tempera Paint"- it's a high quality, opaque tempera- I love it. Also used some Sargent's as well.


We spent half a class in the computer lab searching for winter landscape photos. If the kids have their own digital cameras or the school has them available for students to use, and there's snow where you live, it would be great if the kids could take their own original photos and
print those out for this project.

As it were, we used the computer lab. We used Google Images, selecting only large size images (under Search Tools), for best quality when printing. They had to look for landscapes that included a background, middle and foreground. Print these off full size in black and white. They drew simplified versions of these photos onto heavy white paper. Students could add or subtract from their photo reference as needed- the photo was more of a rough guideline to help them get started.


Once the drawing was finished and looked good, it was time for painting. Students chose blues or purples and mixed it with loads of white for a variety of pale tints. At this stage, the kids didn't need to worry about small details (fences, trees, etc). They just needed to get down the main areas of colour. Essentially just paint the snowy areas, sky and any cast shadows.The finer or smaller details would be added later with charcoal pencils. 


Let the painting dry for the next class.


The next class, the kids used charcoal pencils (we used the brand "General's Charcoal Pencils in 2B) to add the details and soft outlines to their paintings. Blend out the charcoal with your finger to make it nice and soft and blended. Charcoal works brilliantly on top of tempera paint- it has just the right amount of matte 'grip' needed to hold the charcoal. The contrast between the rich black charcoal and pale tints is quite striking.


Some chose to touch up their painting at this stage as well.


Grade 7 artwork- ta da!


Saturday, December 22, 2012

Snow Globe Drawings


Here are some super cute snow-globe illustrations created by Grade 1 students. 
I provided each student with a large circle drawn on regular white drawing paper. We brainstormed ideas of things they might see inside a snow-globe. Even though students contributed a wide variety of ideas, we still ended up with loads of snowmen ;) lol- easy to draw, I suppose...

I've also taught a slightly different snow-globe project with older students (Grade 6). 
Click here if you'd like to see it.

So they started out by drawing their picture in pencil first.Then they coloured in their picture using coloured pencils. They coloured everything except the snow (leave white obviously) and the sky. 

For the sky, just for something a little different, we used watercolor pencils.
 
Let these dry and then cut them out. Then students cut out a slightly large circle out of blue or turquoise construction paper and glued the white snow-globe onto it. Then they cut out a black triangle for a simple base and glued that behind. The last step was to dip the end of a thin paintbrush into white paint, and 'dab' snowflakes all over their picture. 
I threw on some white ultra-fine glitter over the wet paint for added SPARKLE!!! 

Tadaaa!


Monday, December 17, 2012

Doily Snowmen Collage

This little guy makes me so happy! :)
It's like he's leaping through the snow saying, "Weeeeeeeeeee!"

This is a fairly simple collage snowman project that's great for the last week before winter vacation when the kids are getting all squirmy and antsy. These adorable characters were created by
Grade 1 students and the whole project took them probably about 30 minutes or so. 
 
The only materials required are paper doilies (we used the same size ones as that's all I had on hand, but you can also use three different sizes), scrap coloured paper, background paper (we used blue and turquoise), white crayons or oil pastels (for the snow), scissors and glue sticks.
 
First, students coloured some snow on the bottom of their background paper. Then they glued on the two doilies, making sure to slightly overlap them (good vocabulary word for them). Once that was completed, they were free to embellish their snowmen with the scraps of coloured paper. I brainstormed with the kids some things they could add, as this helps kids who need more guidance and ideas (we're not all creative, right?!) Some ideas they shared: hats, scarves, buttons, face, sun, trees, etc. Many of the boys asked if they could add legs- I find it so interesting that only the boys ask this.

 
Tadaaa!


Related Posts Plugin for WordPress, Blogger...