Remembrance Day is November 11th in Canada. Every year on this day, Canadians pause in a silent moment of remembrance for the people who have served, and continue to serve our country during times of war, conflict and peace.
The red poppy, a native plant along much of the Western Front during the First World War, has become a powerful symbol of remembrance. It is the principal emblem of the Royal Canadian Legion, which distributes several million each year to be worn by Canadians on Remembrance Day.
The person who first introduced the poppy to Canada and the Commonwealth was Lieutenant-Colonel John McCrae of Guelph, Ontario, a Canadian Medical Officer during the First World War. John McCrae penned the poem “In Flanders Fields” on a scrap of paper in May 1915 on the day following the death of a fellow soldier. Little did he know then that those 13 lines would become enshrined in the hearts and minds of all who would wear them. McCrae’s poem was published in Punch Magazine in December of that same year. Flanders Fields is a common English name of the World War I battlefields in Belgium and France. Sadly, McCrae died of pneumonia near the end of the war in France, aged 45.
In Flanders Fields
by Lieutenant-Colonel John McCrae
May 3, 1915
In Flanders fields the poppies blow
Between the crosses, row on row,
That mark our place; and in the sky
The larks, still bravely singing, fly
Scarce heard amid the guns below.
We are the Dead. Short days ago
We lived, felt dawn, saw sunset glow,
Loved and were loved, and now we lie
In Flanders fields.
Take up our quarrel with the foe:
To you from failing hands we throw
The torch; be yours to hold it high.
If ye break faith with us who die
We shall not sleep, though poppies grow
In Flanders fields.
Each year my art classes create art to be showcased during our annual school Remembrance Day assembly. It is organized by our very talented Music teacher and features singing by the choir and guest speakers.
The gorgeous poppies were created by my Grade 7-9 classes.
I've taught this lesson previously, so see all the steps HERE.
This lesson was inspired by a Pinterest photo (no source given) found HERE.
We used glue lines instead of the black lines in the photo. I like to use only clear glue for my glue line projects. It dries totally transparent and really shiny. You can also use white glue but it dries more cloudy.
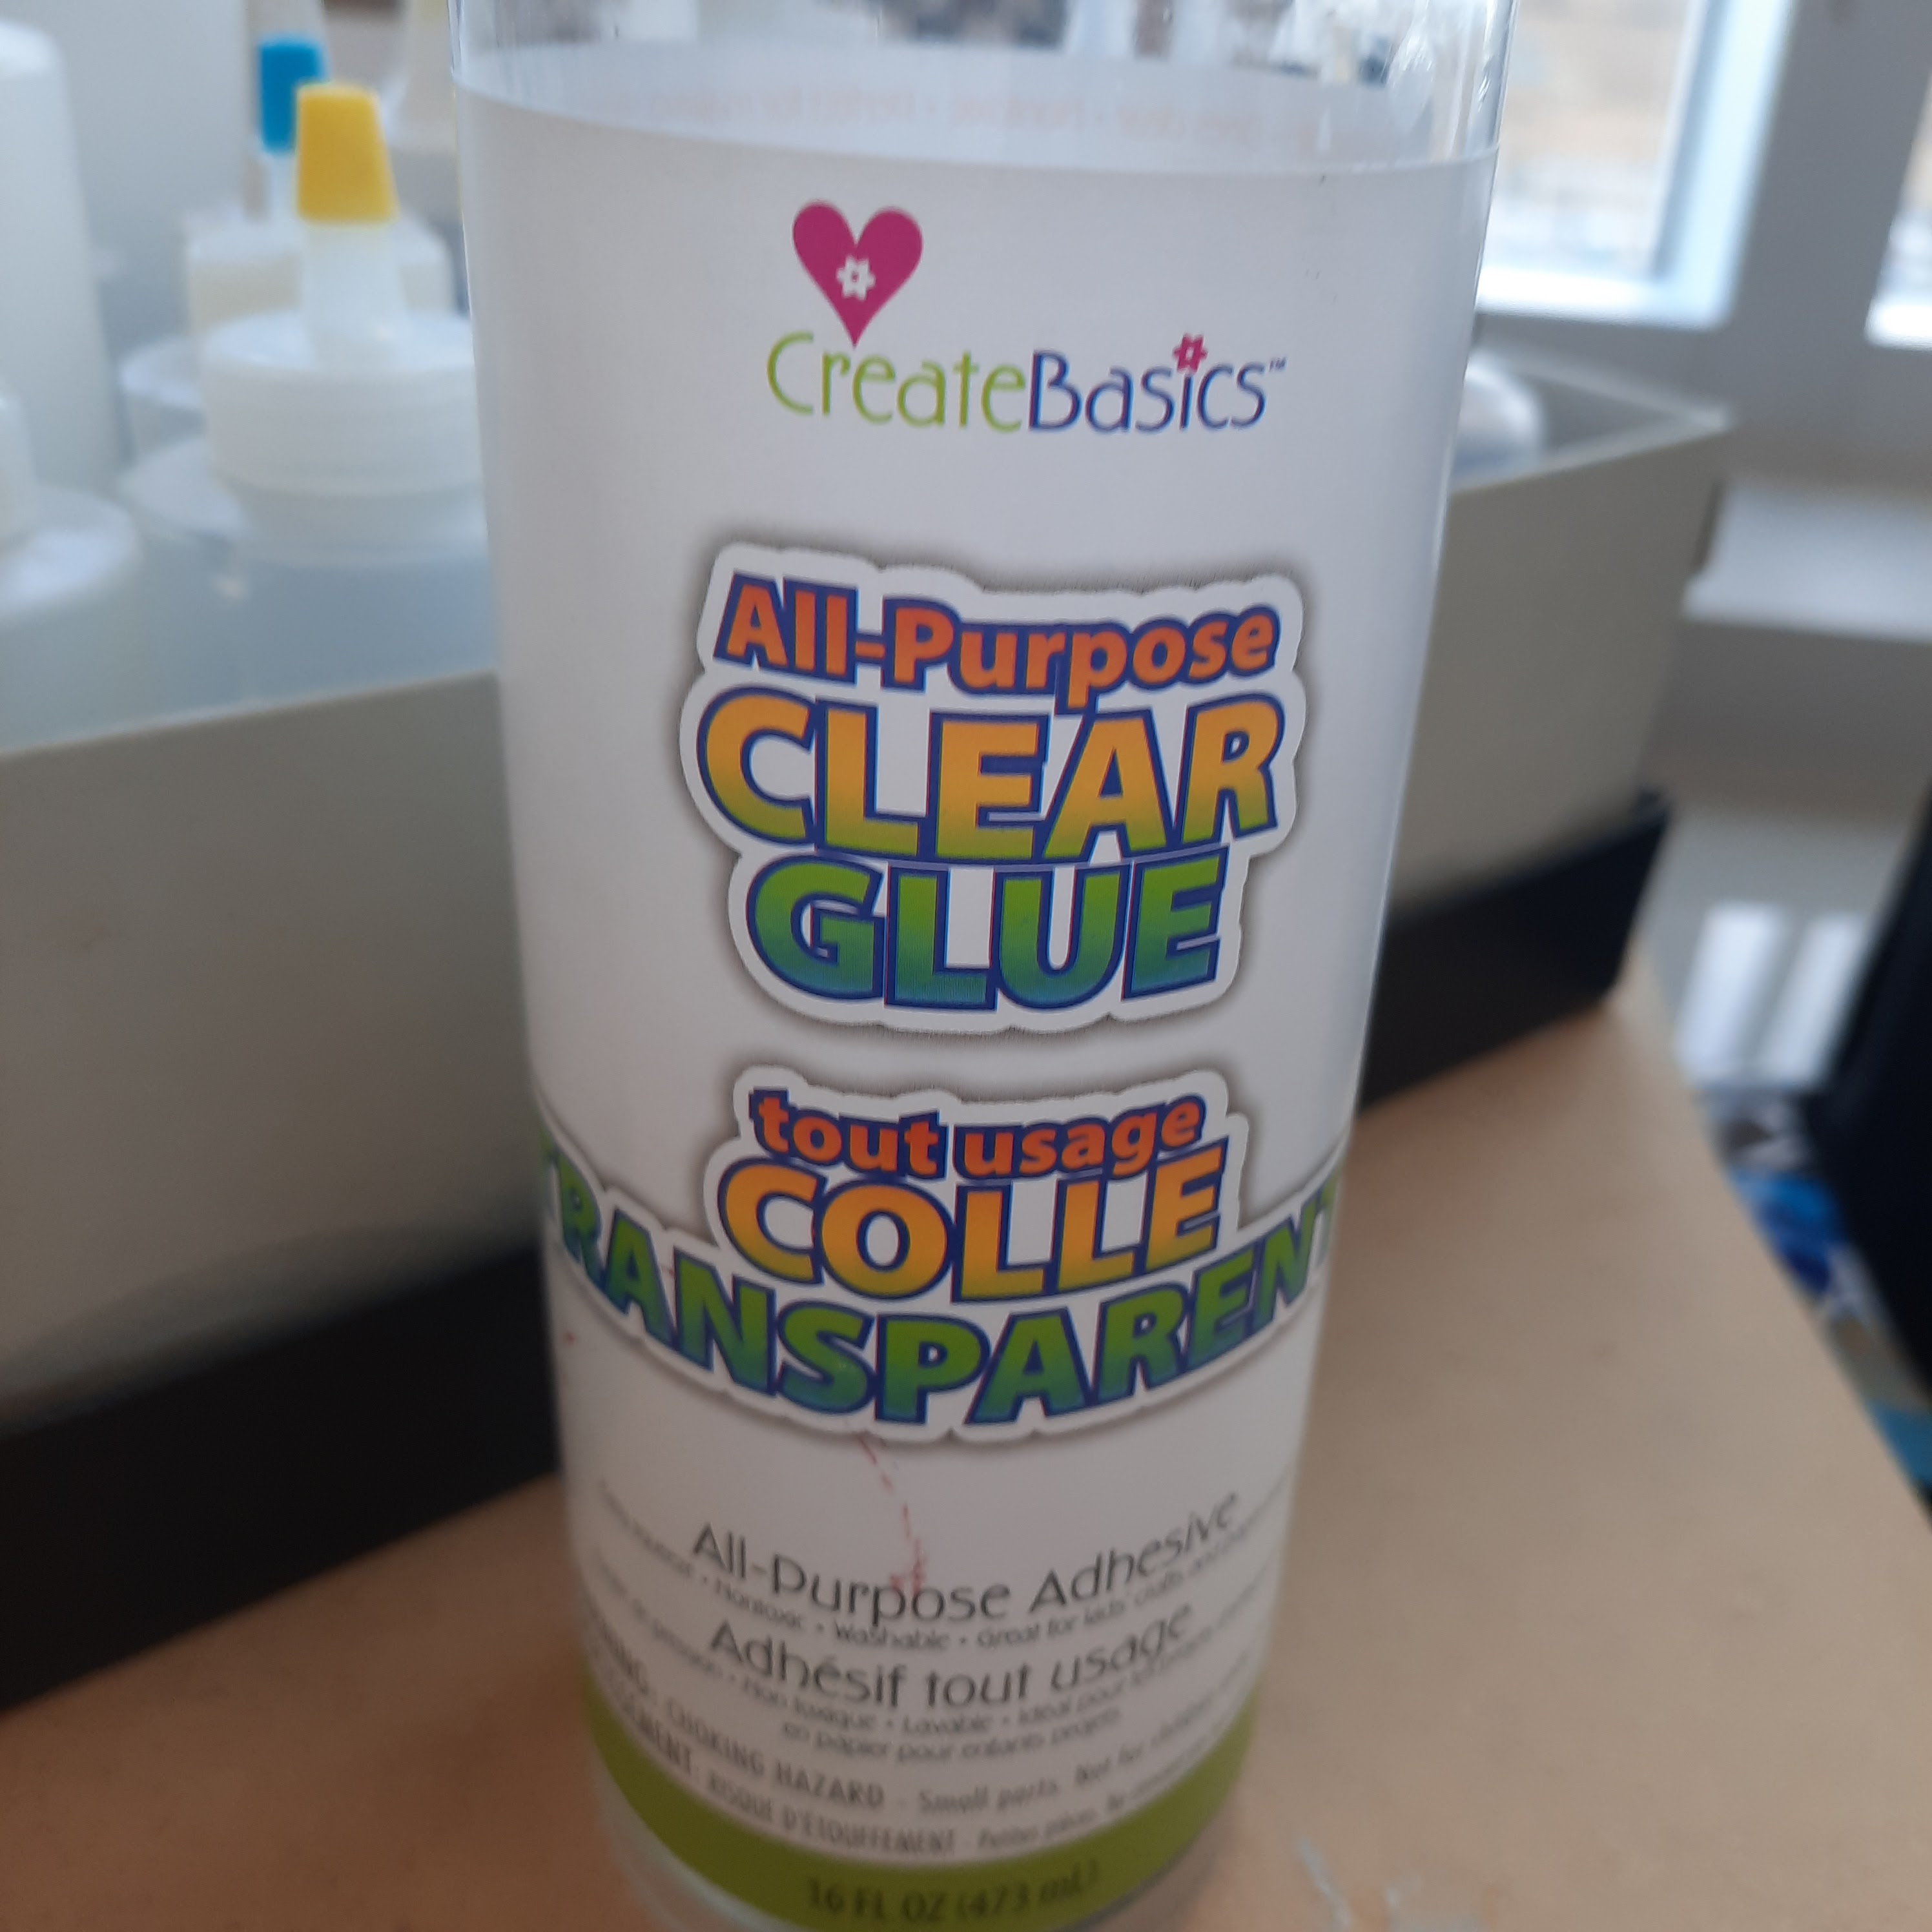
I have a bunch of random empty squeeze bottles that I pour the clear glue into.

On 12x18" black construction paper, students 'drew' their poppies directly with the glue bottle.
Some students drew it out in pencil first. This took one 80 minute period.

Add three horizontal lines to break up the background. Let dry overnight FLAT.

The glue goes on thick but, after it dries, it's pretty much flat.


The next class, students use chalk pastel to colour their picture. I demo for them how to shade with chalk using white and black. Many of my kids hate chalk because of how 'messy' and dry it is. Some hate the sound it makes, etc. So I tell kids they can wrap their finger with a tissue to blend out the chalk.
I tell them to colour the background first but many do the poppies first, lol. It doesn't really matter.
Most kids finished colouring in one 80 min period; a few others needed more time.


Have a piece of scrap paper beside you to clean off the chalk and to test colours.

The final step is to use a thin damp paintbrush to 'clean off' all the glue lines, to make it nice and shiny and black again, as dust accumulates on them. This is a super satisfying step!

These artworks were projected onto a screen during our annual Remembrance Day assembly.


.jpg)


.jpg)
.jpg)