ABOUT THIS BLOG

"A Faithful Attempt" is designed to showcase a variety of K-12 art lessons, the work of my art students, as well as other art-related topics. Projects shown are my take on other art teacher's lessons, lessons found in books or else designed by myself.
Thanks for visiting!
LAND ACKNOWLEDGEMENT I acknowledge, with deep respect, that I am gathered on Treaty 7 territory. I acknowledge the many First Nations, Métis and Inuit whose footsteps have marked these lands for generations. I respect the histories, languages and cultures of all the Indigenous peoples of Canada, whose presence continues to enrich our community.

Saturday, November 5, 2022

Tattooed Plaster Casts


This plaster sculpture project is one of my all time favourite high school art lesson- the students love it to0. I've taught it a number of times and results keep getting more an more creative each time. By the end of this lesson, students are masters at using plaster.
The initial lesson came from an article I read years ago entitled: "Revealing the Hopes of Adolescents through the Art of Tattoos" by Michael Gerrish. I can no longer find it online. But you can find some lesson plan references and other plaster adaptations HERE.

You need: plaster gauze, acrylic paints, petroleum jelly, water, scissors
*I usually cover the tables with bulletin board paper as this can get messy/dusty.


Students start by pre cutting the plaster into manageable strips. They coat their hand/arm with either petroleum jelly or plastic wrap (most choose petroleum jelly). 


They have to do a sketch which shows their overall plan- hand pose and tattoo design.
Their tattoo needs to incorporate designs/symbols/imagery which expresses 
their past, present and future.


Then they layer on the strips dipped in water- massage gently to activate the plaster. Overlap strips slightly. Two layers is usually sufficient for strength. 

Most opt to do a full hand cast- it's tricky- you cast the palm first, then the individual fingers. Once dry, you attach them all together. 


Some choose to do full arms - cut those off carefully!


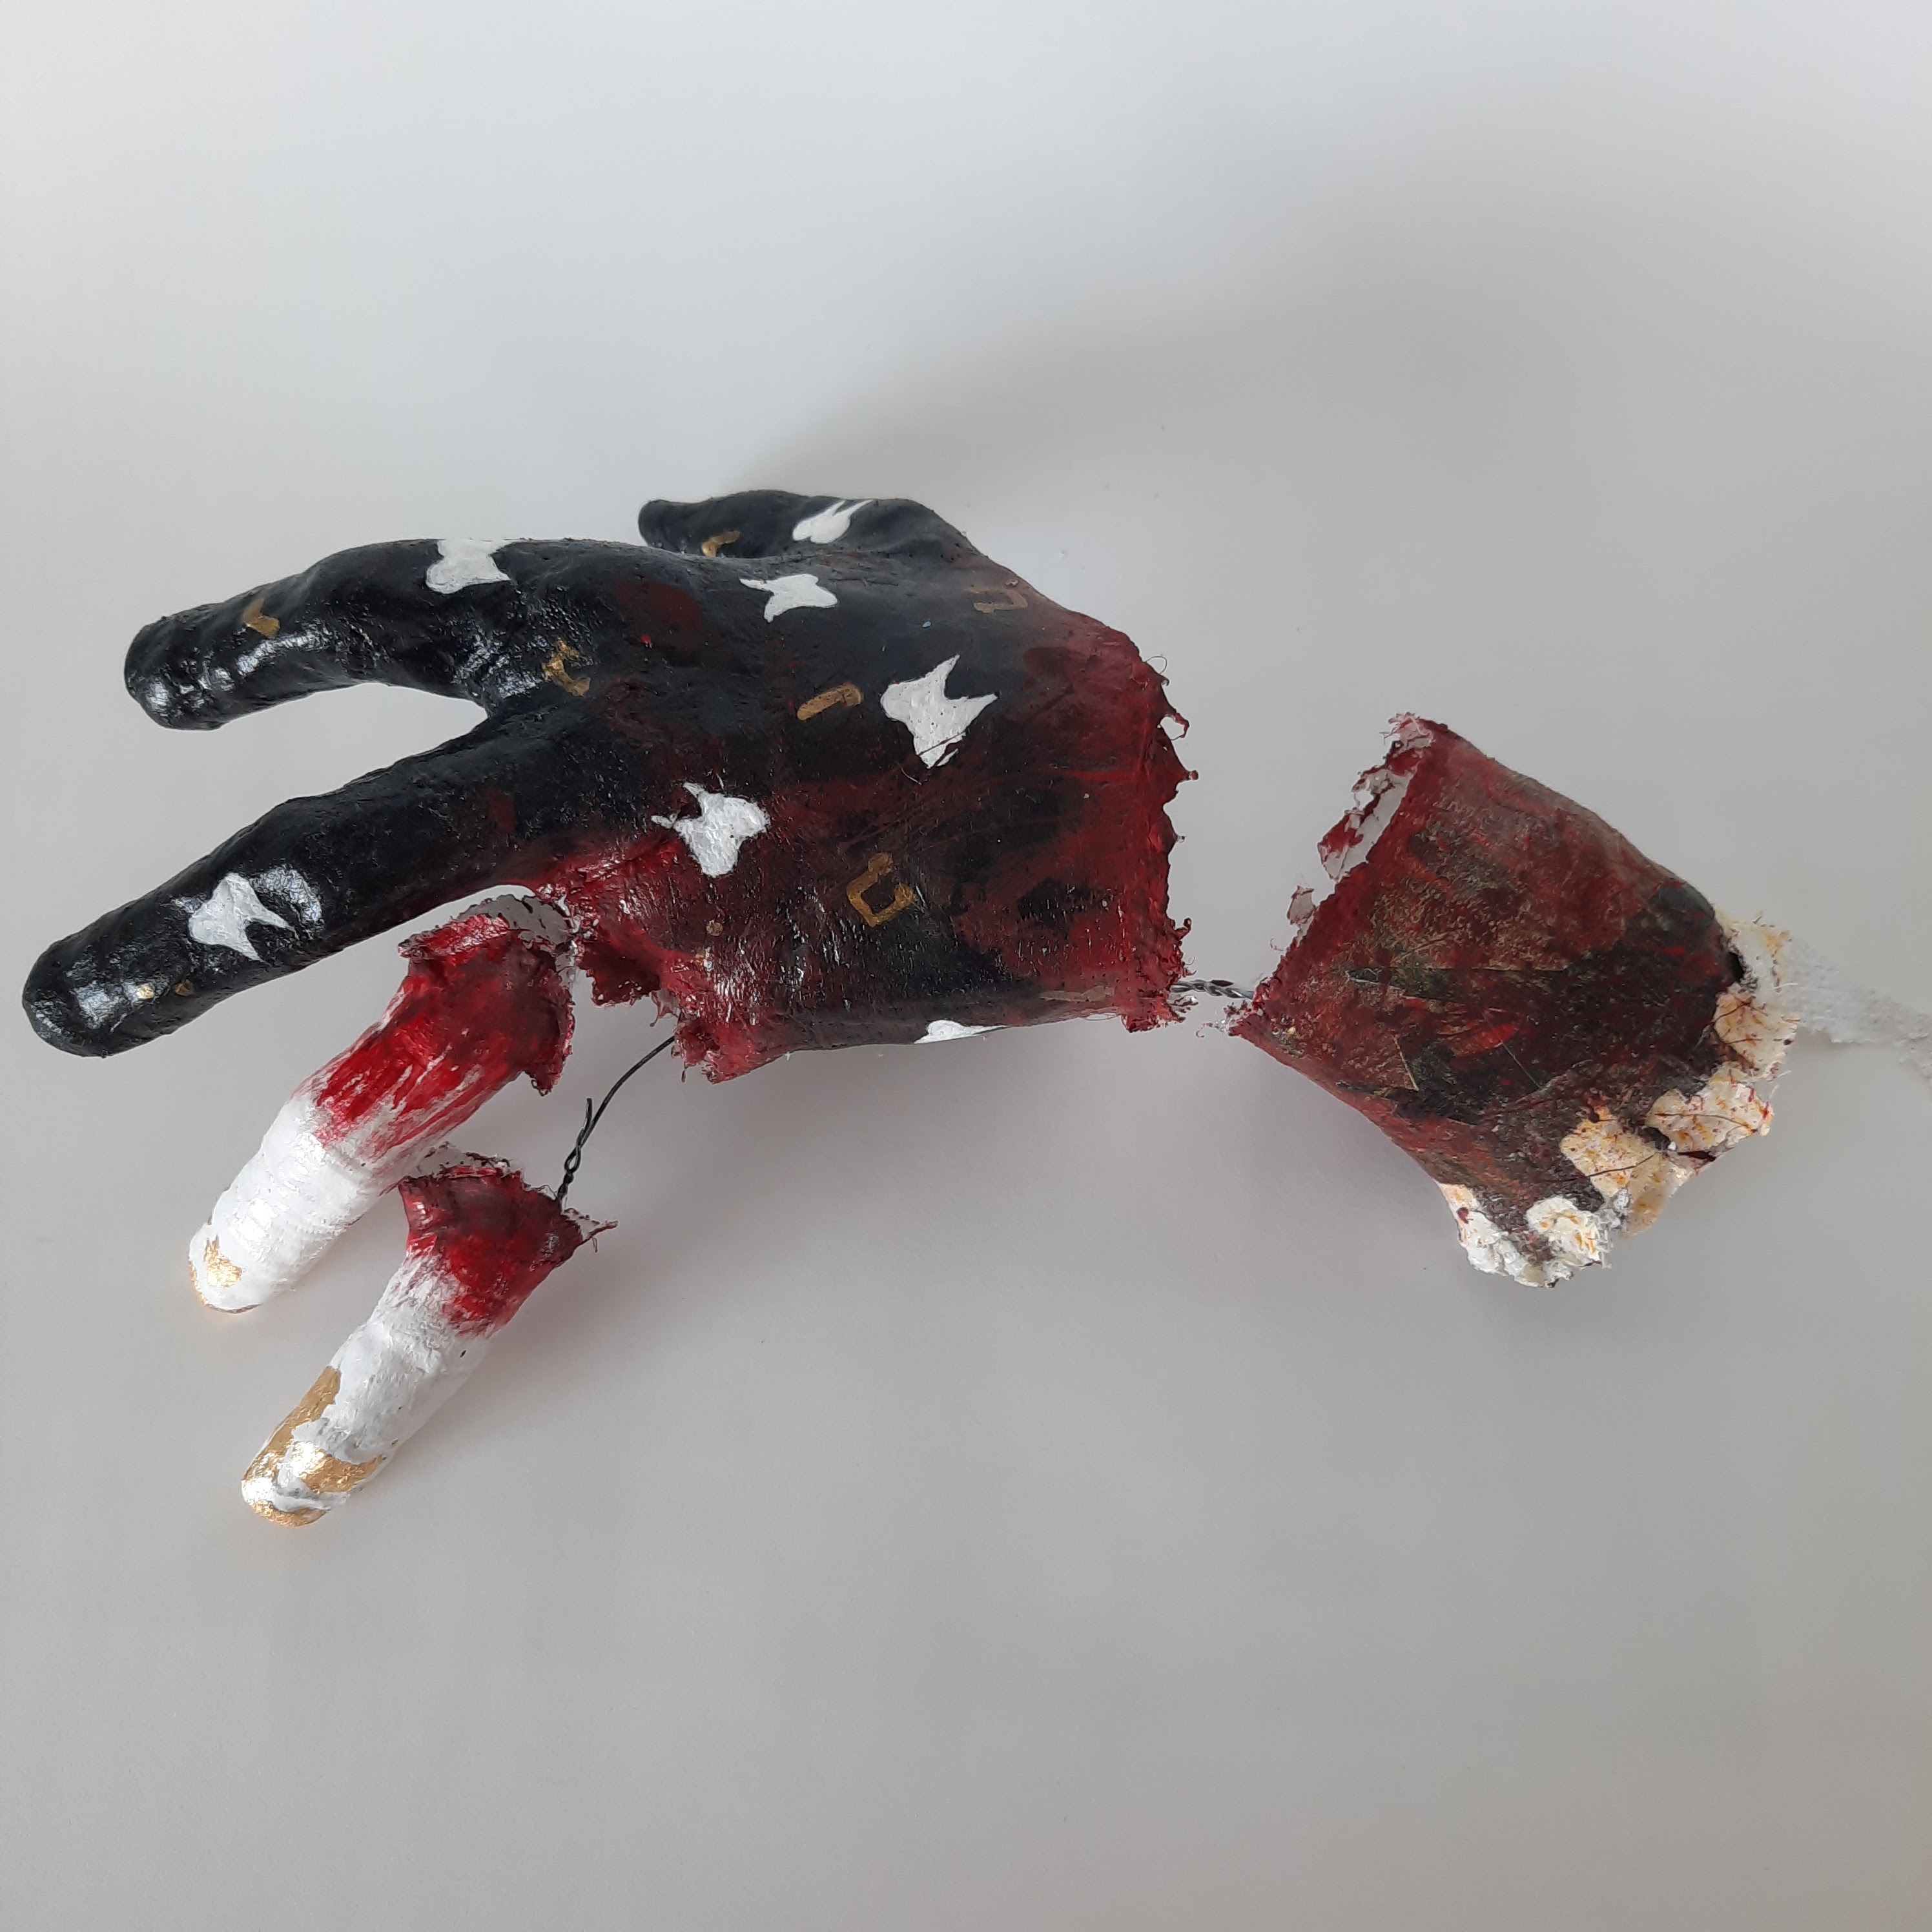
There's always one student who chooses to cast their whole hand in one go- it usually never ends well as you can see below! But some do!


Once dry and nice and solid, it's time to paint. At this point, a lot of my students like the sand down their sculptures with sandpaper. They tend to prefer a really smooth surface on which to paint. 


This student made a test piece to see if he could do a pencil design as he strongly disliked paint.


Painting with a fine detail brush below.


Most students stick with acrylic paints. Many choose to add other materials such as wire, hot gluing on decorative items, adding a wooden base, etc. 


Love this one and how carefully the student set it up to dry, lol.


This students chose to do a full chest cast as well as arms. 


Fine detail work with a micron pen.


Base coat below.
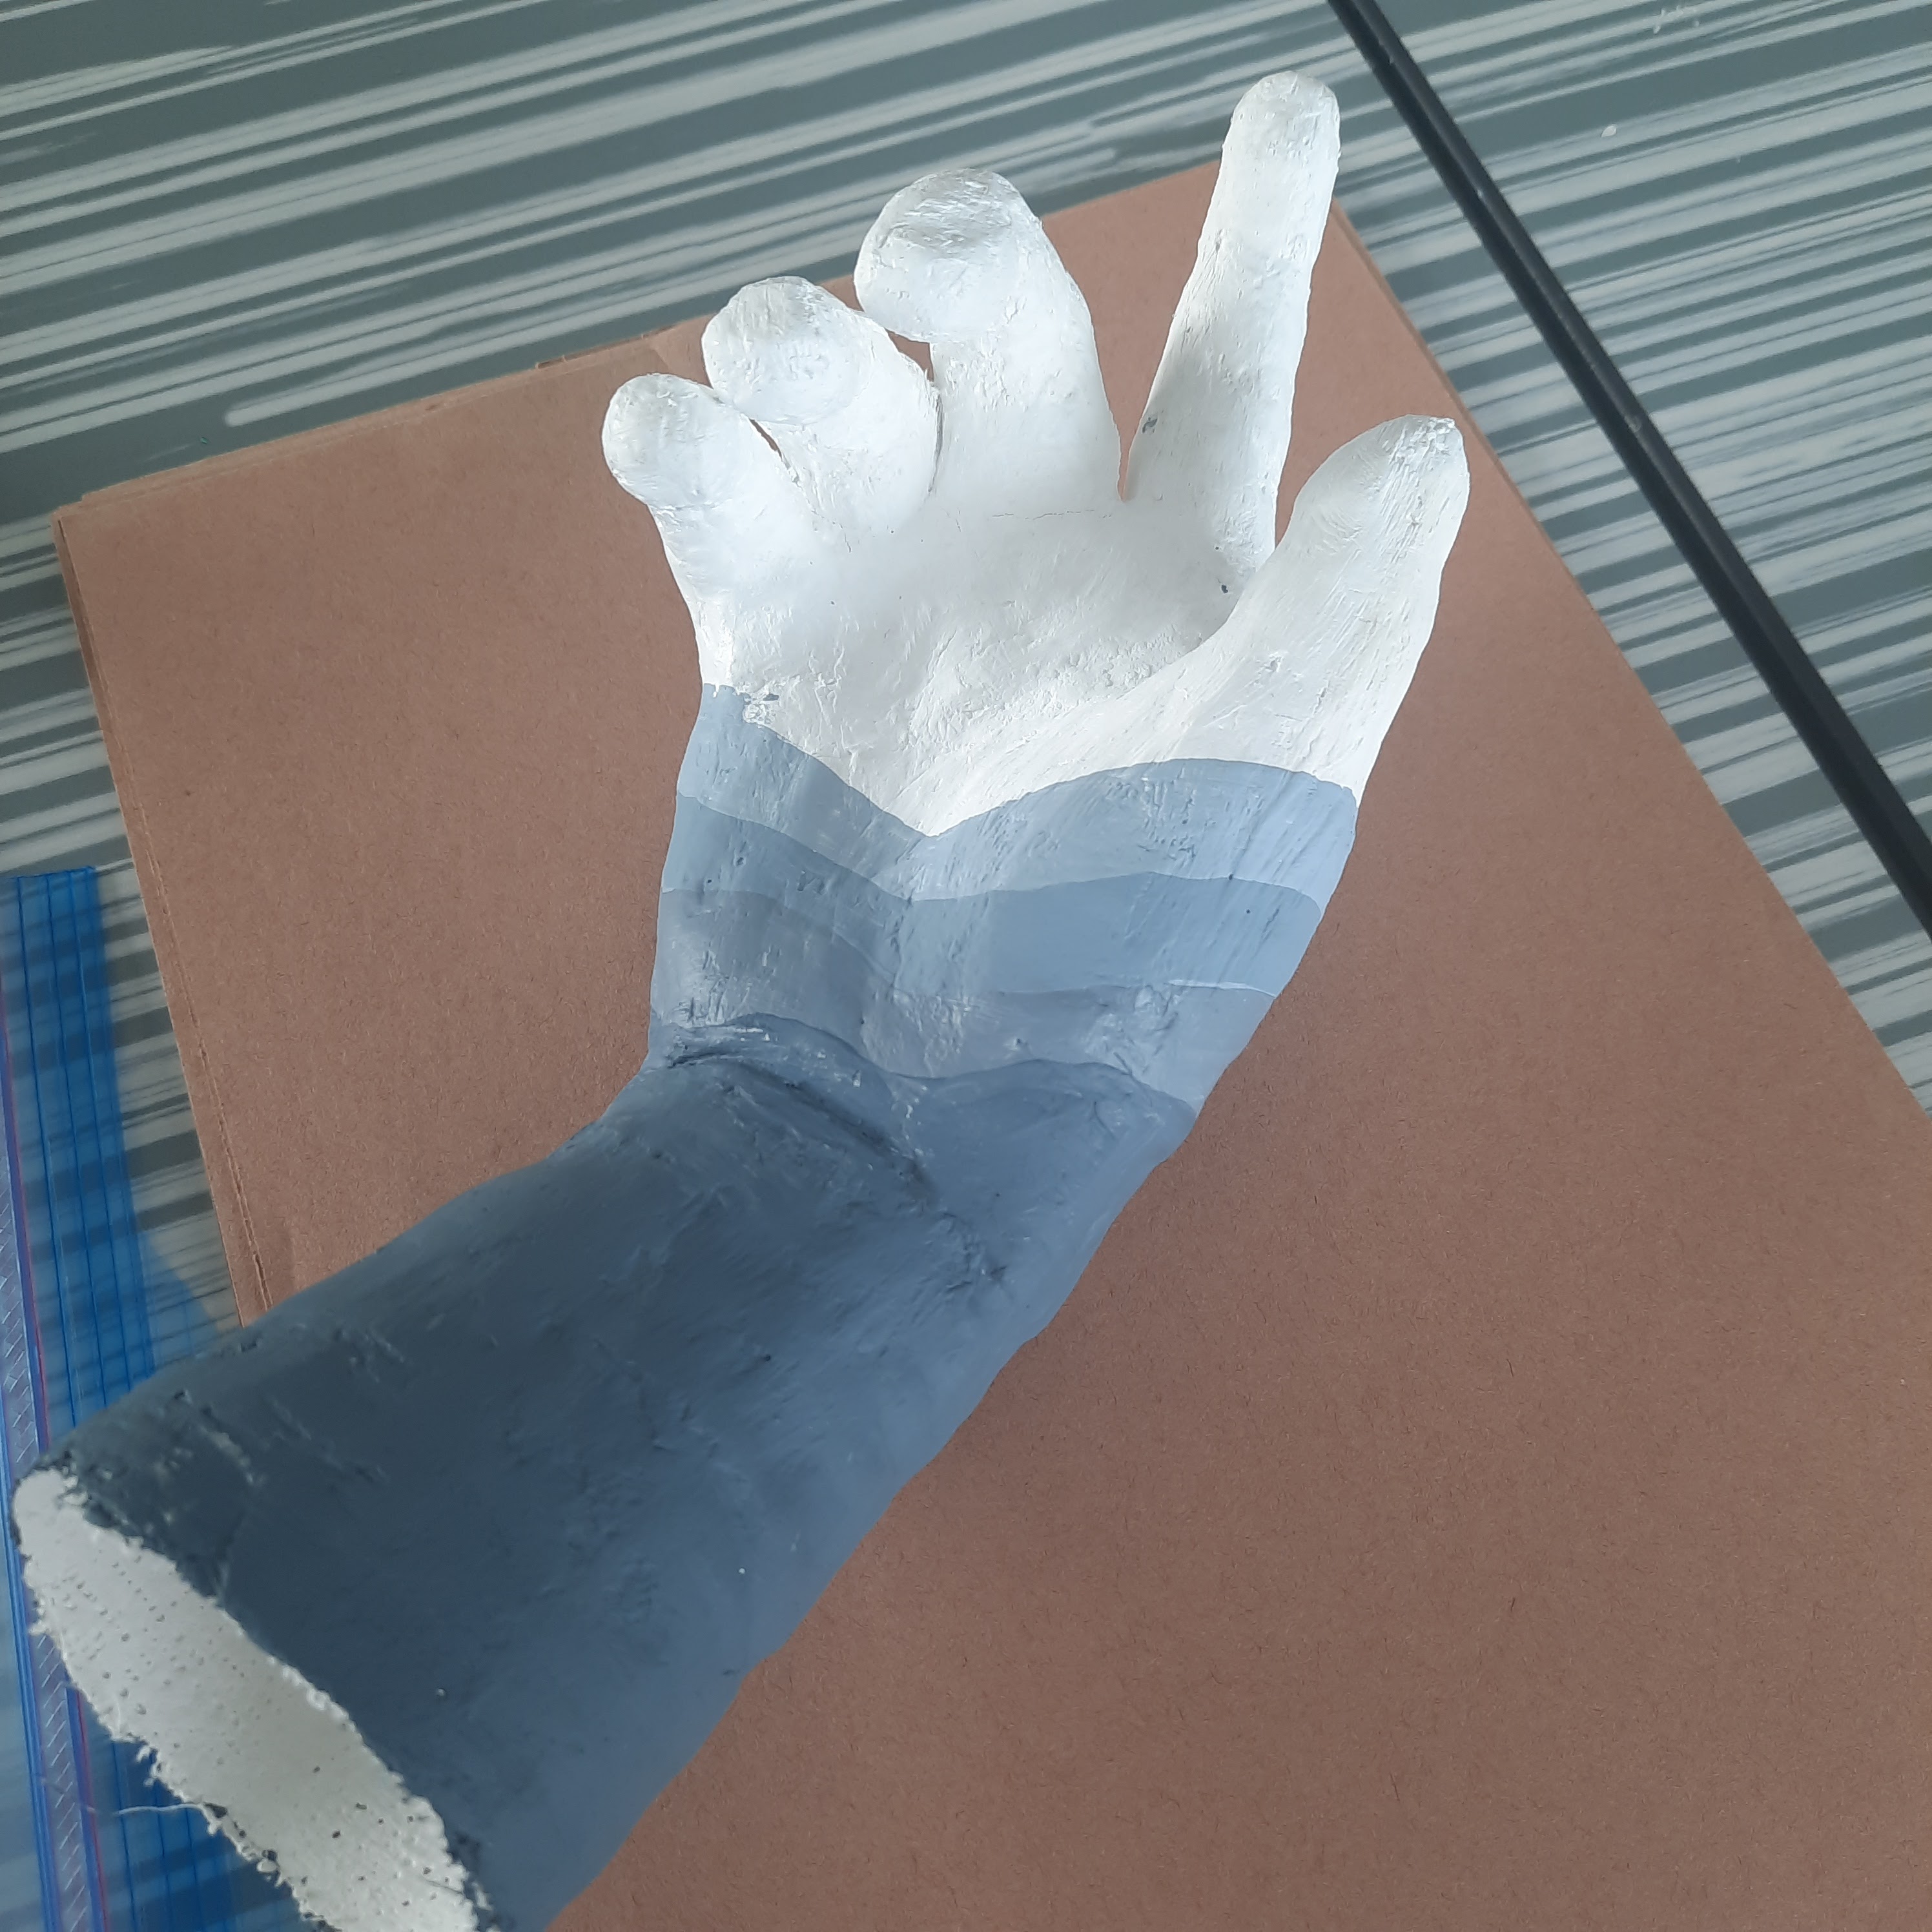

Some finished sculptures- these are Grade 10, 11 and 12 students. I love how these turned out. Students also submit a write-up explaining their designs- they are very powerful to read. 


Media: pencil and India ink


Wednesday, October 26, 2022

Frankenstein Kids


I think this is such a cute Halloween project. I used to teach it to Grade 3 back when I taught that grade. I decided to bring it back for a fun Halloween project for my Grades 4-6 students this year. 
I saw the lesson originally posted HERE on the blog "ARTventurous".

They sketched out their Frankenstein kid on white paper. Then outlined with a Sharpie. 
They coloured them in with construction paper crayons. 


They outlined the entire image with a yellow wax crayon and created some electricity bolts. 


Finally, they painted the background with liquid watercolours.


I love how cutely scary these are!


Monday, October 24, 2022

Half a Face Drawing


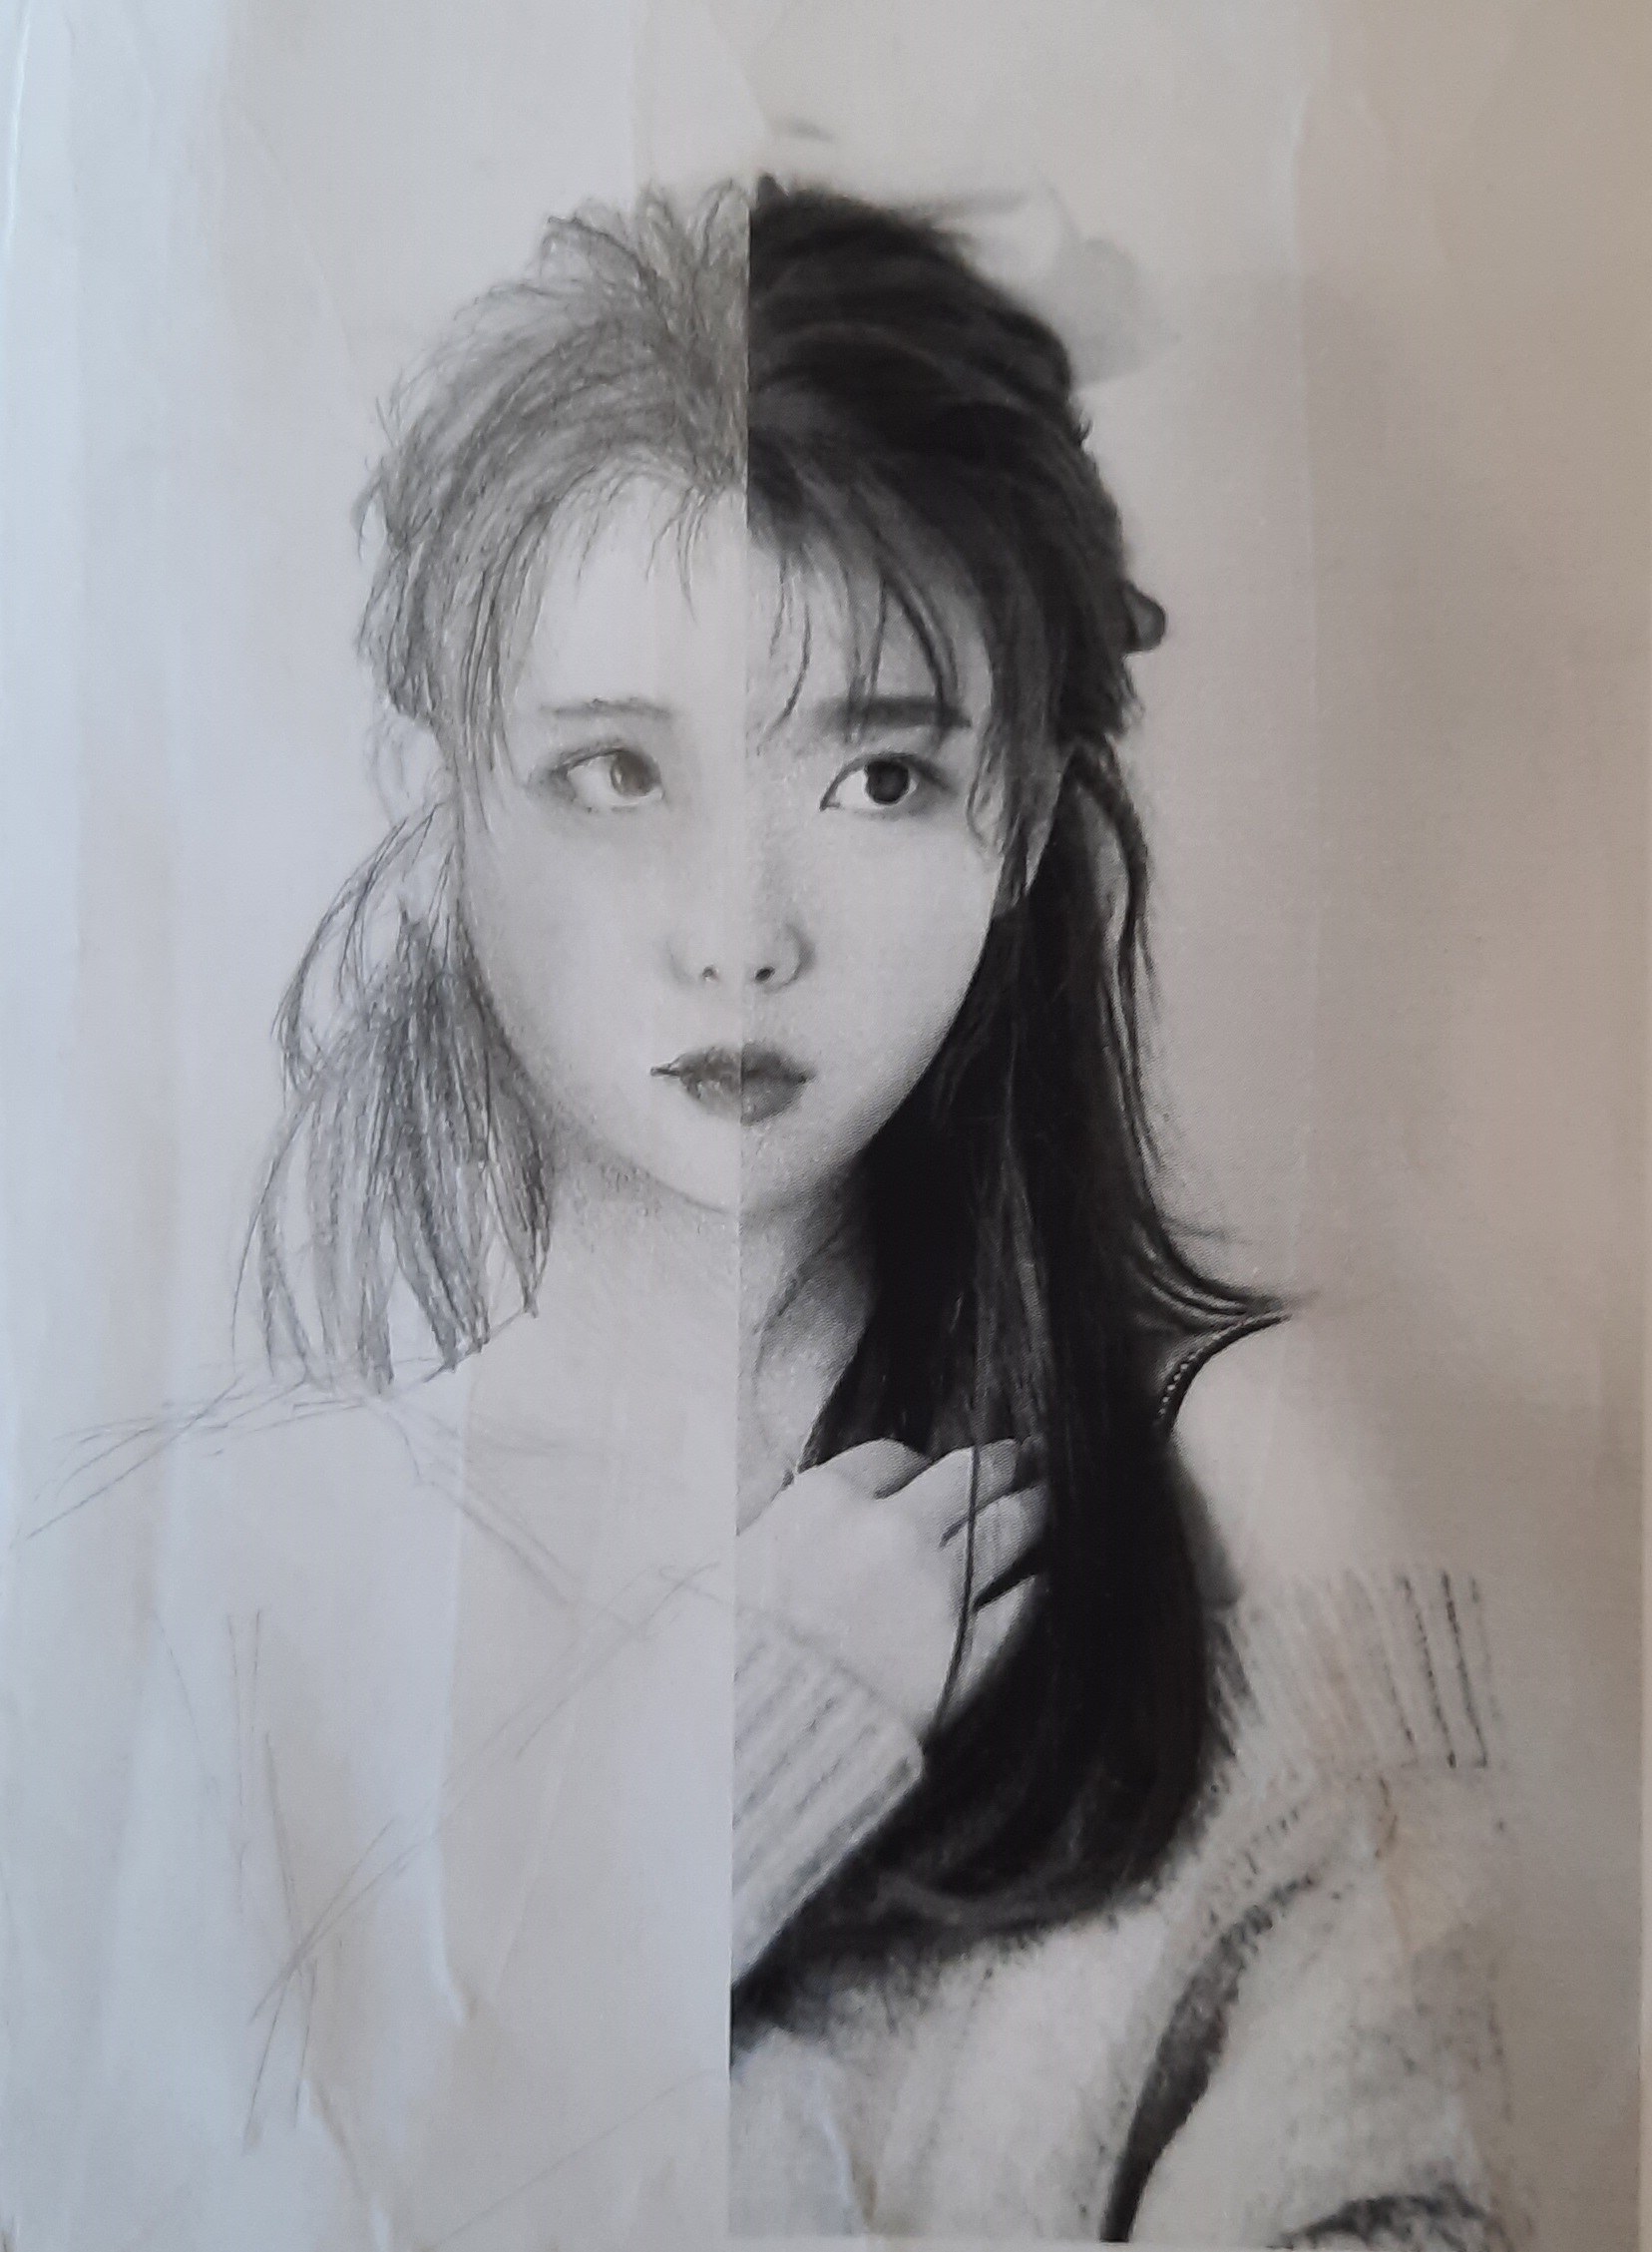
This was a drawing project I did with my mixed Grade 7 - 9 class when we were online a couple of years ago. I also taught this to my Grade 10 - 12 class- see their work HERE.

Students had to print a photo of someone of personal interest (actor, celebrity, musician, etc) or they could find an image in a magazine. They cut the photo in half and glued one half to paper. 

Then they had to re-create the other half as accurately as they could, with a focus on shading and matching values. 
I was super pleased with what they were able to achieve at home. I feel like some of them did even better on their own as there were far fewer distractions than in a classroom.


Wednesday, October 19, 2022

Autumn Birch Tree Paintings


Beautiful birch trees!  My favourite trees!  
I love them especially in the fall when the leaves turn a bright yellow.

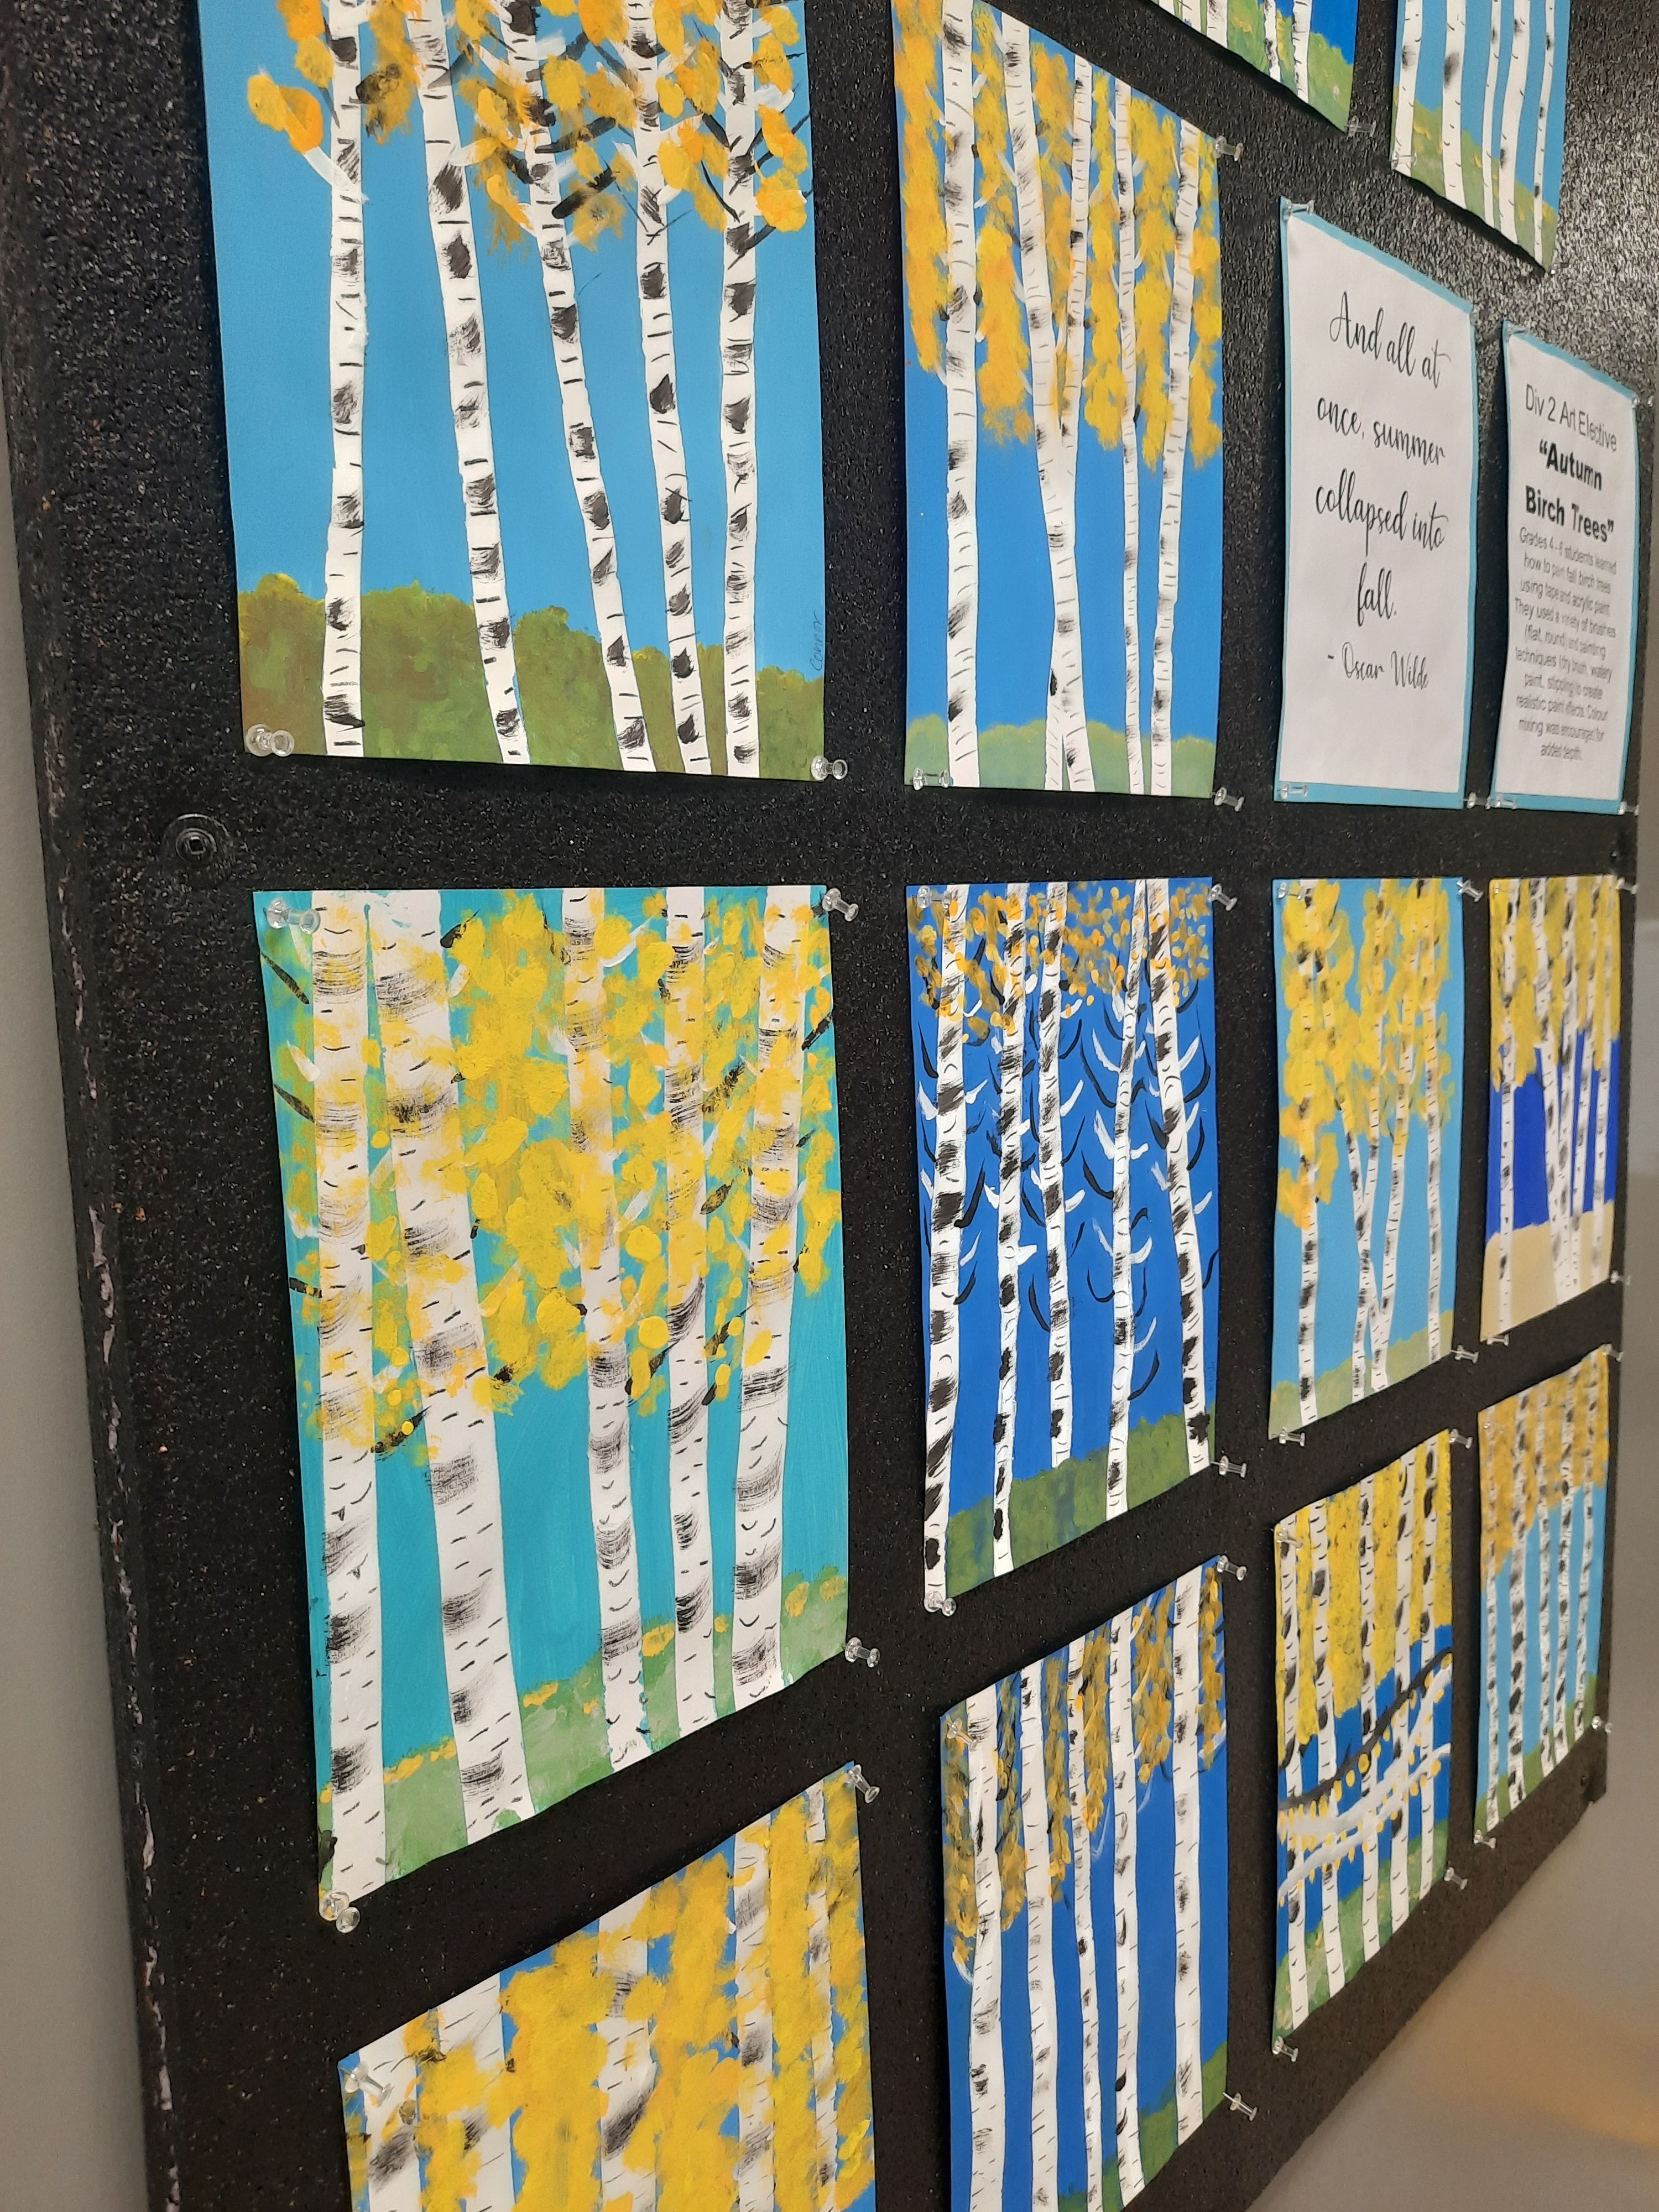
Students created these stunning birch tree paintings using tape and acrylics.
They used two different sized widths of masking tape to lay down trees on heavy white paper. 
They 'linted' the tape on their clothes first to take off the excess stickiness. Then they painted over the whole thing with a shade of blue or turquoise. 


They added some 'dead grass' at the bottom.


Then carefully peeled off the tape.


The next class they painted the bark texture using a dry brush technique and 
added some black and white branches. 


Then, using a round bristle brush, they dabbed on two shades of yellow for the leaves. 


Some Grade 4,5,6 finished works:


Related Posts Plugin for WordPress, Blogger...