ABOUT THIS BLOG

"A Faithful Attempt" is designed to showcase a variety of K-12 art lessons, the work of my art students, as well as other art-related topics. Projects shown are my take on other art teacher's lessons, lessons found in books or else designed by myself.
Thanks for visiting!
LAND ACKNOWLEDGEMENT I acknowledge, with deep respect, that I am gathered on Treaty 7 territory. I acknowledge the many First Nations, Métis and Inuit whose footsteps have marked these lands for generations. I respect the histories, languages and cultures of all the Indigenous peoples of Canada, whose presence continues to enrich our community.

Friday, November 7, 2014

Viking Longships


This was a super fun collaborative project I did with the Grade 7 Social Studies teacher at my school. He's a very creative teacher and is always looking for ways to incorporate art projects into his lessons. His students were studying the Vikings and their early exploration in Canada (the famous L'Anse aux Meadows site, dated circa 1000 AD, located in the Province of Newfoundland) 

L'Anse aux Meadows is the only confirmed Norse site in North America outside Greenland. It represents the farthest-known extent of European exploration and settlement of the New World before the voyages of Christopher Columbus almost 500 years later.

I was super stoked to teach a Vikings themed art lesson partly because I'm obsessed with the TV show "Vikings" on the History channel. It's a Canadian/Irish production and is beautifully filmed and brilliantly acted. The lead Viking, Ragnar, is amazing!


I showed the kids photos of ancient Viking longships. We learned their features and characteristics.
Then, on thick white paper, students started by drawing out their ship in pencil.

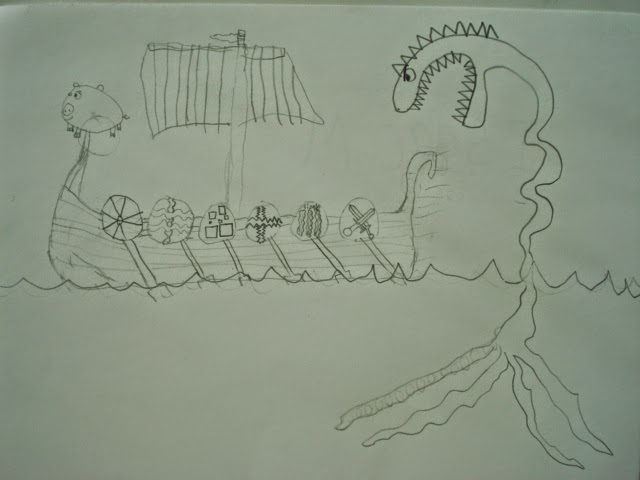

Then they outlined it all with Sharpies.

.

They had the option of using pencil crayons or watercolours to colour in the ship.


Then, I demoed how to mix and use watercolours in a wet-on-wet technique for the sky and sea. I encouraged them to have the sea a rough blue/grey colour as it's supposed to be the Atlantic ocean.


I loved how they all turned out. 


Of course I HAD to include Ragnar in my display, lol! 
I love walking past him everyday!! (and the artwork too, of course ;)


Sunday, November 2, 2014

Spooky Silhouettes


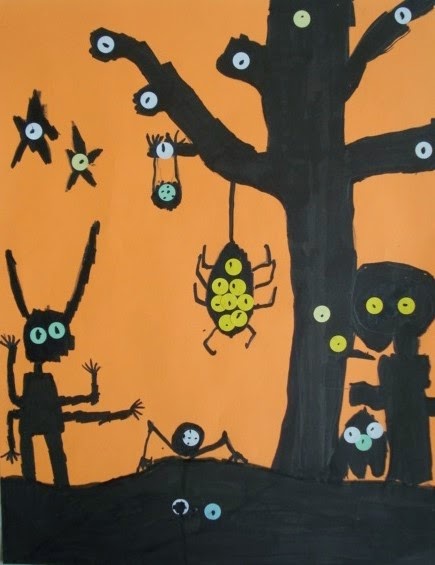
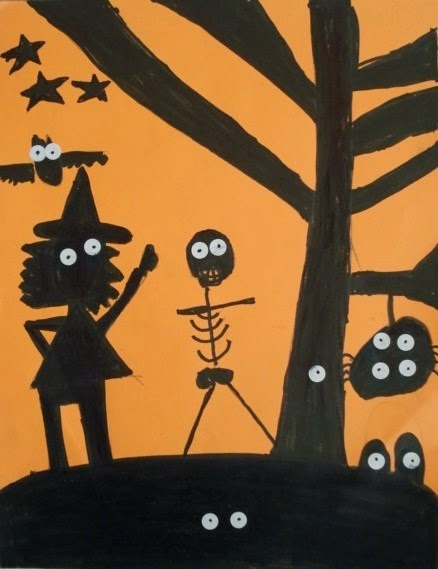
Here's a fun Halloween project my Grade 2's finished last week. 
I found the lesson HERE on Artsonia- done my students at Cedar Creek Elementary School.

We used orange photocopier paper- nice and thin for markers.
Students drew a bare tree and then added whatever type of spooky/scary/Halloween objects/creatures they wanted. I explained to the kids what a silhouette was, so not to include any details like a face- to just focus on the shape and outline.


Kids started out by coloring these in using regular black Crayola markers, but they dried up FAST. So I had to bring out the big guns: my top-secret-hidden-in-my-bottom-desk-drawer KING SIZE Sharpies!! Yes, that's right: King Size. I originally ordered the big chisel tip Sharpies a couple of weeks ago, but these King Size monsters arrived instead. I didn't even know these existed! 
They are the bomb-diggity.

Anyway, colour in the whole design. Oh, and open the windows too! lol 
Sharpie fuuuumes


Then you need to have some hole punches ready. I originally ran around the school like a mad woman 10 minutes before class trying to empty any three hole punches I could find. The holes I got were not that great- all stuck together and had jagged edges. Then I went to make a quick photocopy and the machine said "PLEASE EMPTY THE HOLE PUNCH RESERVOIR". Seriously, it was like a sign from the art gods. I didn't even know photocopiers had a hole punch reservoir (I never use the hole-punch feature...). Sure enough, after hunting a bit, I found the hole punch holder-thingy and it was filled with perfect little circles!! 

JACKPOT
perfect little circles for eyes

So these circles get glued on as 'eyes' peering out from the dark. Draw a black dot in the middle and you're all done. My Grade 2 kids LOVED making these, especially the boys :)


OK- I do NOT know what's going on in this artwork above! lol


Saturday, October 25, 2014

Fluffy Puffy Ghosts


Hahaha, these Grade 1 ghosts turned out so adorable!  We used the classic and super fun puffy paint recipe: mix an equal amount of shaving cream and white glue in a bowl. 
This is a great lesson to discuss the art element of texture.
I mixed up a big batch and filled up an ice cream bucket- those plastic 4 litre ones. It was easily more than enough for my 16 students. I buy the cheap-o shaving cream from the Dollar Store. I only needed one can for my class.


The kids first drew a simple ghost shape on cardstock. 
Heavy weight paper works best for this.
Then they globbed on the puffy paint and tried their best to spread it around. 
Using their fingers helped alot to push the puffy paint to the edges. Next time I might just use popsicle sticks as opposed to paint brushes.
Then they cut out eyes and a mouth from scraps of black construction paper. 
Place it on the ghost and gently push it into the puffy mixture.

yes, this ghost has armpit hair, lol

Ours dried overnight, but they were still a bit damp on the back, so I flipped them over and let them dry out another day. Then I cut them all out. The kids loved them!!!


I displayed them up high, out of hands reach, because all the students in the school 
want to poke and touch them!!


Tuesday, October 21, 2014

Frankenstein Kids


I found this super adorable art lesson HERE on the Artventurous Blog. 
She links to THIS website (artforkidshub) which has a tutorial on how to draw Frankensteins's monster. My Grade 3 kids watched this tutorial and drew along for a practice. They loved it!

Then I re-drew it on my whiteboard step-by-step again for the slower students.


After their practice drawing, they drew their good copy on thick 12x18" white drawing paper.


Then they outlined their drawing with a Sharpie.


Then they outlined all the way around their figure with a yellow wax crayon. 
Then they added some electricity lines.


Then they colored in their figure using construction paper crayons.


Finally- phew! - they used watercolor in the background.


This took about 3 - 40 minute periods in total.
Some Grade 3 results- ta da!


Related Posts Plugin for WordPress, Blogger...