ABOUT THIS BLOG

"A Faithful Attempt" is designed to showcase a variety of K-12 art lessons, the work of my art students, as well as other art-related topics. Projects shown are my take on other art teacher's lessons, lessons found in books or else designed by myself.
Thanks for visiting!
LAND ACKNOWLEDGEMENT I acknowledge, with deep respect, that I am gathered on Treaty 7 territory. I acknowledge the many First Nations, Métis and Inuit whose footsteps have marked these lands for generations. I respect the histories, languages and cultures of all the Indigenous peoples of Canada, whose presence continues to enrich our community.
Showing posts with label sculpture. Show all posts

Wednesday, September 3, 2025

Toilet Paper Food Sculptures


This is one of my students and staff favourite projects!  
Toilet Paper Food is such a fun yet economical project that yields really impressive results. 
You truly only need toilet paper, water and watercolours. 

See all the steps at my previous post HERE.

This year's results:  Grade 7-9


Sunday, August 24, 2025

Papier-mâché Fantasy Planet Sculptures


This is a papier-mache project I designed when I was a student teacher about 26 years ago!  Back then, papier-mache projects didn't faze me, lol. Now, they take so long to finish, plus you need a lot of storage space to store them all.

I have to admit, I've only taught it once since then. The problem I've found with this lesson is, if you only see your students once a week, like I do, the balloons deflate before students get a chance to put at least 4 layers of papier-mache on. I suppose now I could use plaster strips, but I'm not sure how heavy it might make these.

Anyway, you need balloons, acrylic paint, hot glue guns, paper towels, newsprint or newspaper, paste (I've always used the now discontinued Elmer's Art Paste which is essentially wallpaper paste). 


Day one: blow up the balloons to the desired size for your fantasy planet (I had to tie the knots for most of these!!). Add at least 3-4 layers of paper-mache. Set them on a plastic container to dry. I rotate them throughout the day so they dry fully and evenly.


Once the paper mache is fully dry, cut the end of the balloon off and pull it out of the sphere. Then patch that hole with more paper mache.  
Then students can start adding any accessories. This is where the kids can be really creative. You can use cardstock, cereal boxes/thin cardboard to cut out shapes and hot glue them onto the planet. You can use paper towel dipped in paste to create shapes and texture. You can create cones out of cardstock and hot glue them on.


Once everything is dry and ready, paint using acrylics. 


For a final touch, varnish them to protect the paint.


Finally, I used a long needle to poke a hole with thread so they can be hung


Some  completed works by Grade 7-9 students:


Friday, February 28, 2025

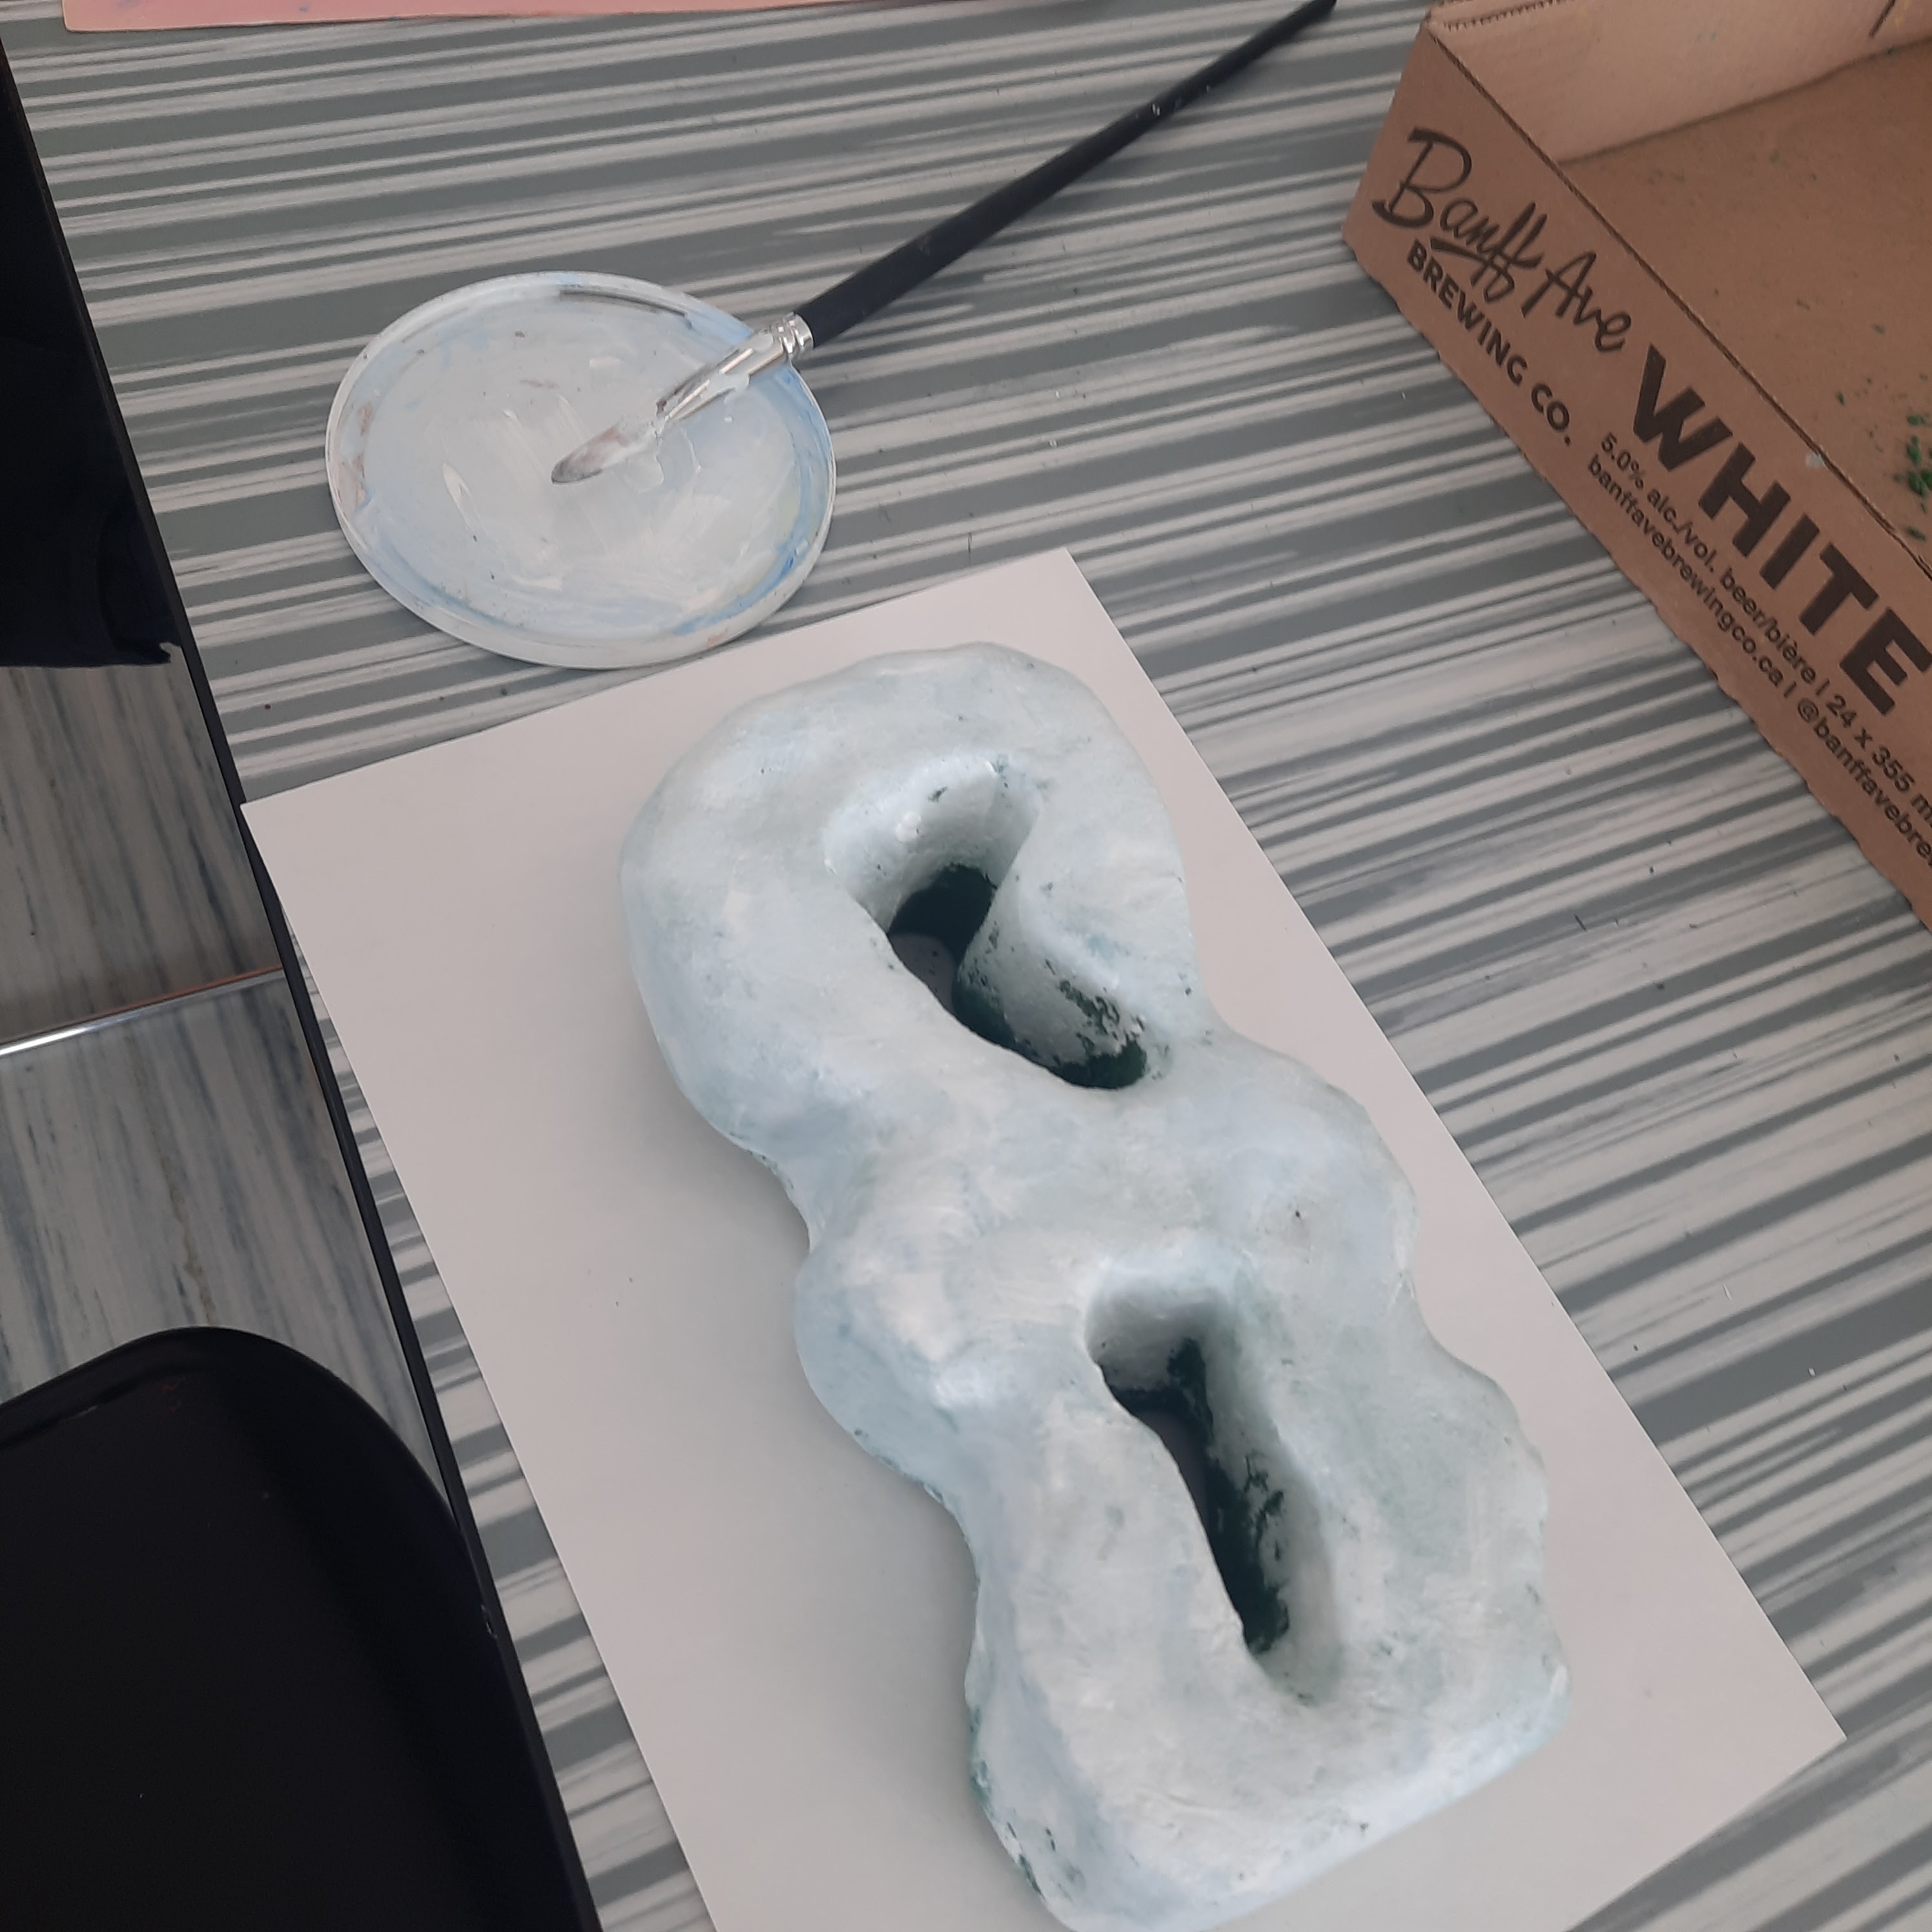
Floral Foam Sculptures


This is a great lesson using inexpensive materials to teach reductive sculpture.
It uses 'wet' floral foam which I buy at Dollarama. 1 block per student.

See my previous posts on this project HERE and HERE.


Grade 10-12 students start off my sketching a plan for their sculpture. I encourage abstract works but there's always a few who want to carve something realistic. This is always a super popular project!


Once they have a plan, they start carving. Each student gets a box lid to work in (from the boxes of photocopy paper in the office- I hoard these ahead of time). The box lids really contain the mess effectively. They dump them out at the end of each class.

We use simple carving tools like plastics knives, chopsticks and bamboo sticks. I also have some plastic clay tools. Fingers are great for smoothing as the floral foam is incredible soft. Do not drop these- they will break!


Keep carving and then start smoothing with fingers. 


Once you're happy with the carving, prime with a couple layers of acrylic paint. 
The foam really sucks up the paint, so you do need two coats.


Then students paint their sculptures using acrylic paint. They are encouraged to mix colours. 


Once dry, varnish them for gloss and protection. Students then hot glue them to a wooden base.


Some finished sculptures- Grade 10-12


Related Posts Plugin for WordPress, Blogger...