ABOUT THIS BLOG

"A Faithful Attempt" is designed to showcase a variety of K-12 art lessons, the work of my art students, as well as other art-related topics. Projects shown are my take on other art teacher's lessons, lessons found in books or else designed by myself.
Thanks for visiting!
LAND ACKNOWLEDGEMENT I acknowledge, with deep respect, that I am gathered on Treaty 7 territory. I acknowledge the many First Nations, Métis and Inuit whose footsteps have marked these lands for generations. I respect the histories, languages and cultures of all the Indigenous peoples of Canada, whose presence continues to enrich our community.
Showing posts with label textile art. Show all posts

Saturday, December 21, 2024

Cute & Cozy "Kittens with Sweaters" Craft


This is a super adorable cozy winter textile craft I did with a mixed class of Kindergarten, Grade 1, 2 and 3 kids yesterday on my last day of school before the Christmas break. It was the second last period of the day, so I was expecting crazy behaviour but the kids were all so great!!

This project popped up randomly on my Facebook feed a couple of weeks ago and I knew I had to do it. See the original post below. It was shared in a public art group:
 (Art teacher collaboration (elementary + middle + high school art teacher). 

I altered the project in a couple of ways. Thank you to the original poster for sharing this project :)))


So yes, you have to pre-cut all the cardboard 'rainbows'. I hate cutting cardboard so this was not fun, lol. If anyone has cardboard cutting scissors they could recommend, please leave a comment! I always try to use Amazon boxes for cardboard projects as they are a little thinner and therefore a bit easier to cut. I made a template out of cardstock, then traced and cut out 17 of these shapes. 


I'm lucky to have been given a lot of yarn donations of the years so I have a big stock pile. I went though it all and pulled out all the multicoloured yearn for this project. Each ball of yarn was different, so the kids could choose the one they like. 
For adaptations for the youngest kids or students with weaker fine motor skills. I highly recommend chunky yarn- it is easier to manipulate and is also faster to wrap.

I also made a blank template cat face outline that I photocopied. 
That way, the kids would draw their own cat faces.


I demonstrated to the kids then they went to work. They started by choosing their yarn and unravelling a length from the ball. They taped the end to the back of their cardboard with a small piece of masking tape. Then they wrapped the yarn all the way around the cardboard. We didn't use any glue.


The kids were SO QUIET at this stage- it took them a lot of concentration getting the yarn just wrapped just right.


Once they were finished wrapping their yarn, they cut off the end and Myself and the Kindergarten assistants helped them tape it again on the back. Then they drew and coloured their cat faces. They cut them out, then took them over to assistant who was manning a hot glue gun station. They chose where they wanted their face and it was glued on for them. Then another teacher, who was helping, asked each child what the name of their kitten was and they wrote the name on the back of the kitten- so cute!!


The kids LOVED the craft and asked afterwards if they could play with their kitten. 
They had a lot of fun with them!
Here are some of the finished ones I managed to snap of pic of:


Sunday, July 21, 2024

Hoop Weaving


I saw some gorgeous hoop weaving in a fancy gift store one day and figured I could probably figure out how to make one. I enlisted the help of a colleague at work who also happens to be a master weaver!

See here work on Etsy HERE
https://www.etsy.com/ca/shop/wanderingweaverstore
Or Instagram: @the_wandering_weaver

She bought bamboo embroidery hoops of various sizes. She taught the students (Grade 7-9) how to wrap cotton twine all around the hoop for the warp strings. 

Then she demonstrated how to start off weaving in the middle with the classic over-under-over-under method. Then she demonstrated the sumac weave. 
Students had the most fun choosing the colours for their weaving. Strangely enough, blue and cream were the most popular colours! Once they started, they quickly got the hang of it!  These take a long time to complete so it's best to start off with smaller hoops.
Here's some in-progress photos- most kids had to take their hoops home for the summer to finish. 


Thursday, March 23, 2023

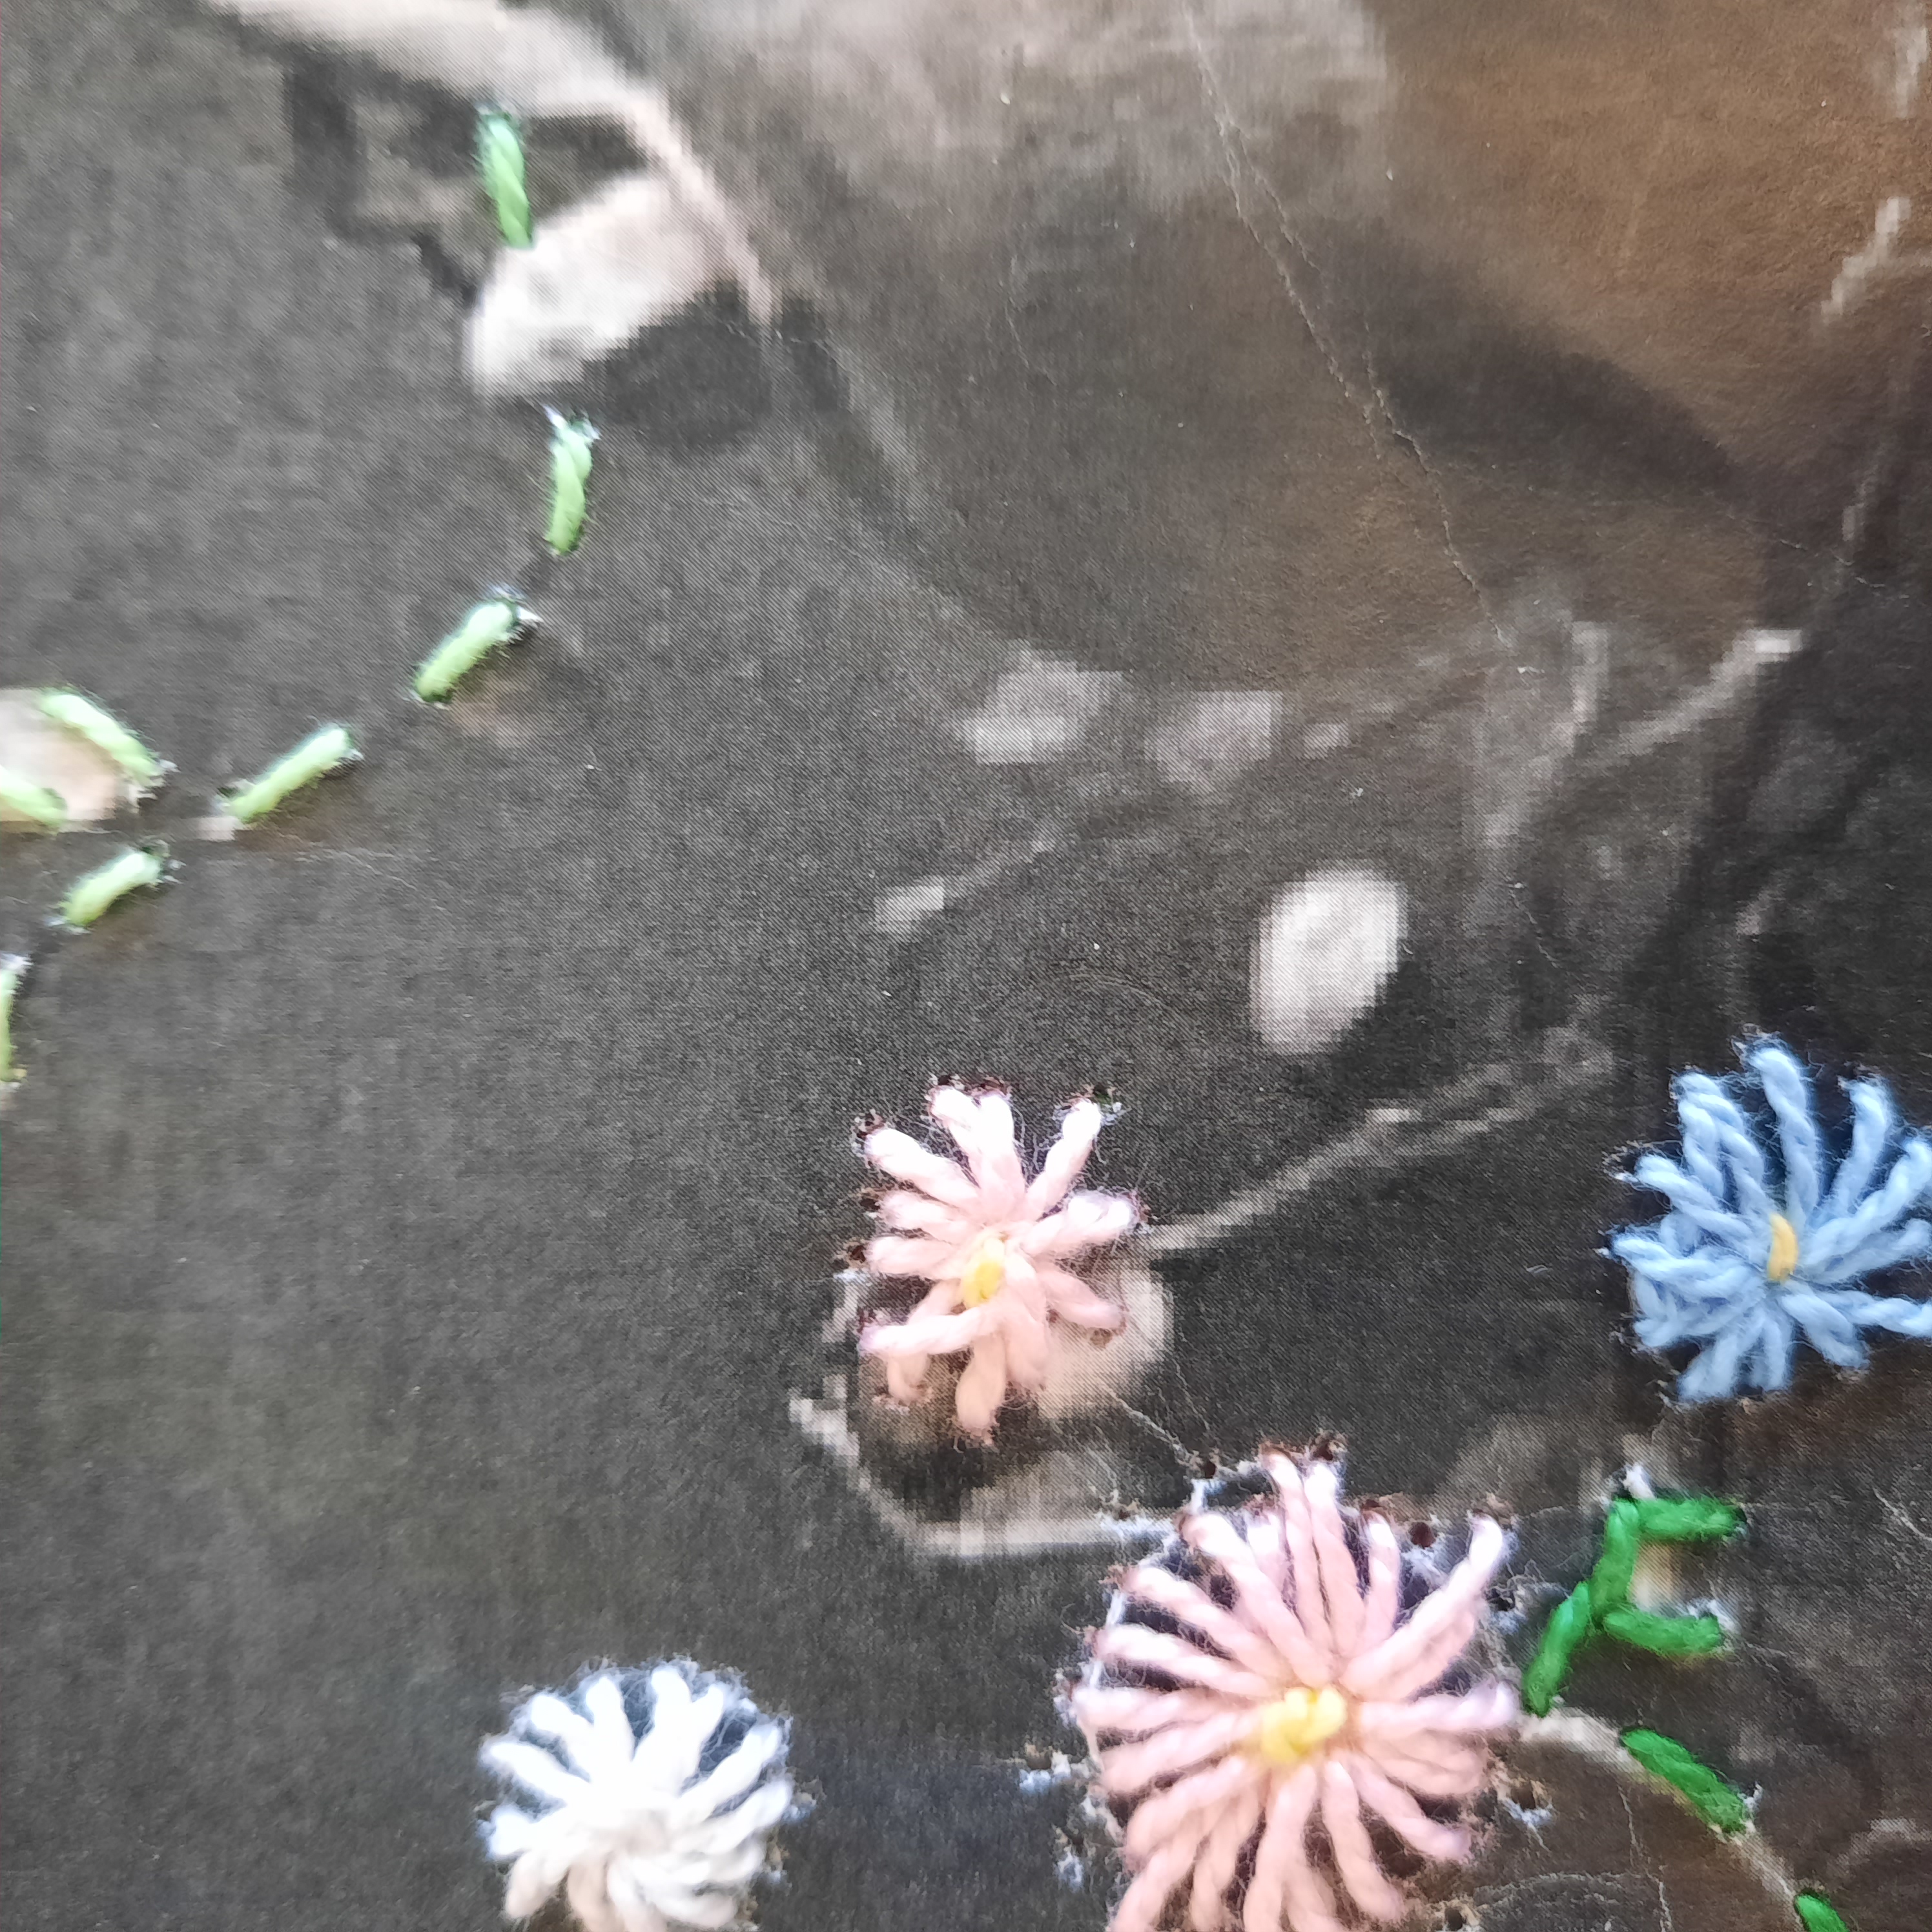
Embroidered Photographs


This was a cool project I did with my Grade 7,8,9 class. It's quite tedious and time consuming, so is a good lesson in patience and perseverance; a definite era of challenge for some of today's students!

I started by showing photo examples of embroidered photography online. |There are lots of examples. Many contemporary embroiderers are pushing the boundaries of the age-old craft to produce unique hand-stitched pieces.  Han Cao, and Flore Gardner are a couple of good examples. 

Students chose a high resolution photo online and then I printed each one onto cardstock. 
You need thick paper for this to work. 
They used a thumbtack to punch evenly spaced holes in the areas they wanted to stick. They could stick over specific areas, or add new stiches to totally transform the image.

We used embroidery floss and tapestry needles. 


Some of the finished ones:


Monday, June 13, 2022

Reconciliation Quilt


This was a very meaningful multi grade collaborative project our school completed recently. It was initiated by one of our Grade 6 Social Studies teacher. She has a background in quilt-making and has a personal interest in Indigenous culture and reconciliation.

 The Truth and Reconciliation Commission of Canada (TRC) was created through a legal settlement between Residential Schools Survivors, the Assembly of First Nations, Inuit representatives and the parties responsible for creation and operation of the schools: the federal government and the church bodies.

The TRC’s mandate was to inform all Canadians about what happened in residential schools. The TRC documented the truth of Survivors, their families, communities and anyone personally affected by the residential school experience. This included First Nations, Inuit and Métis former residential school students, their families, communities, the churches, former school employees, government officials and other Canadians.

Reconciliation can be a touchy subject in my province of Alberta with many Conservative politicians and people trying to downplay it. I'm thankful I work with colleagues who are passionate about including First Nations topics in our school including difficult ones such as reconciliation and residential schools.

I've done some other Canadian Indigenous lessons in the past:
See my Blackfoot Winter Count Buffalo Hide Designs art lesson HERE
See my Norval Morrisseau Style X-Ray Paintings HERE


For this collaborative quilt project, students from Grade 4,5 and 6 worked to colour in a square for the quilts.  An indigenous representative helped the Socials teacher select the indigenous imagery used and ensured they were appropriate. They strove to represent The First Nations, Metis and Inuit of Canada with each image chosen and to honour each indigenous group.
The images were printed off and the students traced them onto pre-cut canvas squares. The edges were taped off. 


Once traced in pencil, the images were coloured using fabric markers. While students worked on the art, the teacher shared the symbolism of the images she has learned from Knowledge Keepers.


Once all the fabric squares were coloured, some students ironed and prepared the material for sewing. A parent volunteer helped the Socials teacher sew all the material together. Finally, a local quilting company, Loopy D, was utilized to to sew the quilt patterns on top of the quilt.

During a division wide assembly, one of the quilts was gifted to a local Indigenous Education Consultant (from the Cree and Carrier First Nations) who worked with our students last year, teaching traditional Indigenous games on National Indigenous Peoples Day. He was very touched by the gift and gave us a mini lesson on the history of gifting blankets within his culture.

For First Nations people, a blanket holds deep meaning and traditions linked to culture, birth, life and death. Blankets are given at weddings and upon the birth of a child. They are also given to recognize elders and those involved in a worthy endeavour. Some blankets used at pow-wows are changed into shawls by adding satin appliqués and ribbons. First Nations peoples’ use of blankets is multidimensional, shaped by their experiences, and can be passed to future generations. (Source)

I love how they all turned out! Making these ten quilts connected everyone and helped us learn about caring for one another by accepting other cultures in Canada.


Here are the specific steps as generously provided by my colleague:

Quilt Process

Step one: With the help of an Indigenous Consultant, images were researched together to ensure they were appropriate. Copies were made of these images.

Step two: Beige fabric squares were prepared (cut 14inch by 14 inch and taped along the edges to prevent fraying).

Step three: Using a pencil, the paper copies of the images were placed under the fabric squares and traced.

Step four: Fabric markers were then used to colour in the images.

Step five: The images were heat-treated (ironed).

Step six: Images were carefully selected and grouped to highlight each piece.

Step seven: Fabric was chosen to bring out the gorgeous artwork. 

Step eight: Fabric was cut to size for sewing together and the tape was removed from the fabric squares, which were then “squared up”.

Step nine: The images were sewn to the fabric sashes. These were each heat treated to ensure a smooth seam.

Step ten: Batting was cut (a little larger) than the top of the quilt. 

Step eleven: The backing was cut a little larger than the top layer and the batting and all three sections were pinned together.

Step twelve: Time for the long arm quilting machine to work it’s design magic onto the quilt.

Step thirteen: Cut fabric 2.5inches wide and in long strips, sew these together on the bias to create the binding.

Step fourteen: The quilt is ready for “squaring up” before the final touch.

Step fifteen:  Sew the binding (back of the quilt first, iron and then sew the front of the binding onto the top of the quilt)


Related Posts Plugin for WordPress, Blogger...