This is a really fun lesson that I learned at this years NAEA convention in Seattle. This was an activity center set up by the art catalog company Dick Blick. I never order from Blick because it's a US company and I'm in Canada so the shipping costs don't make it worth it unfortunately, which is sad because they have so many great products that I can't get through my own art supply company.
This is a pour painting project that's so popular on YouTube right now. I've had some students request doing this as a project but the cheap side of me is always thinking about how much paint it seems to waste!! But learning this technique showed me that it's possible to do it using cheaper tempera paint (as opposed to acrylic) and there's actually not that much wasted paint at all.
You can find the PDF lesson plan and steps HERE on the Blick website.
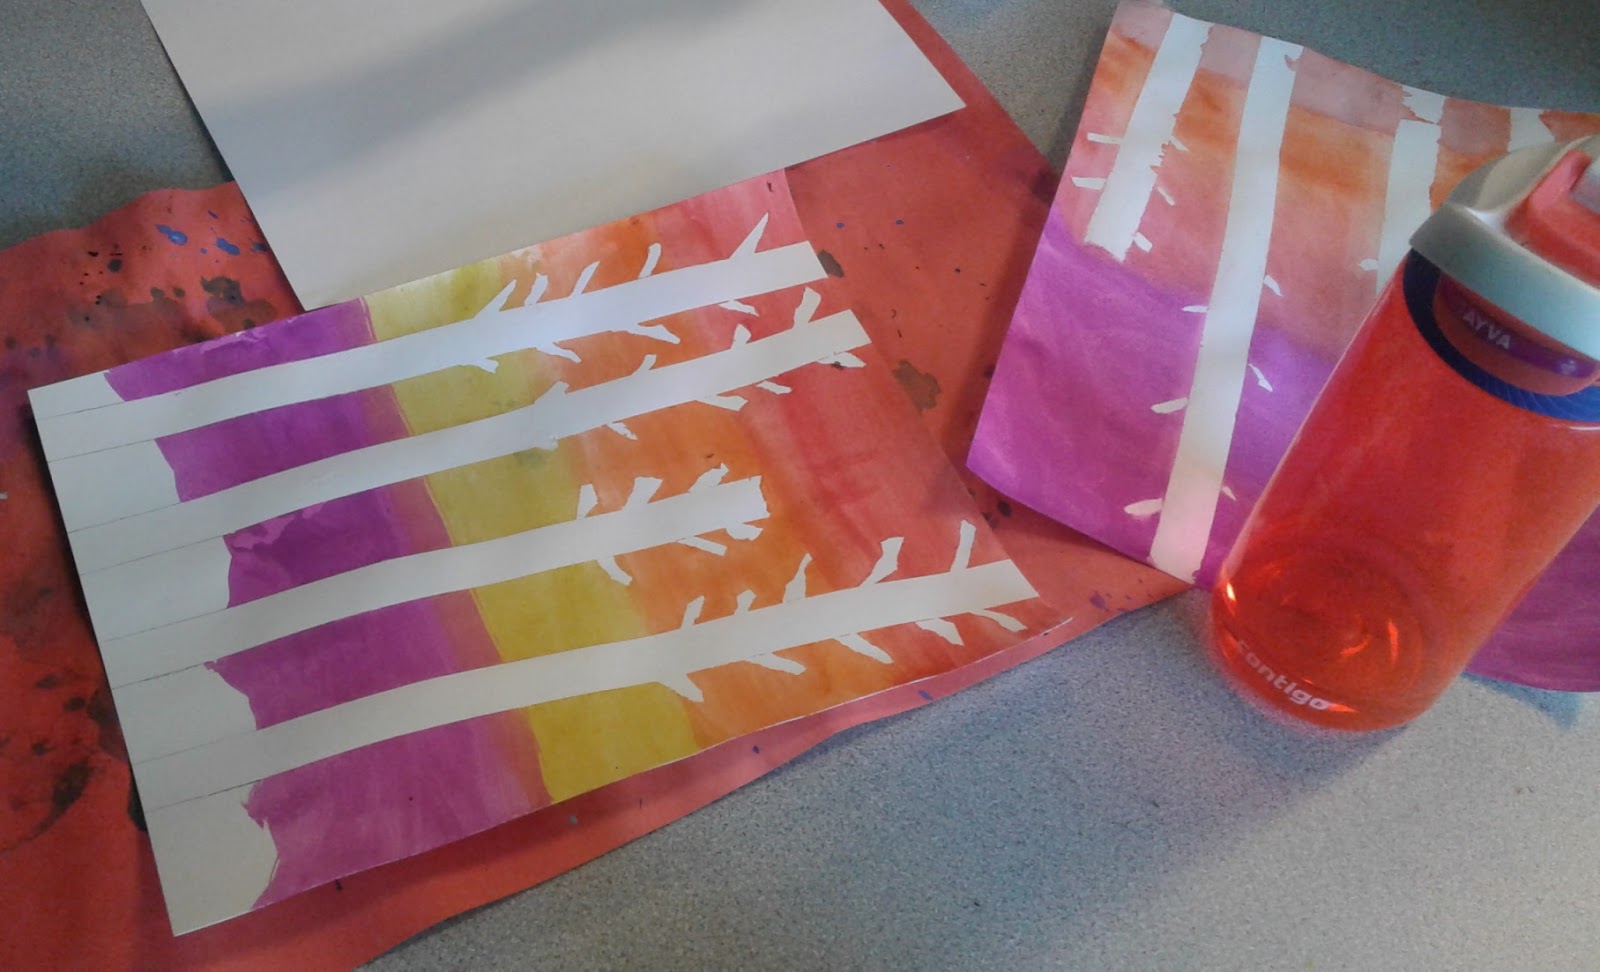
They had the two samples below on display which was helpful to refer to.

They were also giving away hard copies of some art lessons which was handy.

The lady working my side of the table was great! Super patient and calm and kind- kudos to her given the somewhat busy and chaotic atmosphere! We started by making our silhouette out of heavy black paper- cardstock type. They had stencils for us to trace which was a real time saver.


I cut these out using scissors and a tiny Xacto-type blade they had. It didn't work for me and made really rough cuts so I ended up cleaning everything up with scissors. Put the silhouette aside.

Now for the pour painting part: they gave us a small plastic Dixie cup and told us to fill it with squirts of tempera paint in a bull's eye type pattern to about 1/4th full. We were also given a small canvas board- about 4 x 6". The colours I chose were purples, white, some blue and gold. We could also squirt in some of their new glow in the dark glitter glue. It looked lumpy on top of the smooth paint and I didn't think it would smooth out but it did. Once dry, if you put a black light over these, the glitter glue glows.
Myself and everyone around kept asking if the paint needed to be watered down. Every tutorial I've watched has the paint watered down to a more ink-like consistency- not simply pure paint. But the instructor insisted it didn't need to be. I was doubtful but I trusted her!!


Then put the canvas board on top of the cup of paint and then flip it over. Dump out all the paint and you'll get a wonderful puddle of paint! Tilt it around, tap the back with your fingers and cover all of the board. I had to add a bit more paint. It thickens up as you go, so you need to work fairly quickly.

Once the canvas was covered, we were given a disposable plastic to-go carton with a lid
which was to protect our wet painting.

We placed out silhouette right on top of the wet paint and carefully tapped down all of the edges.


They even taped on a handy handle so we could carry our painting.

Tomorrow, the painting had dried nicely, but was completely matte- it still looked pretty.
I would spray varnish these to make them shiny.
Now I'm testing out the same process back at my school with some crap old tempera I have. I've also added in some squirts of WD-40 (silicone) to create a more marbled effect. So far it's worked out- I just need to wait and see how they dry overnight.
I can't wait to teach this lesson with my junior high kids!