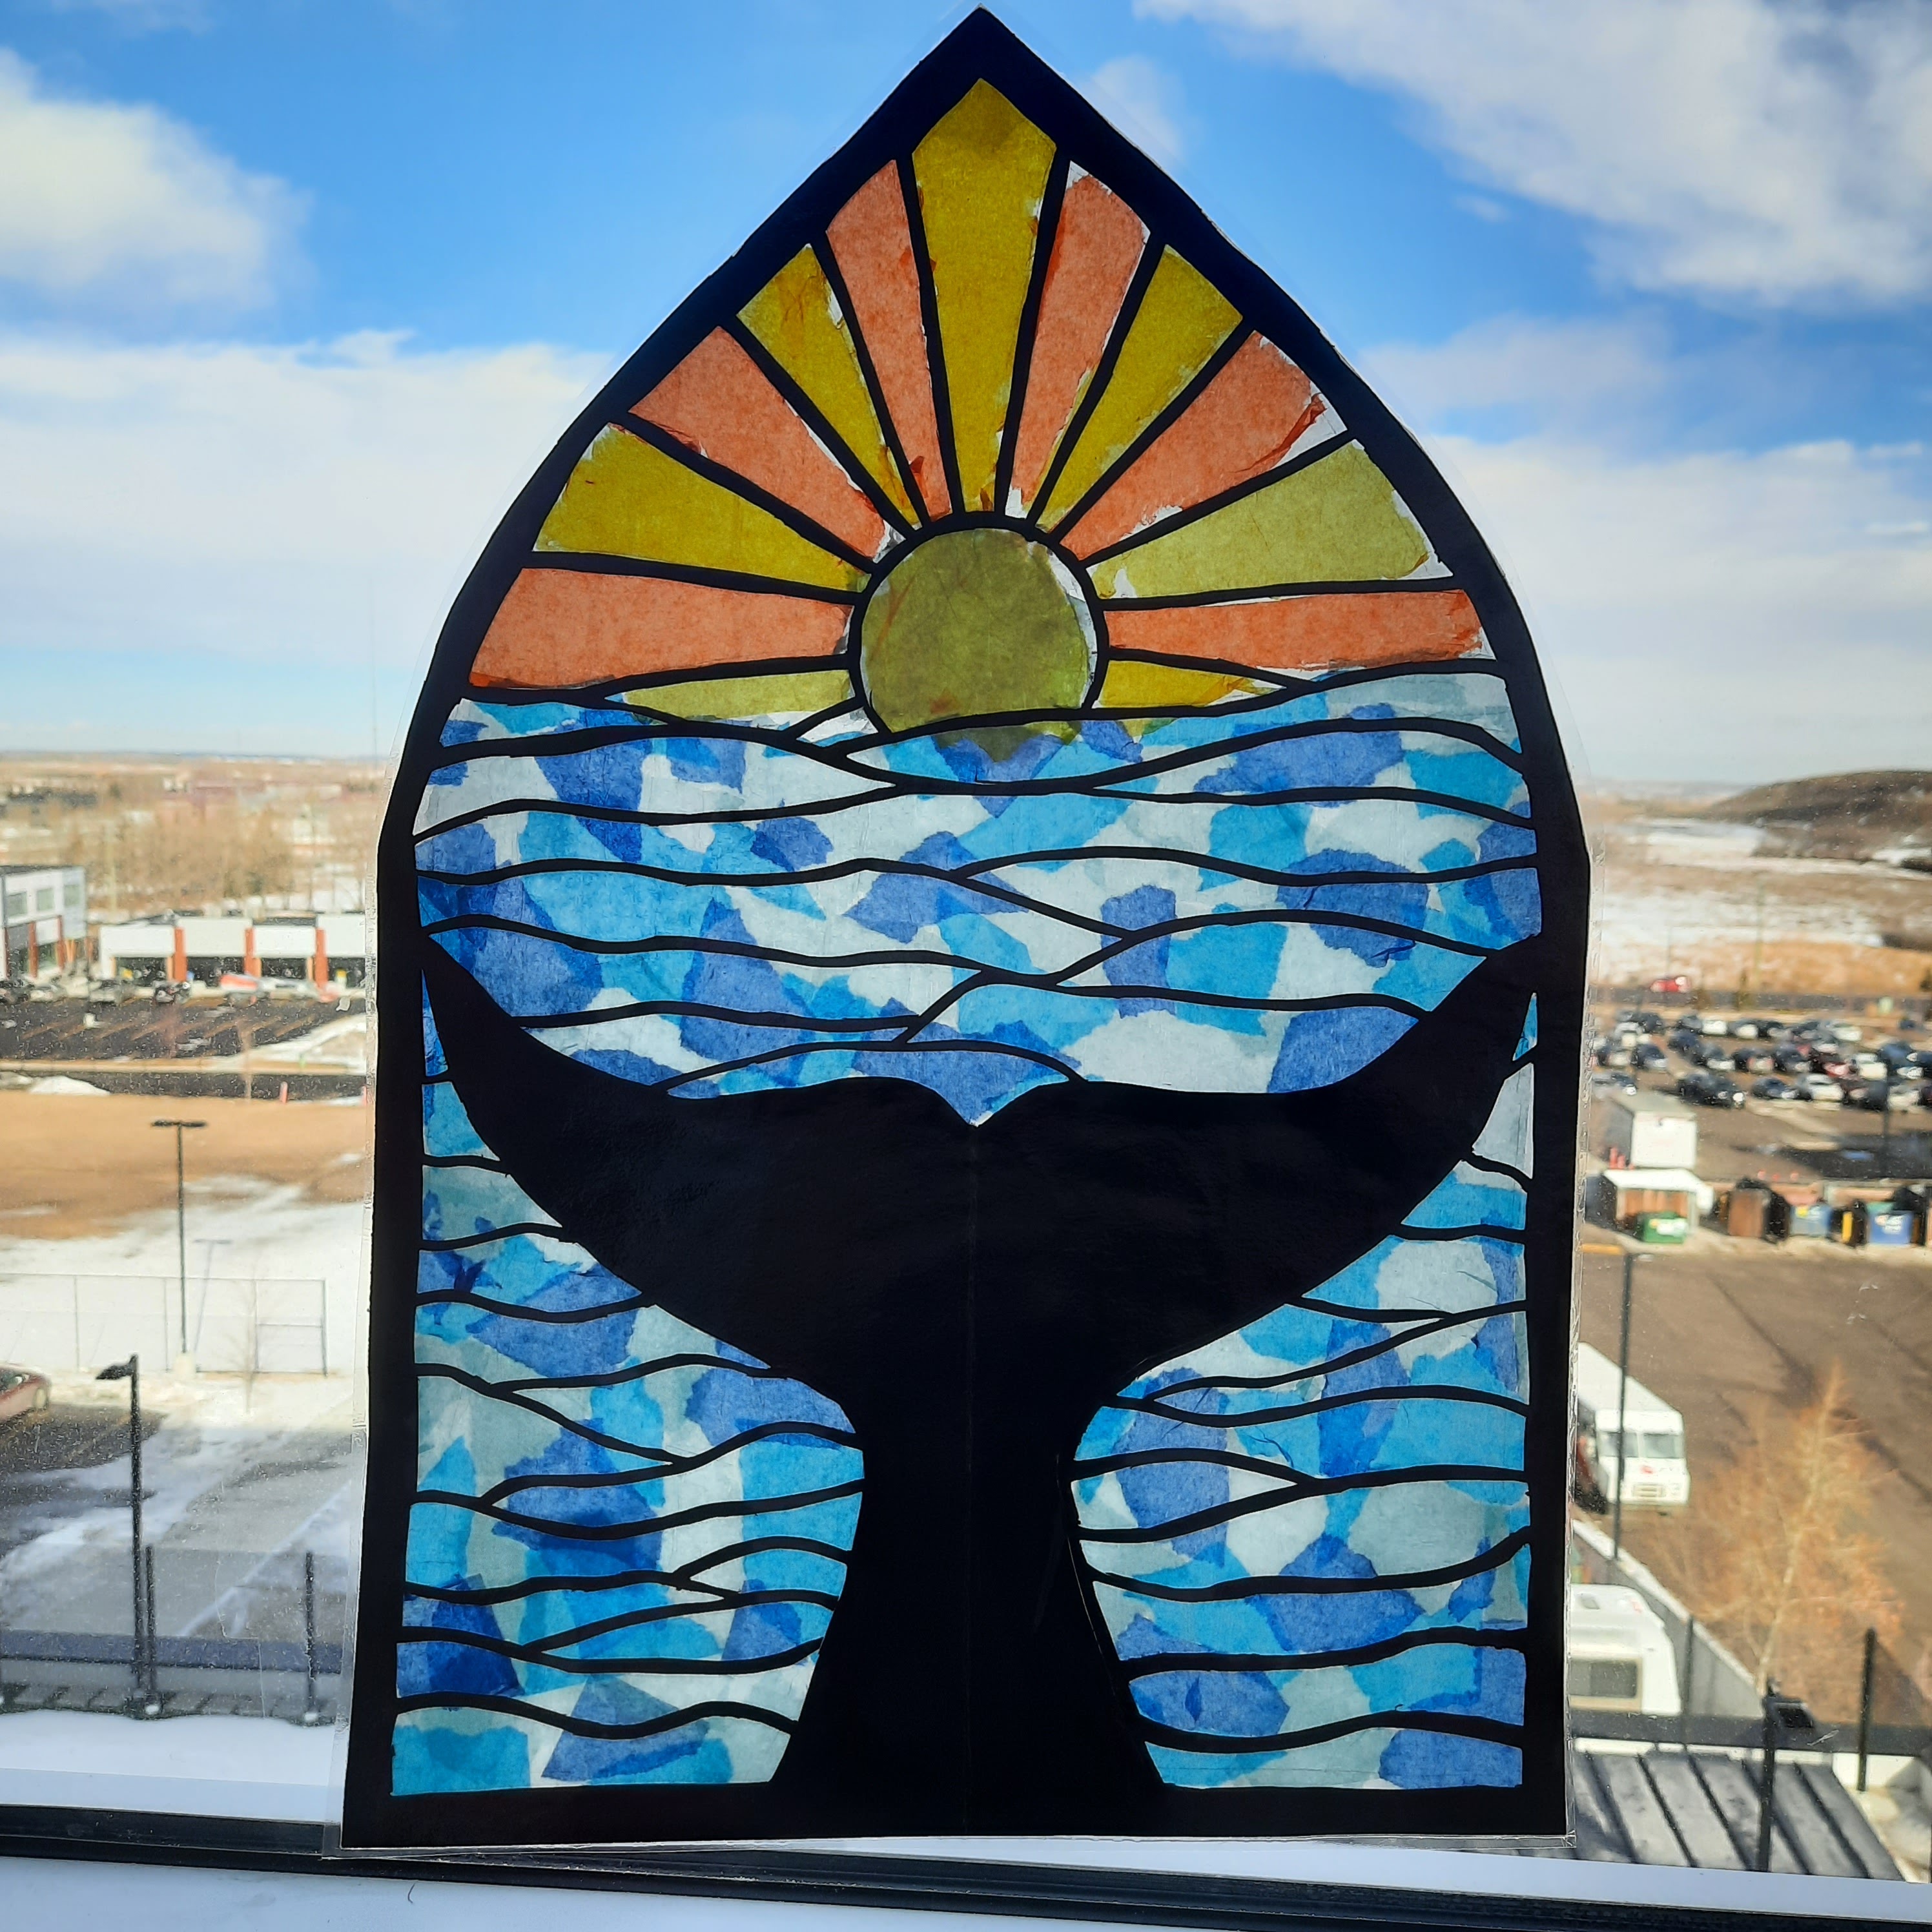
Here's an absolutely stunning faux stained glass project my junior high students recently finished.
These are made from black construction paper and tissue paper. They took about a month or so to finish, due to the intricate nature of all the steps.
To start off, I showed students a slideshow about the stained glass in Western Europe during the Middle Ages. I showed them a video of how stained glass is made (the technique hasn't really changed in hundreds of years!).
So then students started planning their own design. It could be any subject matter. I demonstrated how to make one using thick black construction paper. The key thing is you don't want the lead lines too this. I told them a minimum of 1 cm thickness, but many made them thinner! This resulted in lots of torn bits that they had to tape together on the back.
So here are the basic supplies- mini cutting boards, x-acto knives and parchment paper.
Make sure you use good quality and nice pure black construction paper. Tru-ray is the best brand in my experience. Anything less than that doesn't not cut cleanly and is too flimsy.
To make it symmetrical, some student folded their paper in half vertically.
They drew their design in white pencil crayon. Shading in what needs to be cut out really helps.
Include a border as well, to hold the whole thing together.
A finished cut piece. Then cut a sheet of parchment paper slightly larger and trace the black paper outline onto it and cut that out. This will be what you glue the tissue paper too.
There are two ways to attach the coloured tissue paper. I call the first way kaleidoscope.
Using watered-down glue, just collage various ripped colours of tissue onto the parchment paper
And voila. Let the tissue paper dry and then glue the black paper on top carefully using white glue.
The second method is if students want a specific colour for each section. You basically cut tissue slightly larger than each space and glue stick it on the back. This technique takes a bit longer.
Here's some more progress photos:
 |
| back view |
I hung these in a long hallway with lots of windows and they looked stunning with the light shining through!


.jpg)


