ABOUT THIS BLOG

"A Faithful Attempt" is designed to showcase a variety of K-12 art lessons, the work of my art students, as well as other art-related topics. Projects shown are my take on other art teacher's lessons, lessons found in books or else designed by myself.
Thanks for visiting!
LAND ACKNOWLEDGEMENT I acknowledge, with deep respect, that I am gathered on Treaty 7 territory. I acknowledge the many First Nations, Métis and Inuit whose footsteps have marked these lands for generations. I respect the histories, languages and cultures of all the Indigenous peoples of Canada, whose presence continues to enrich our community.
Showing posts with label weaving. Show all posts

Friday, March 20, 2026

Woven Watercolour Paintings


This is an old project I found recently. I didn't take photos of many of the finished ones but you can get the idea. I posted this lesson previously yeeeaars ago HERE.

You take two sheets of heavy paper the same size. Draw one picture on one, then trace this onto the second one to get an exact replica. Then paint them using whatever paint you like. 
If you paint them similar colours, you'll get a subtle woven painting. If you paint them using contrasting colours, you'll get a more dramatic, high contrast
 final artwork.

Measure strips on the back of each painting, cut and weave!  This takes time and patience.


Friday, March 6, 2026

Colourful Oil Pastel Paper Weavings


This is a great one day lesson that my Grade 4-6 students completed in an 80 minute period. 
The nice thing about oil pastels is you get vibrant colours and don't need to worry about drying time.
I found the lesson HERE

I let my students choose any colour combinations they wanted. Its a great lesson for reviewing colour theory and different types of harmonious colour combinations. We used cardstock and glued the strips onto 12 x 18" black construction paper and then I cropped them down after. 


Sunday, July 21, 2024

Hoop Weaving


I saw some gorgeous hoop weaving in a fancy gift store one day and figured I could probably figure out how to make one. I enlisted the help of a colleague at work who also happens to be a master weaver!

See here work on Etsy HERE
https://www.etsy.com/ca/shop/wanderingweaverstore
Or Instagram: @the_wandering_weaver

She bought bamboo embroidery hoops of various sizes. She taught the students (Grade 7-9) how to wrap cotton twine all around the hoop for the warp strings. 

Then she demonstrated how to start off weaving in the middle with the classic over-under-over-under method. Then she demonstrated the sumac weave
Students had the most fun choosing the colours for their weaving. Strangely enough, blue and cream were the most popular colours! Once they started, they quickly got the hang of it!  These take a long time to complete so it's best to start off with smaller hoops.
Here's some in-progress photos- most kids had to take their hoops home for the summer to finish. 


Wednesday, January 24, 2024

Painted Paper Woven Hearts


This is a fun but time consuming lesson- great for Valentine's Day.
I was inspired by a lesson found posted on the now defunct
Los Cerros Middle School art page in California. I teach this lesson to Grade 4,5,6 students.

Find all the steps when I posted previously about this 14 years ago (!!) HERE

To make it go faster, use smaller paper!  
This time we used 9 x 12" heavy white paper and tempera paint. 


Grade 4,5,6 results:


Monday, June 6, 2022

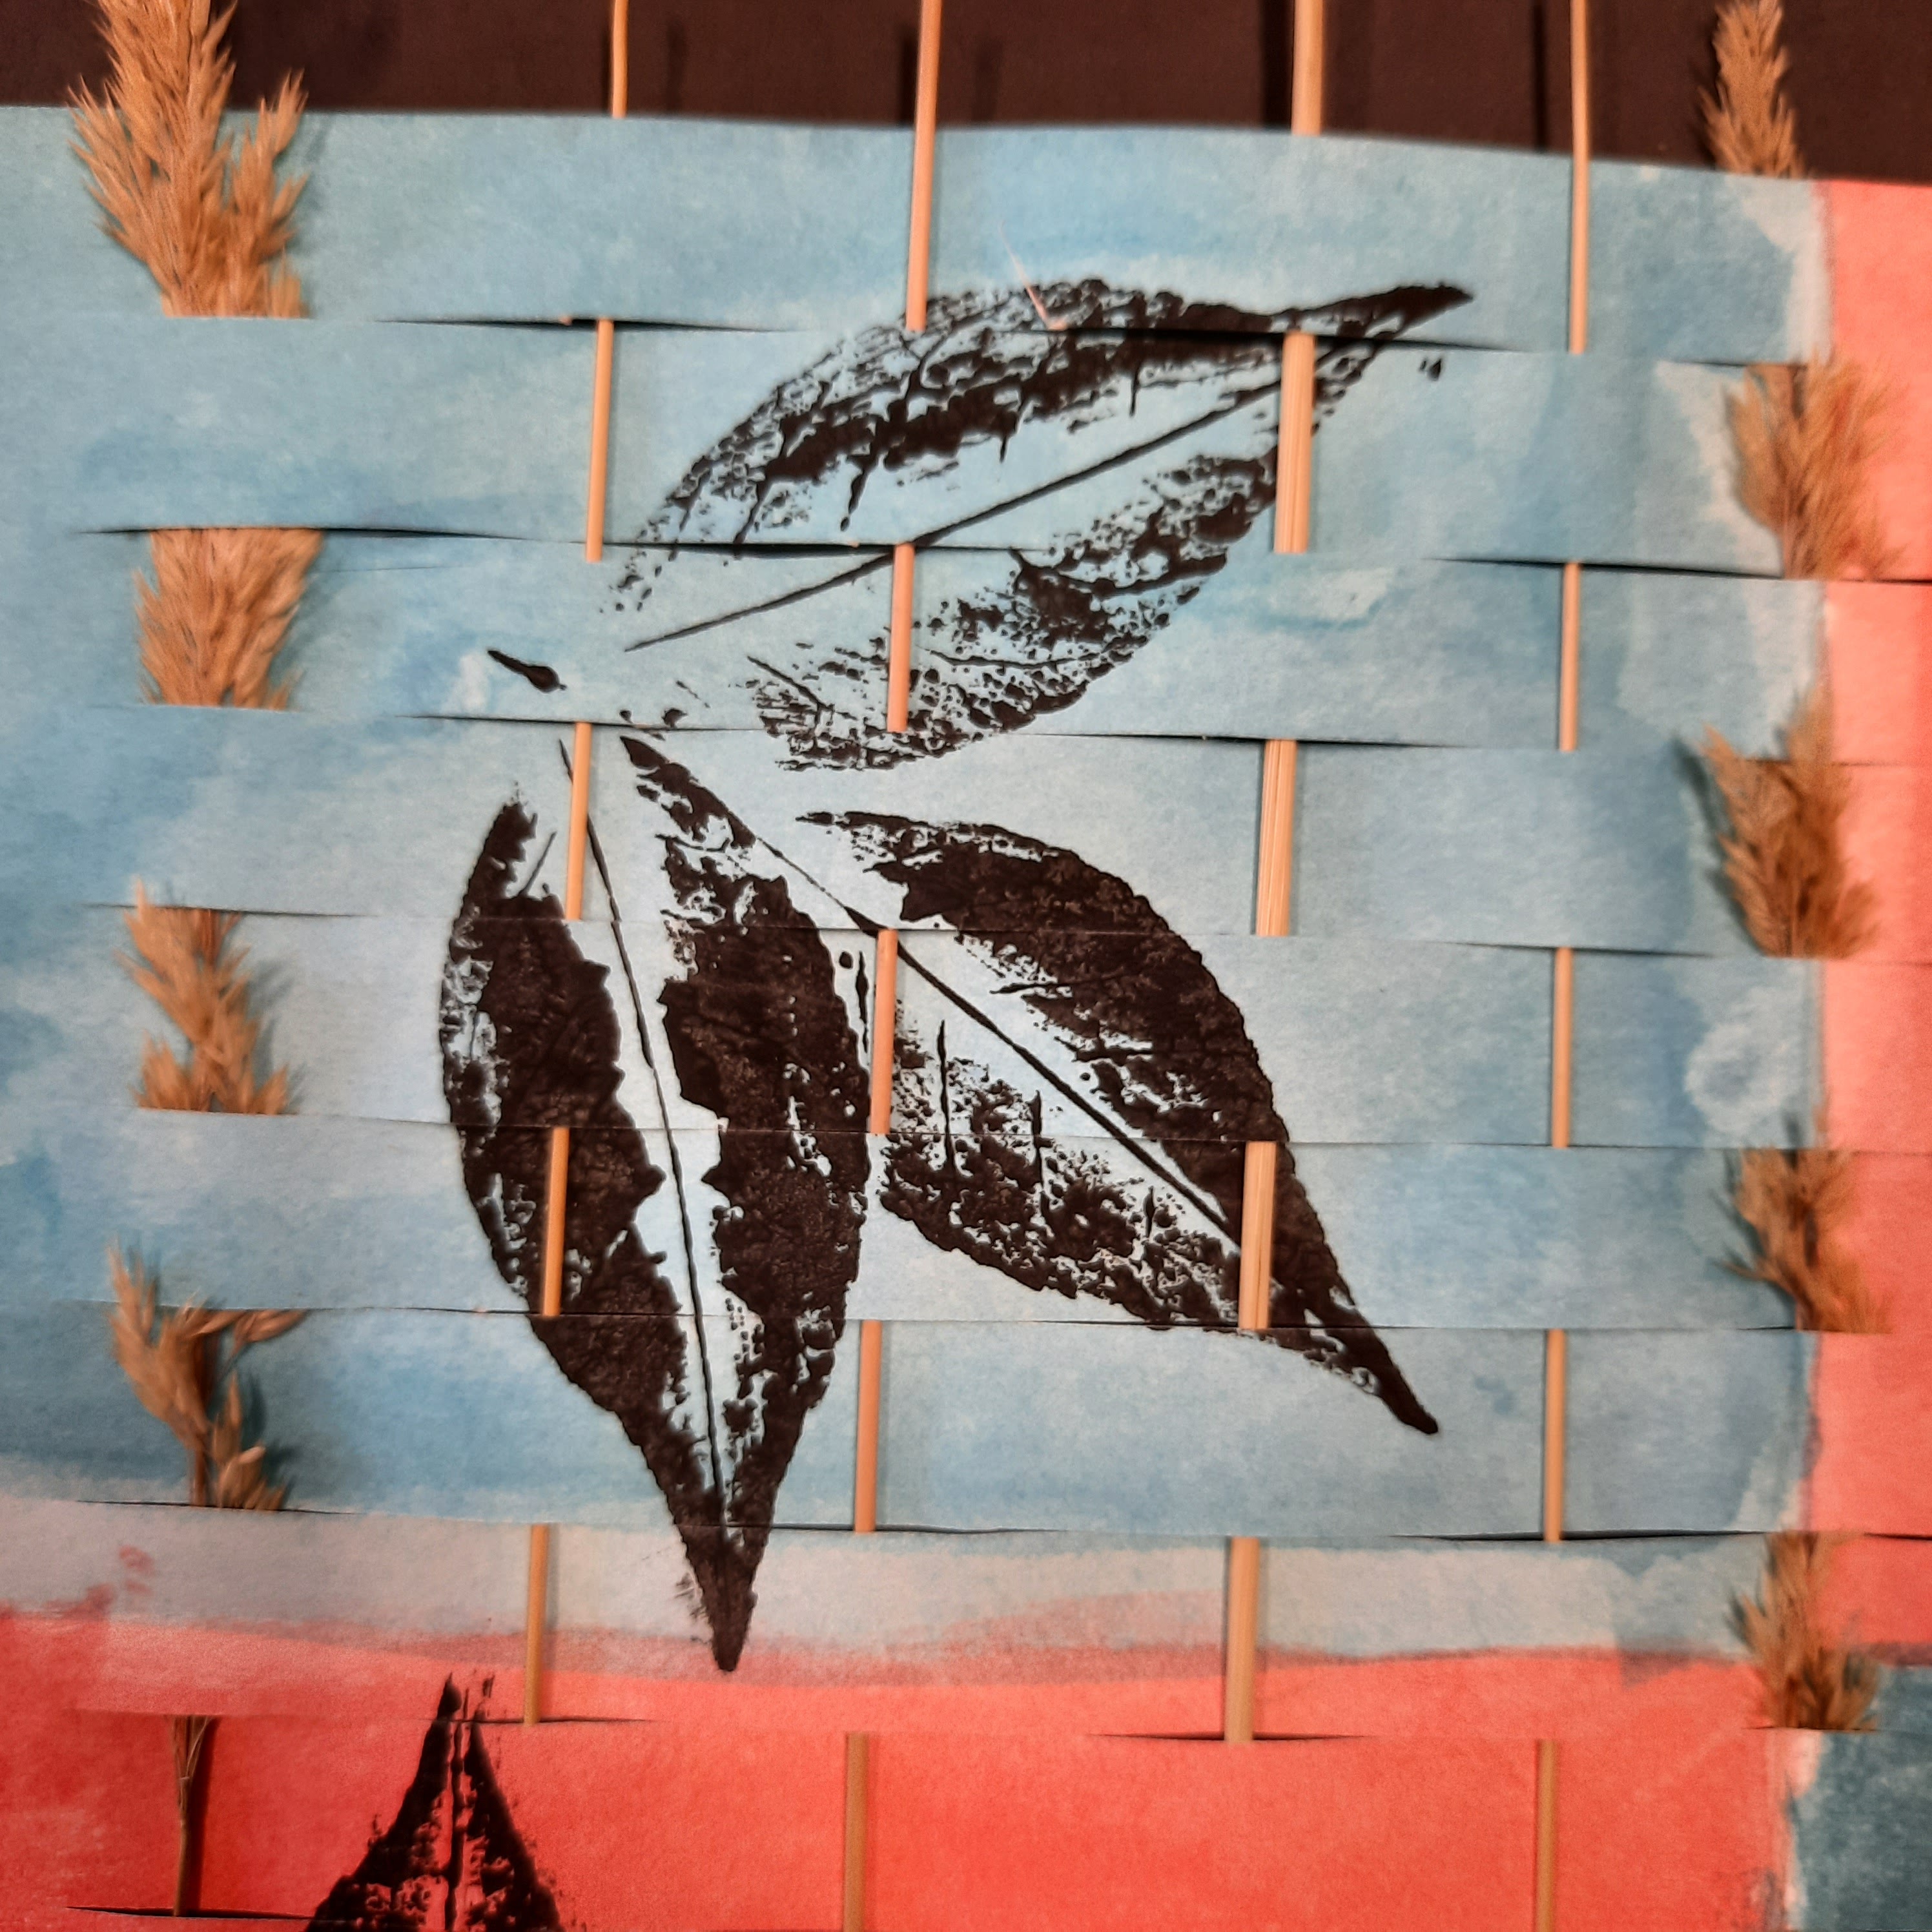
Leaf Print Weaving- Nature Inspired


This is a nature weaving lesson I found on the Crayola website HERE which I've modified a bit.  
You essentially paint some paper, then paint the underside of leaves to create leaf prints, 
then weave twigs or grasses through the painted paper.

So Grade 4 - 6 students started off with a sheet of heavy white paper or even cardstock.
Fold it in half both ways so you have 4 equal sections.
Paint the sections whatever colours you like. We used watercolours, but you 
can use tempera cakes or acrylic. 


Gather some interesting leaves of various shapes and sizes; make sure they have strong veins on the backside, otherwise you won't get a decent print off of it. I missed photographing this step but paint the back of the leaf with black paint and make a leaf print in each section. 
Have students practice on scrap paper first until they get the hang of it. I like to use black for the dramatic contrast, but students chose whatever colours they liked.  Make a leaf print in each section.  I encourage the students to keep it fairly symmetrical or at least have the opposite sections match.

Let this paper dry. Once it's dry, fold it in half and cut some thin strips through it.  I draw a line across the top, about 3 cm thick, that I don't cut through.  This keeps the paper all together. You can measure the strips with a ruler or not- it's up to you. It doesn't have to be perfect. 
The thinner the strips, the longer it takes to weave, FYI.


For the nature weaving part, we gathered some long, dry grasses from a nature reserve near our school.  You could have the students gather think twigs as well.
We used about 15 'blades' of grass per artwork. You may need to cut them down to be just slightly longer than the width of your paper.

Then weave the grass through the paper: over, under, over, under and alternate for the next row.
After it's finished, we paint the back with white glue for extra strength and to keep the grasses all in place. You can trim off any ends that are too long or leave it au natural.


Some Grade 4 - 6 results!


Related Posts Plugin for WordPress, Blogger...