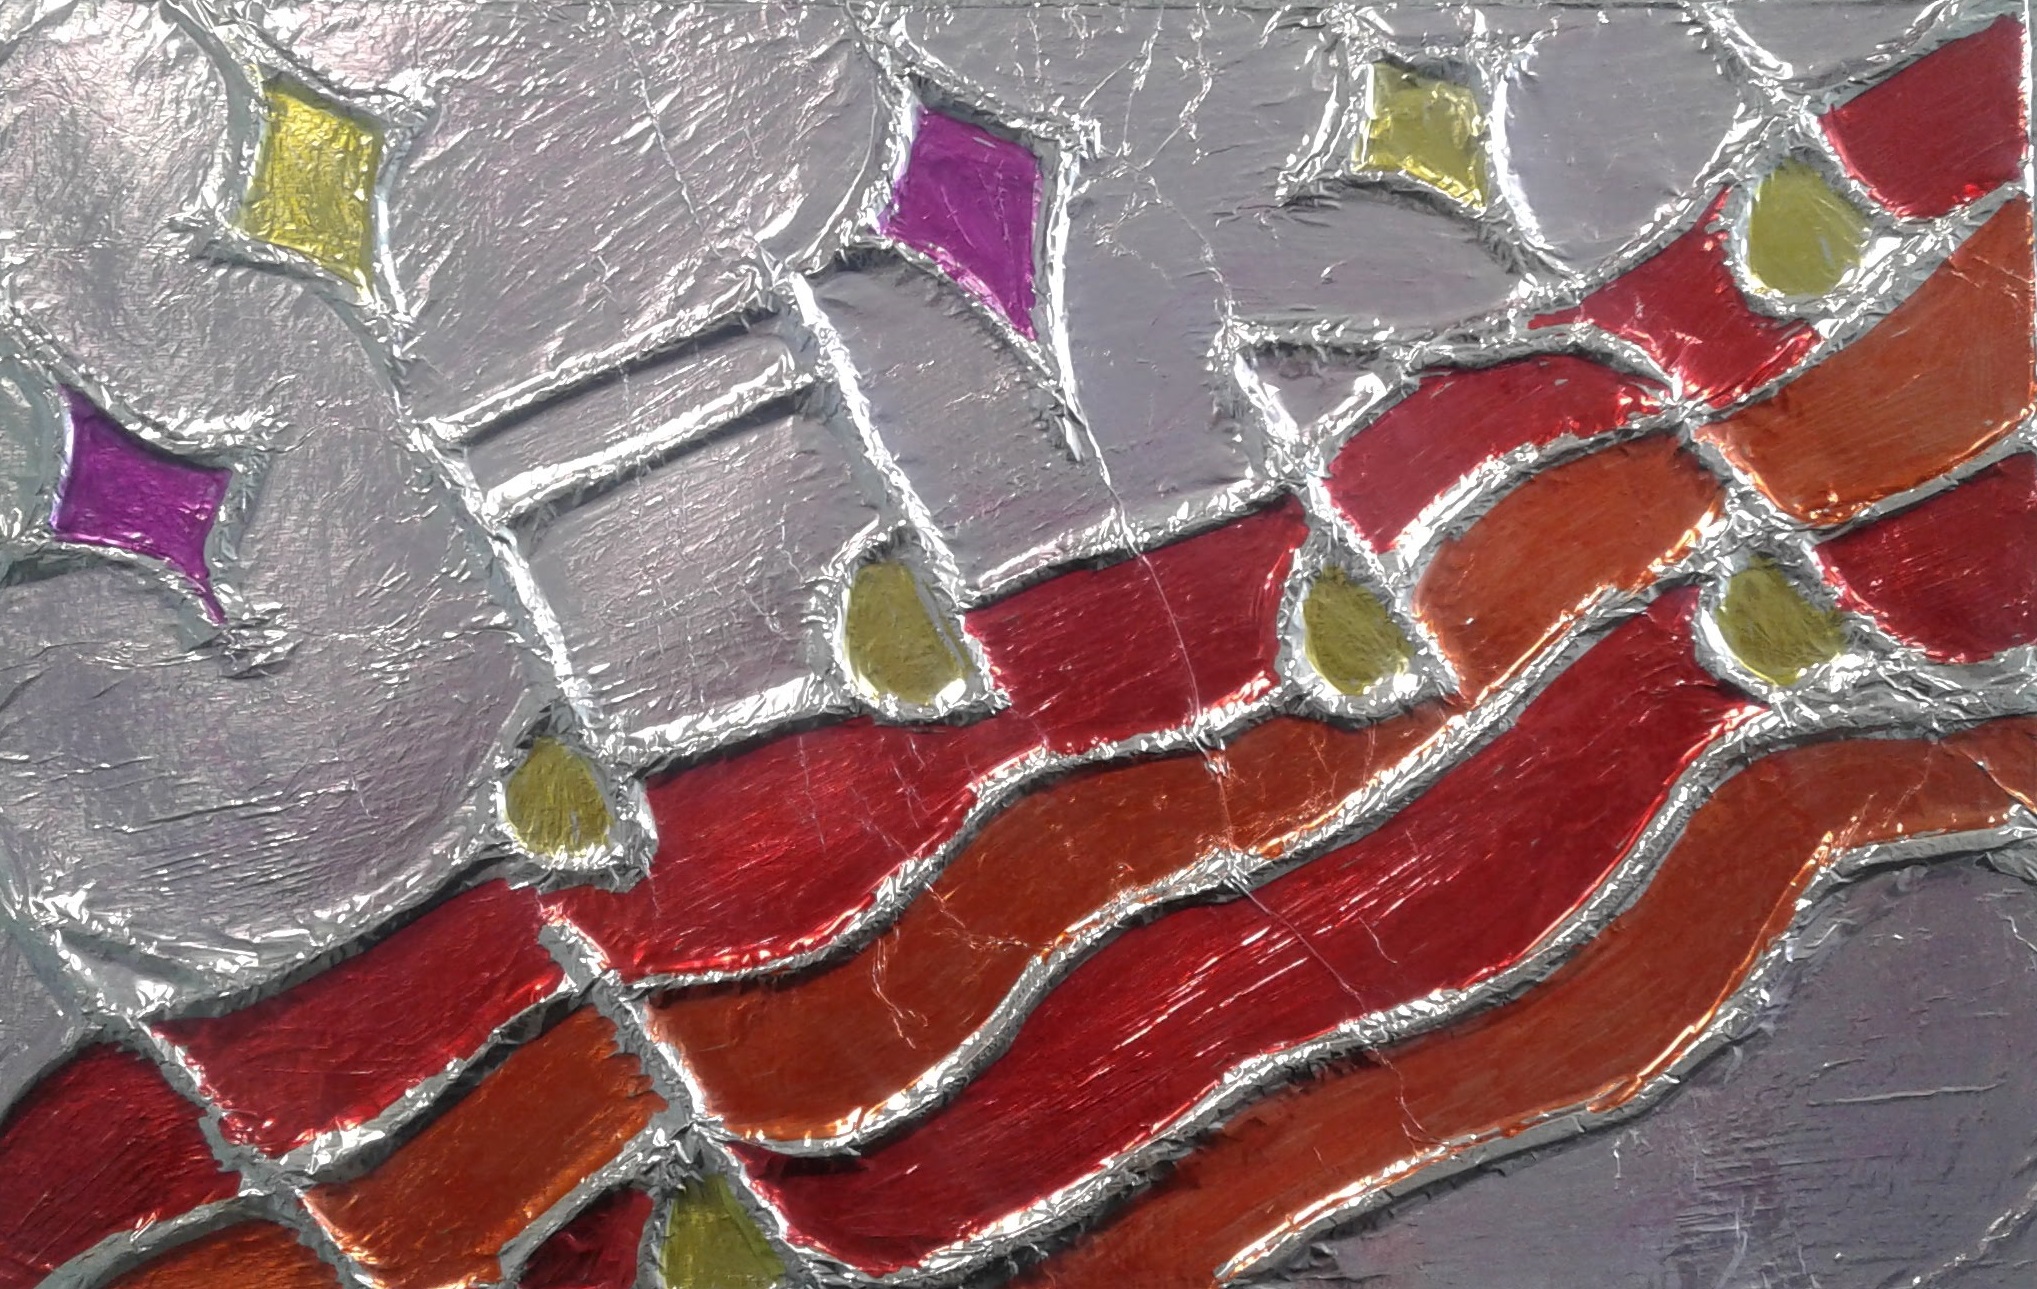
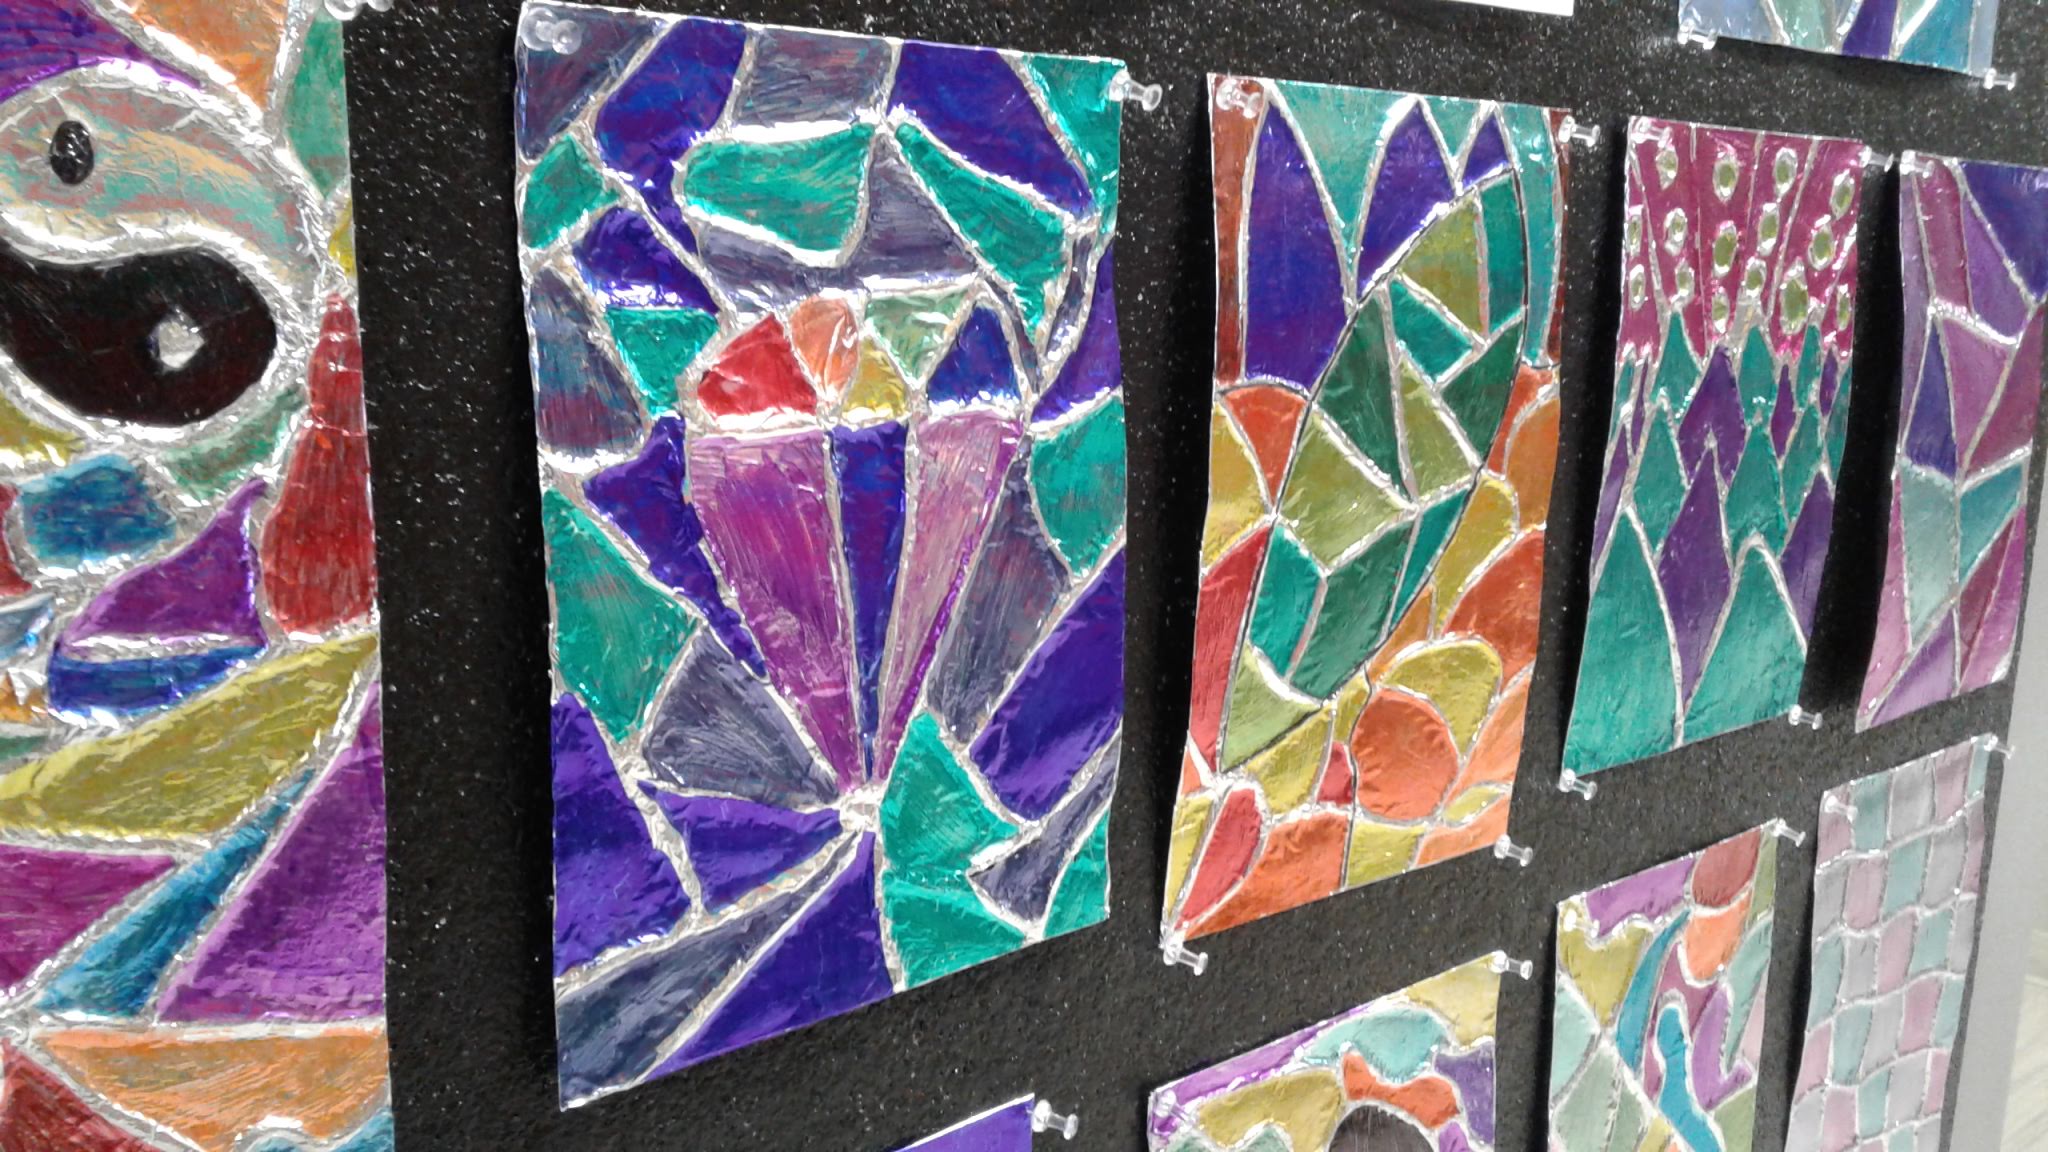
This is a foil embossing project, known as repoussé, that I did with a Grade 11 IB class.
It requires designing a highly detailed image onto foil and then aging it with ink.
I find that students who enjoy doing linocutting quite enjoy this process as well, as it requires patience to work with a fairly slow process with fine detail.
From Wikipedia:
Repoussé is a metalworking technique in which a malleable metal (copper, brass, aluminum, etc) is ornamented or shaped by hammering from the reverse side to create a design in low relief. Chasing is the opposite technique to repoussé, and the two are used in conjunction to create a finished piece. It is also known as embossing.
I had my students first research the art of repousse and record it in their sketchbook. Googling words like embossing, foil embossing, metal embossing and repousse will get them the most variety of results. They also looked at repousee from various cultures and time periods, some good examples being Bronze Greek armour plates, Assyrian, Phonecian and Etruscan art.
Here's a sketchbook page showing this student's research:
So here's how I made my sample in order to show my students the process and steps:
I found an image I wanted to emboss- in this case a matryoshka doll image from a card I had.
Draw the image onto a sheet of regular white paper the same size as your foil.
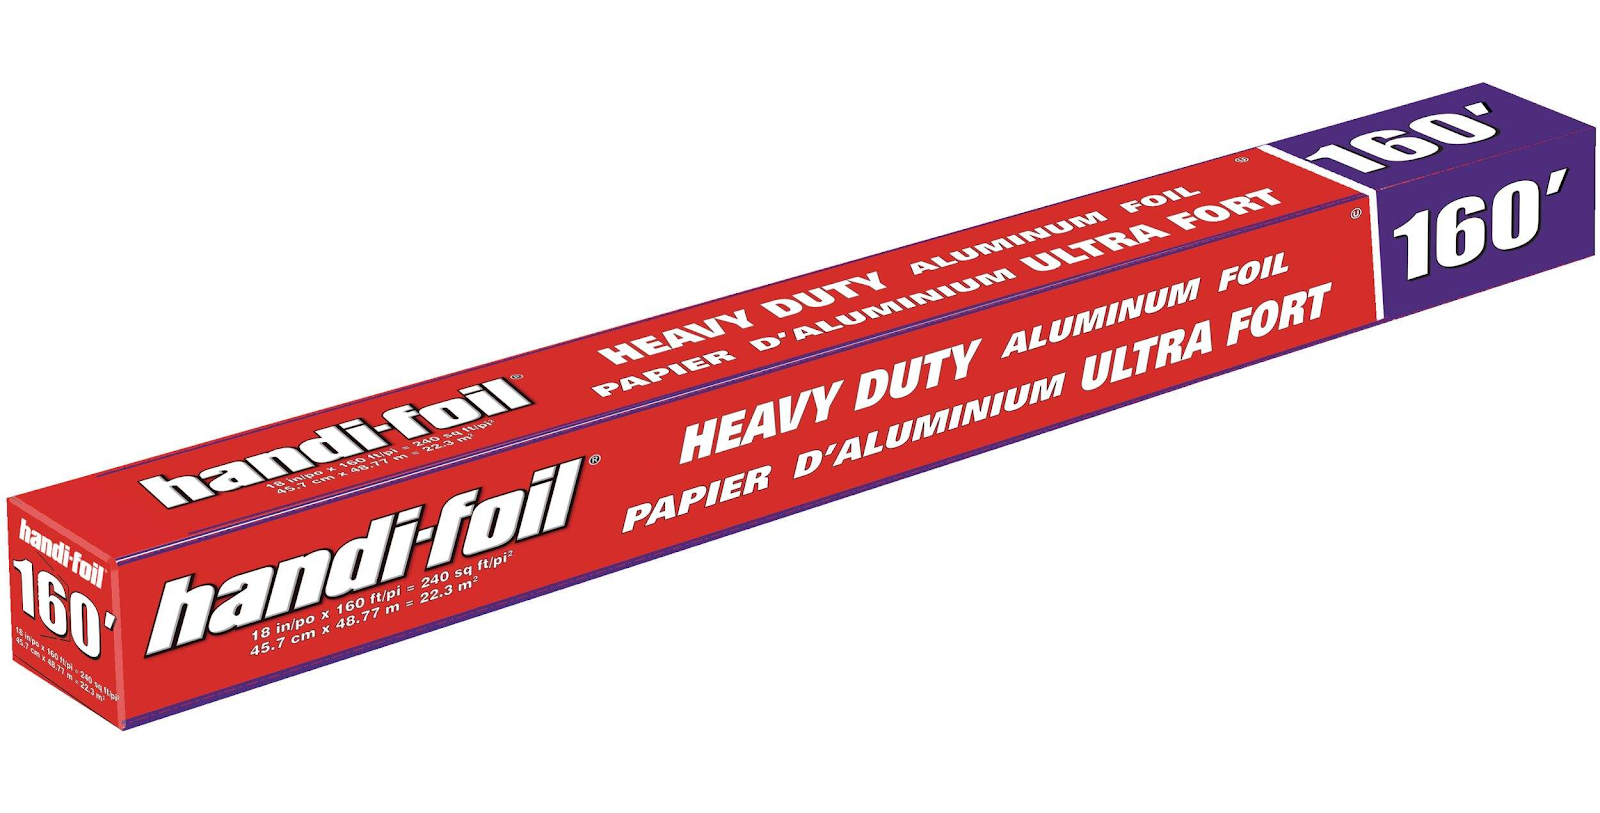
You can buy embossing foil on a roll, for example
here, or in individual sheets.
Place your drawing on top of your foil and tape it down. Place it all on a stack of newspapers (you need a soft surface) and then lightly outline your entire drawing with a dull pencil or ball point pen. How hard you press depends on the thickness of your paper and foil. Practice on a scrap sheet first.
Once you have your image transferred, you can start embossing. Make sure you work on a stack of newspapers and use a dull pencil. Press over the lines to make them pop out more. Try flipping over your design and doing some chasing on the back.
Then, to age it and create more dimension, you paint the foil using India ink (waterproof black ink). We simply painted it on, then wiped away some with a paper towel. The ink will stay in the recesses and make the overall design pop out more. Experiment until you get the amount you like.
You can also try this with acrylic paint. Once this is all dry, you can mount these onto colored paper- use rubber cement or hot glue to attach the foil- white glue doesn't seem to work.
Here's a lovely landscape scene a student made. It illustrates an excellent use of a variety of textures and surfaces: tree bark, feathers, cobblestones, roof tiles, etc. She also cut away parts of the foil.
Starting the embossing on a stack of newspapers.
Painting over the design with black ink.
Detail of the texture:
Student reflection in sketchbook:
Here's another student work- she used red ink, instead, to give a bit of a different feeling to the piece.