ABOUT THIS BLOG

"A Faithful Attempt" is designed to showcase a variety of K-12 art lessons, the work of my art students, as well as other art-related topics. Projects shown are my take on other art teacher's lessons, lessons found in books or else designed by myself.
Thanks for visiting!
LAND ACKNOWLEDGEMENT I acknowledge, with deep respect, that I am gathered on Treaty 7 territory. I acknowledge the many First Nations, Métis and Inuit whose footsteps have marked these lands for generations. I respect the histories, languages and cultures of all the Indigenous peoples of Canada, whose presence continues to enrich our community.
Showing posts with label foil. Show all posts

Tuesday, June 4, 2024

Foil Embossing: tin foil and Sharpies


Here's this year's version of the very popular tin foil embossing project!
See all the steps and previous projects posted HERE and HERE.

Draw a simple design on the back of a cereal box. I encourage abstract designs (organic or geometric) but many students like to do some simple realistic images like simple landscapes.
Cut lengths of yarn and glue down using white glue. Let dry overnight.


Cut a piece of heavy duty/barbeque foil one inch larger than the cereal box. 


Cover the yarn side with a liberal amount of glue stick. Place the foil on top, and start burnishing it using a piece of felt. This helps prevent tears. Work from the center outwards, to prevent air bubbles.


Wrap and glue the excess onto the back. You can also test Sharpie colours on the back,


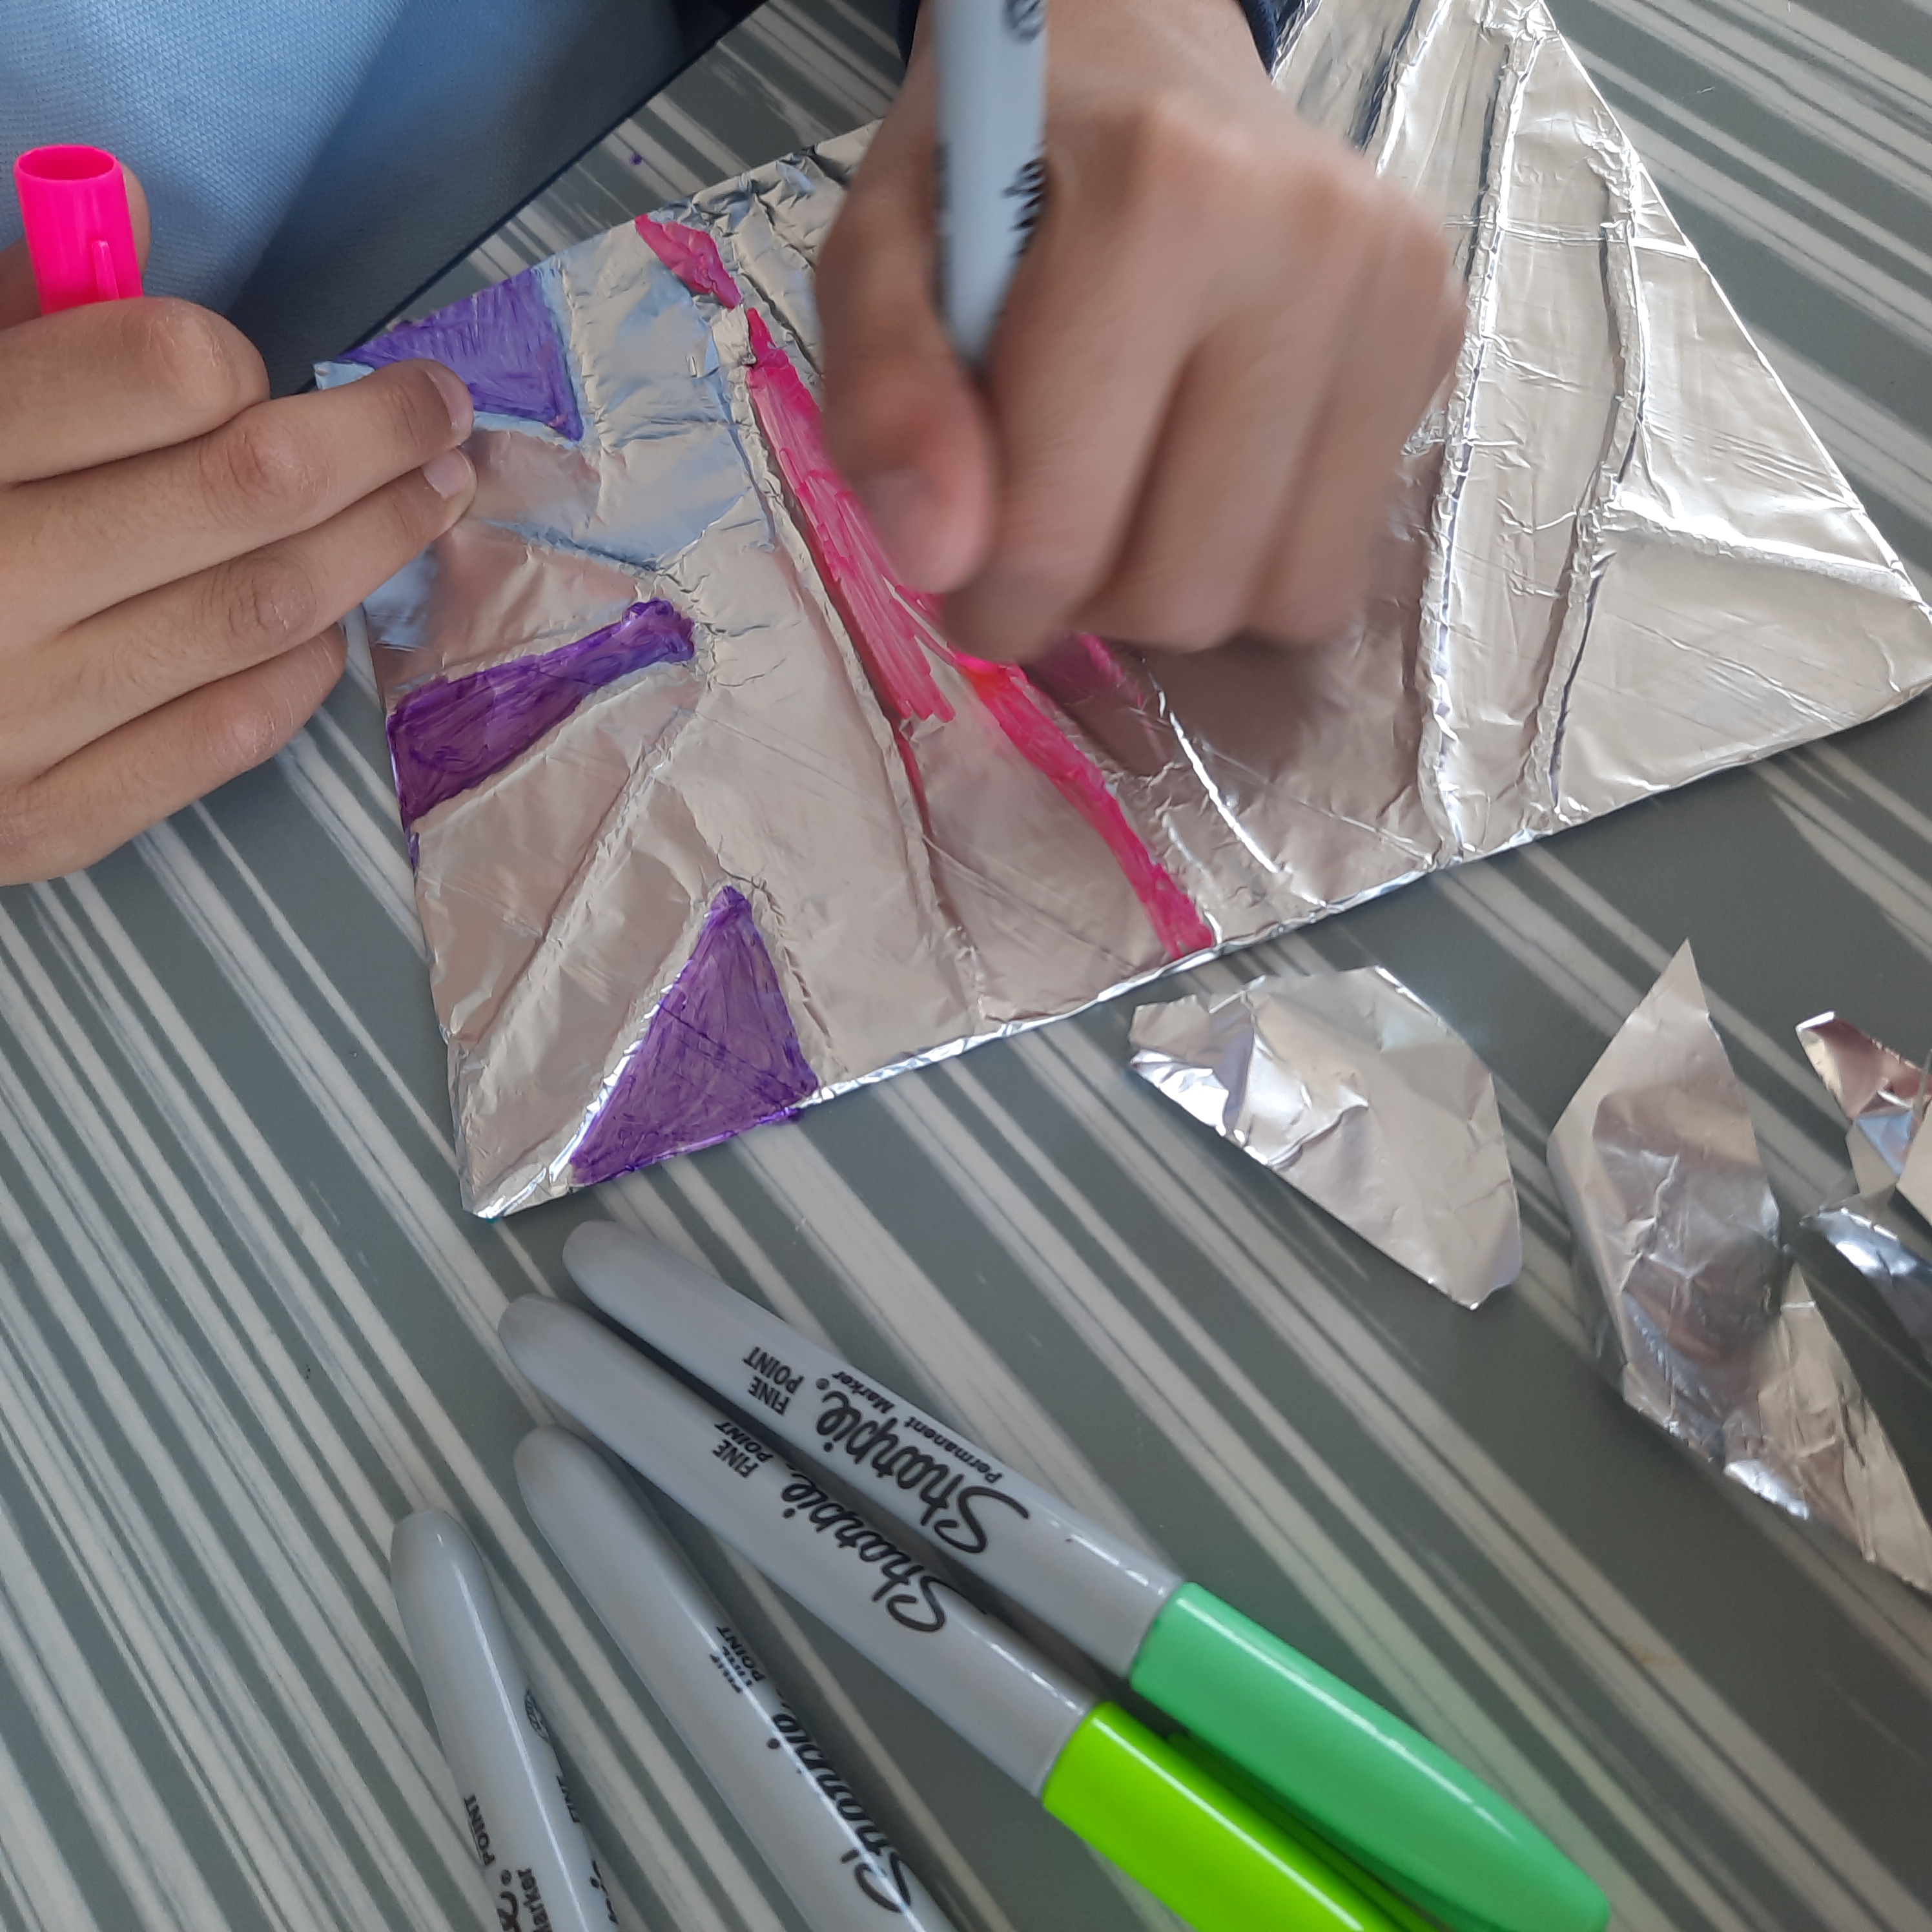
Colour all the sections using coloured permanent markers. 


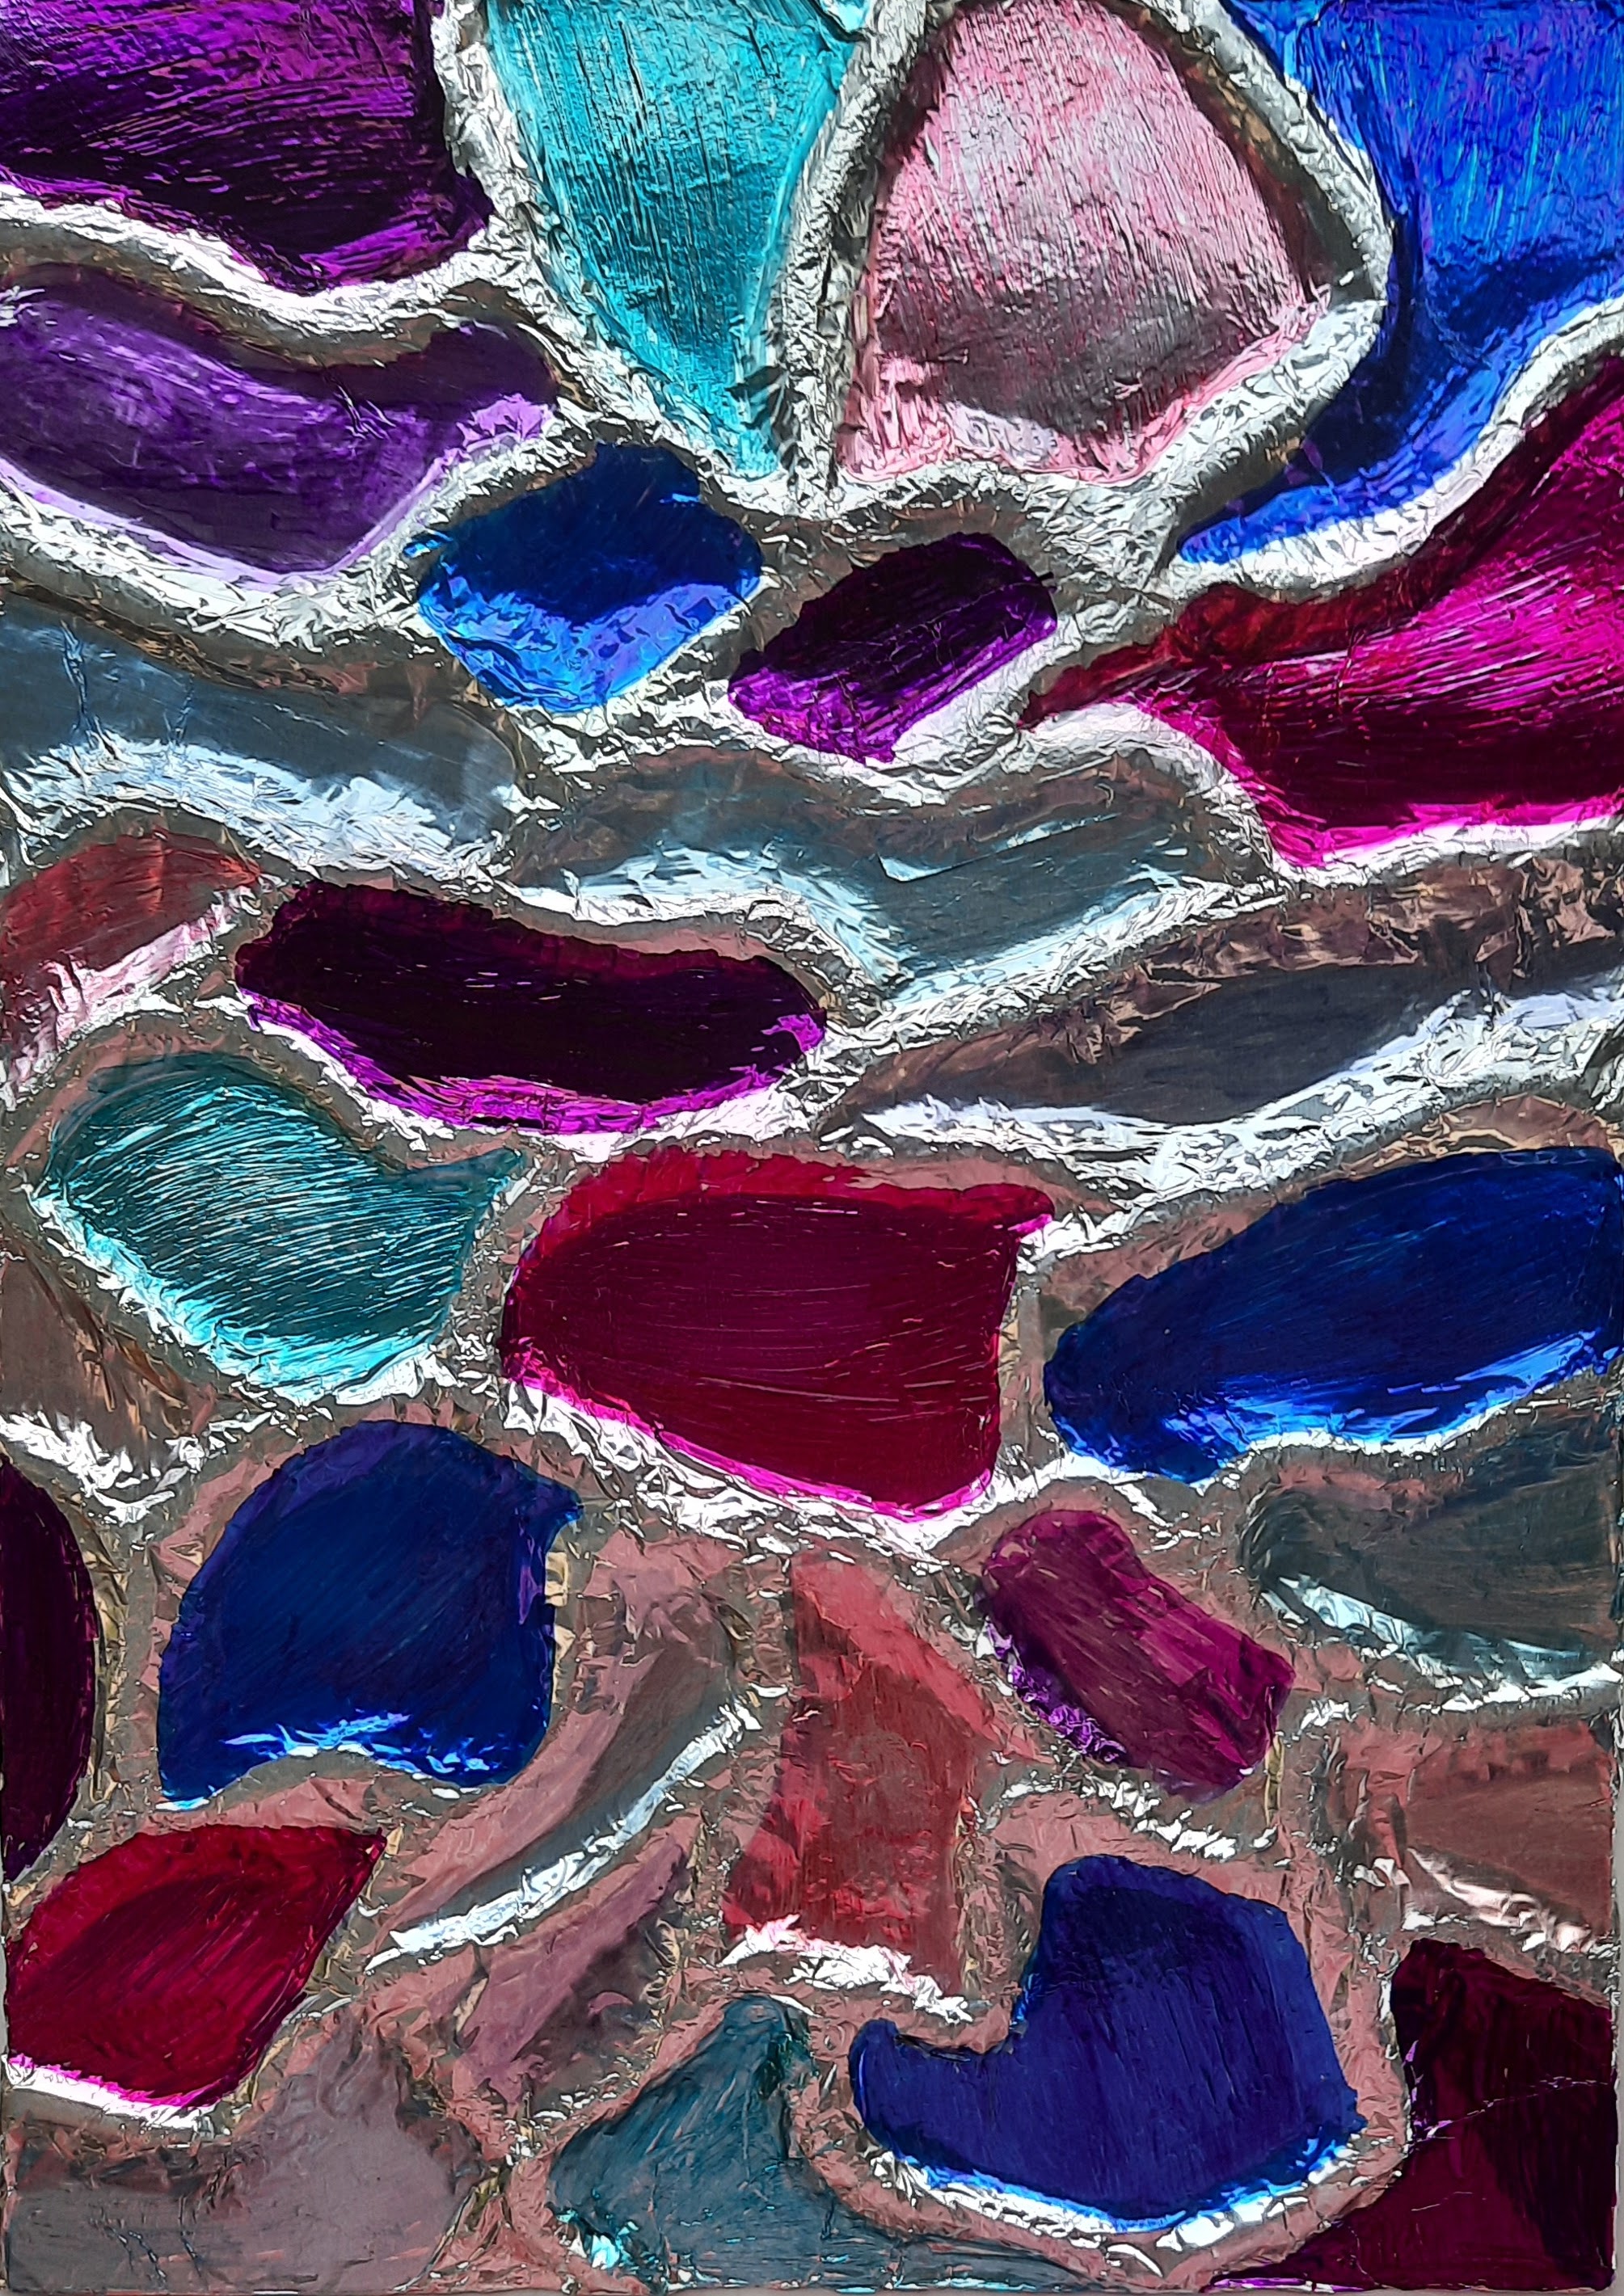
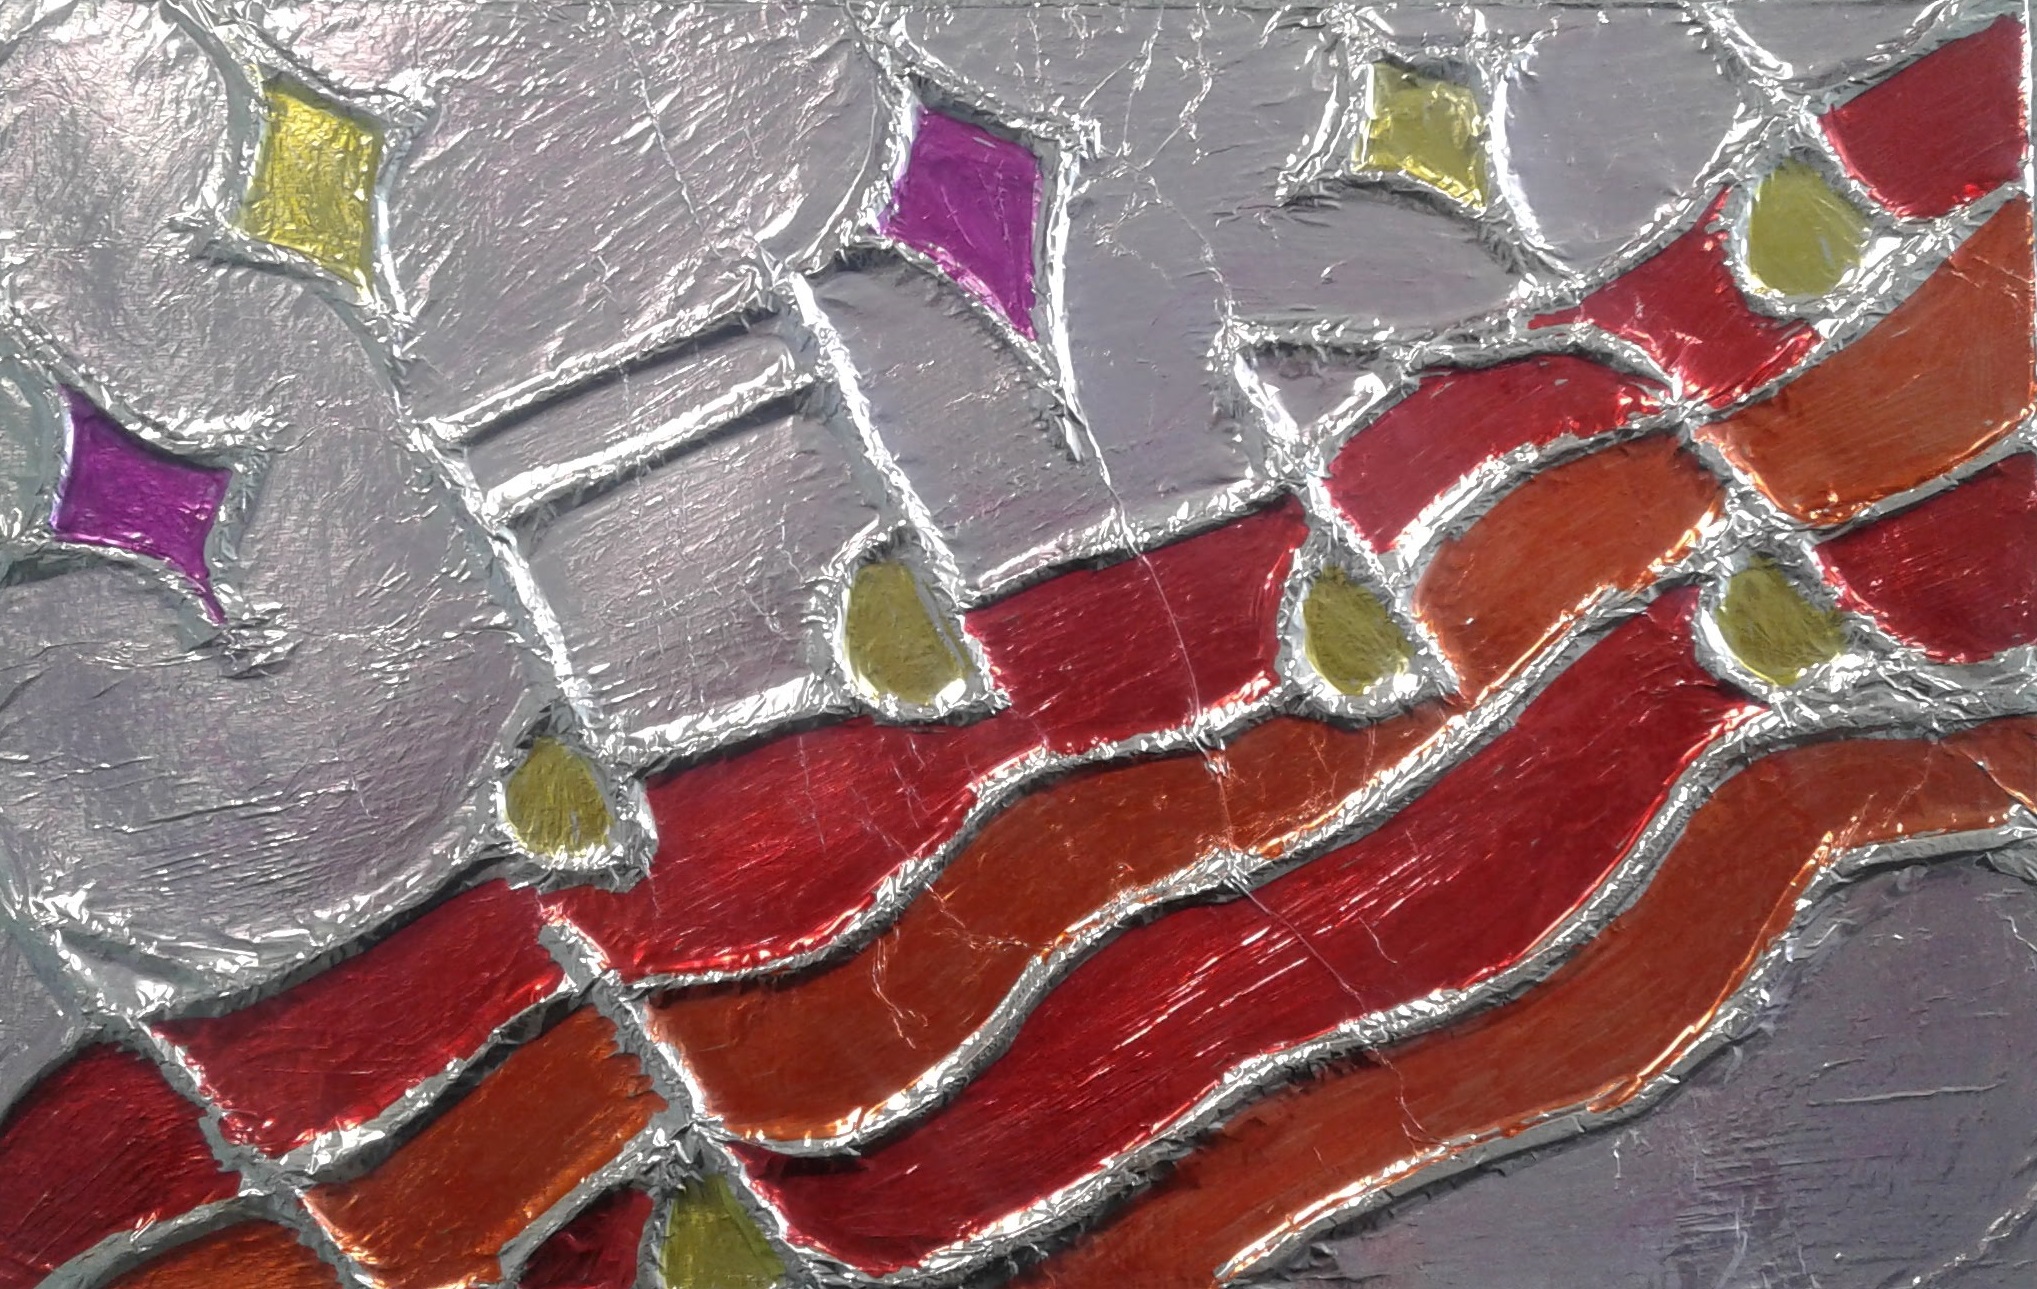
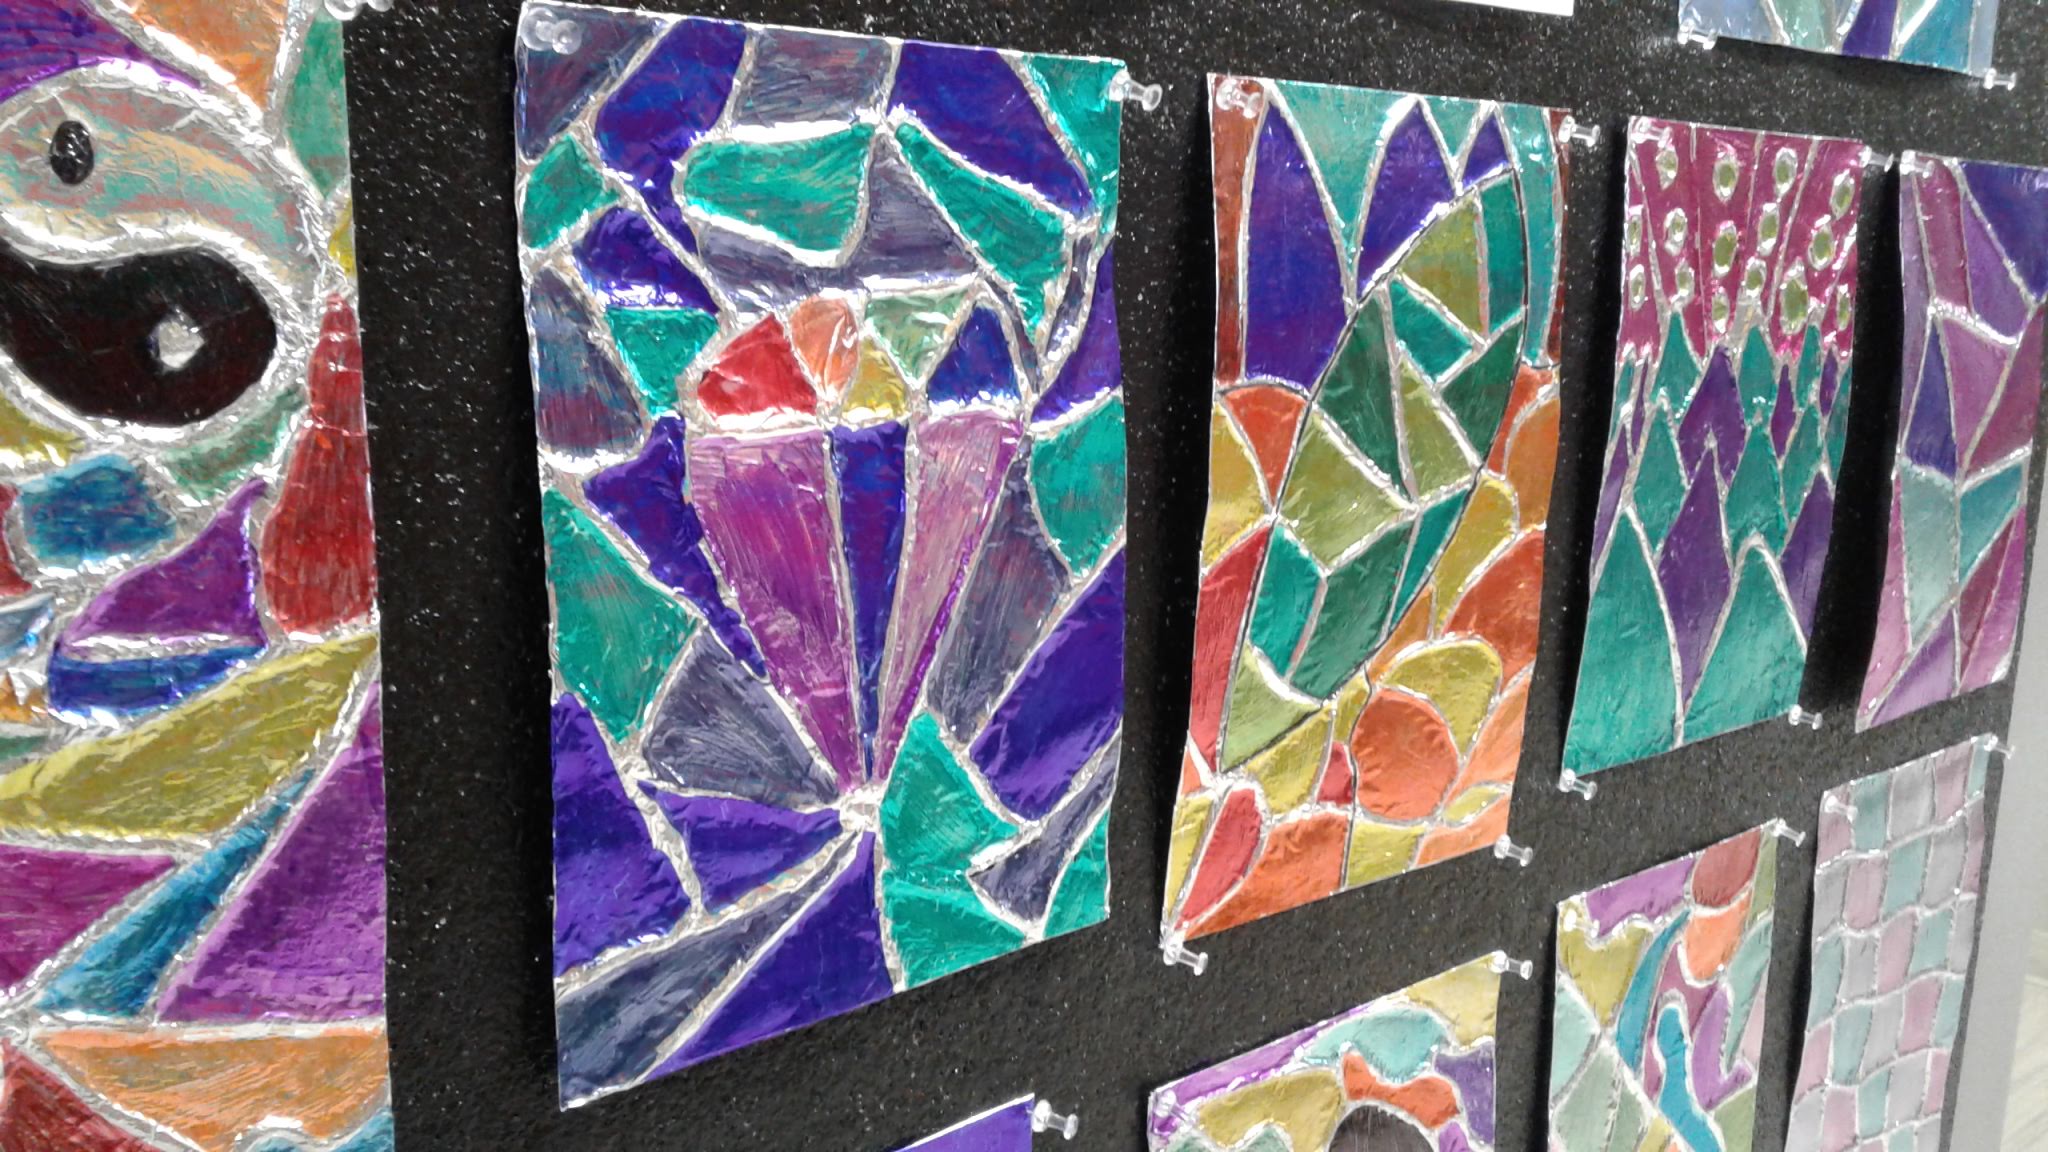
Some finished Grade 4-6 artworks:


Thursday, July 28, 2022

Foil Embossing: tin foil & sharpies art project


A very popular lesson with both my students and parents which yield fantastic results for all kids. 
I've posted about this lesson previously: HERE and HERE.

I teach this to Grades 4 through 6. We use cereal boxes as a base but any cardstock would work as well. 
We also use just regular yarn (any colours, doesn't matter) and white glue.

Cut the yarn and glue down whatever design you like. I just tell kids that the design has to have all enclosed shapes (nothing open). This is a great lesson to teach line and shape. Let dry overnight. 
The cardboard will curl a bit but that's ok. 


Cover the whole image with a thick layer of glue stick and glue on a piece of BARBEQUE ALUMINUM FOIL or HEAVY DUTY FOIL that's about an inch larger on all sides. 
Regular aluminum foil is too thin and could rip. 


Rub it carefully with a piece of felt, starting from the center and working your way out. We use small pieces of felt to carefully emboss all the edges. Take your time with this step- it is the key to a nice crisp design. Then colour with sharpies, leaving the raised yarn part un-coloured (or silver)


Some finished pieces:


Monday, July 27, 2015

Foil Embossing: tin foil and Sharpies


This was a super fun project my Grades 4- 6 mixed elective class did at the end of this school year. They LOVED this project- some even made 2 or 3. I pretty much followed the excellent instructions posted HERE on the "We Heart Art" blog. She found the idea on the Fine Lines blog. 

I was worried we would have to use that chunky yarn (of which I had none) but regular yarn worked well. I collect empty cereal boxes from my students all year long and stockpile them for projects such as these. Students drew some type of abstract pattern on the card. I encouraged them to use shapes as opposed to open lines as we would be colouring these in. Of course some did non-abstract images and some used some open lines and they all worked out regardless :)

Once the lines were drawn, students passed over the lines using regular white glue. Then they put pieces of yarn on top. We let these dry overnight.


It's important to use heavy duty aluminium foil for this next step. It's just sturdier and thicker.


Students cut a piece off the roll that was about an inch larger than their cardboard.


Then they covered the back of the tin foil liberally with a glue stick. They need to use ALOT and do it carefully in one direction so the foil doesn't bunch up and rip. Other blogs used spray glue for this step but I didn't have any- the glue stick worked pretty well.
Then put the foil over-top and, starting from the center, gently rub over the design using a small square of felt. It really works for buffing the foil over the yarn. Take your time with this step- the more you carefully rub around the yarn, the better the final artwork will work. Some students tended to rush this step.


Once it's all glued down, I show students how to neatly wrap the foil onto the back- a technique I used during my book-making phase ;)


Then the fun part: colouring the whole image with coloured Sharpies!
Don't colour the raised yarn part.
Here are Grades 4 - 6 results:


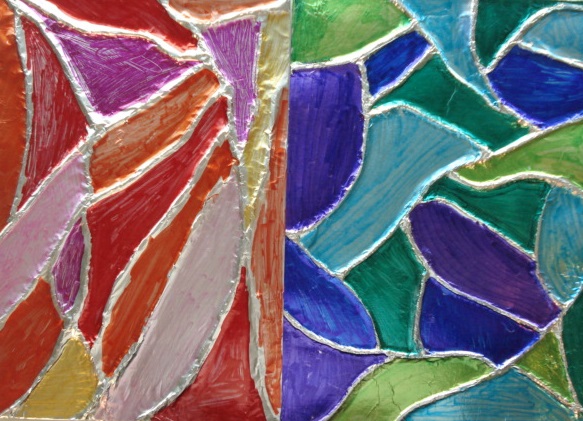
This students did 2: one using cool colours and one using warm colours


Related Posts Plugin for WordPress, Blogger...