ABOUT THIS BLOG

"A Faithful Attempt" is designed to showcase a variety of K-12 art lessons, the work of my art students, as well as other art-related topics. Projects shown are my take on other art teacher's lessons, lessons found in books or else designed by myself.
Thanks for visiting!
LAND ACKNOWLEDGEMENT I acknowledge, with deep respect, that I am gathered on Treaty 7 territory. I acknowledge the many First Nations, Métis and Inuit whose footsteps have marked these lands for generations. I respect the histories, languages and cultures of all the Indigenous peoples of Canada, whose presence continues to enrich our community.
Showing posts with label flowers. Show all posts

Thursday, July 4, 2024

Color Diffusing Paper Watercolour Flowers


This was a fun and fast project for the end of the year with my Grade 4,5,6 class.
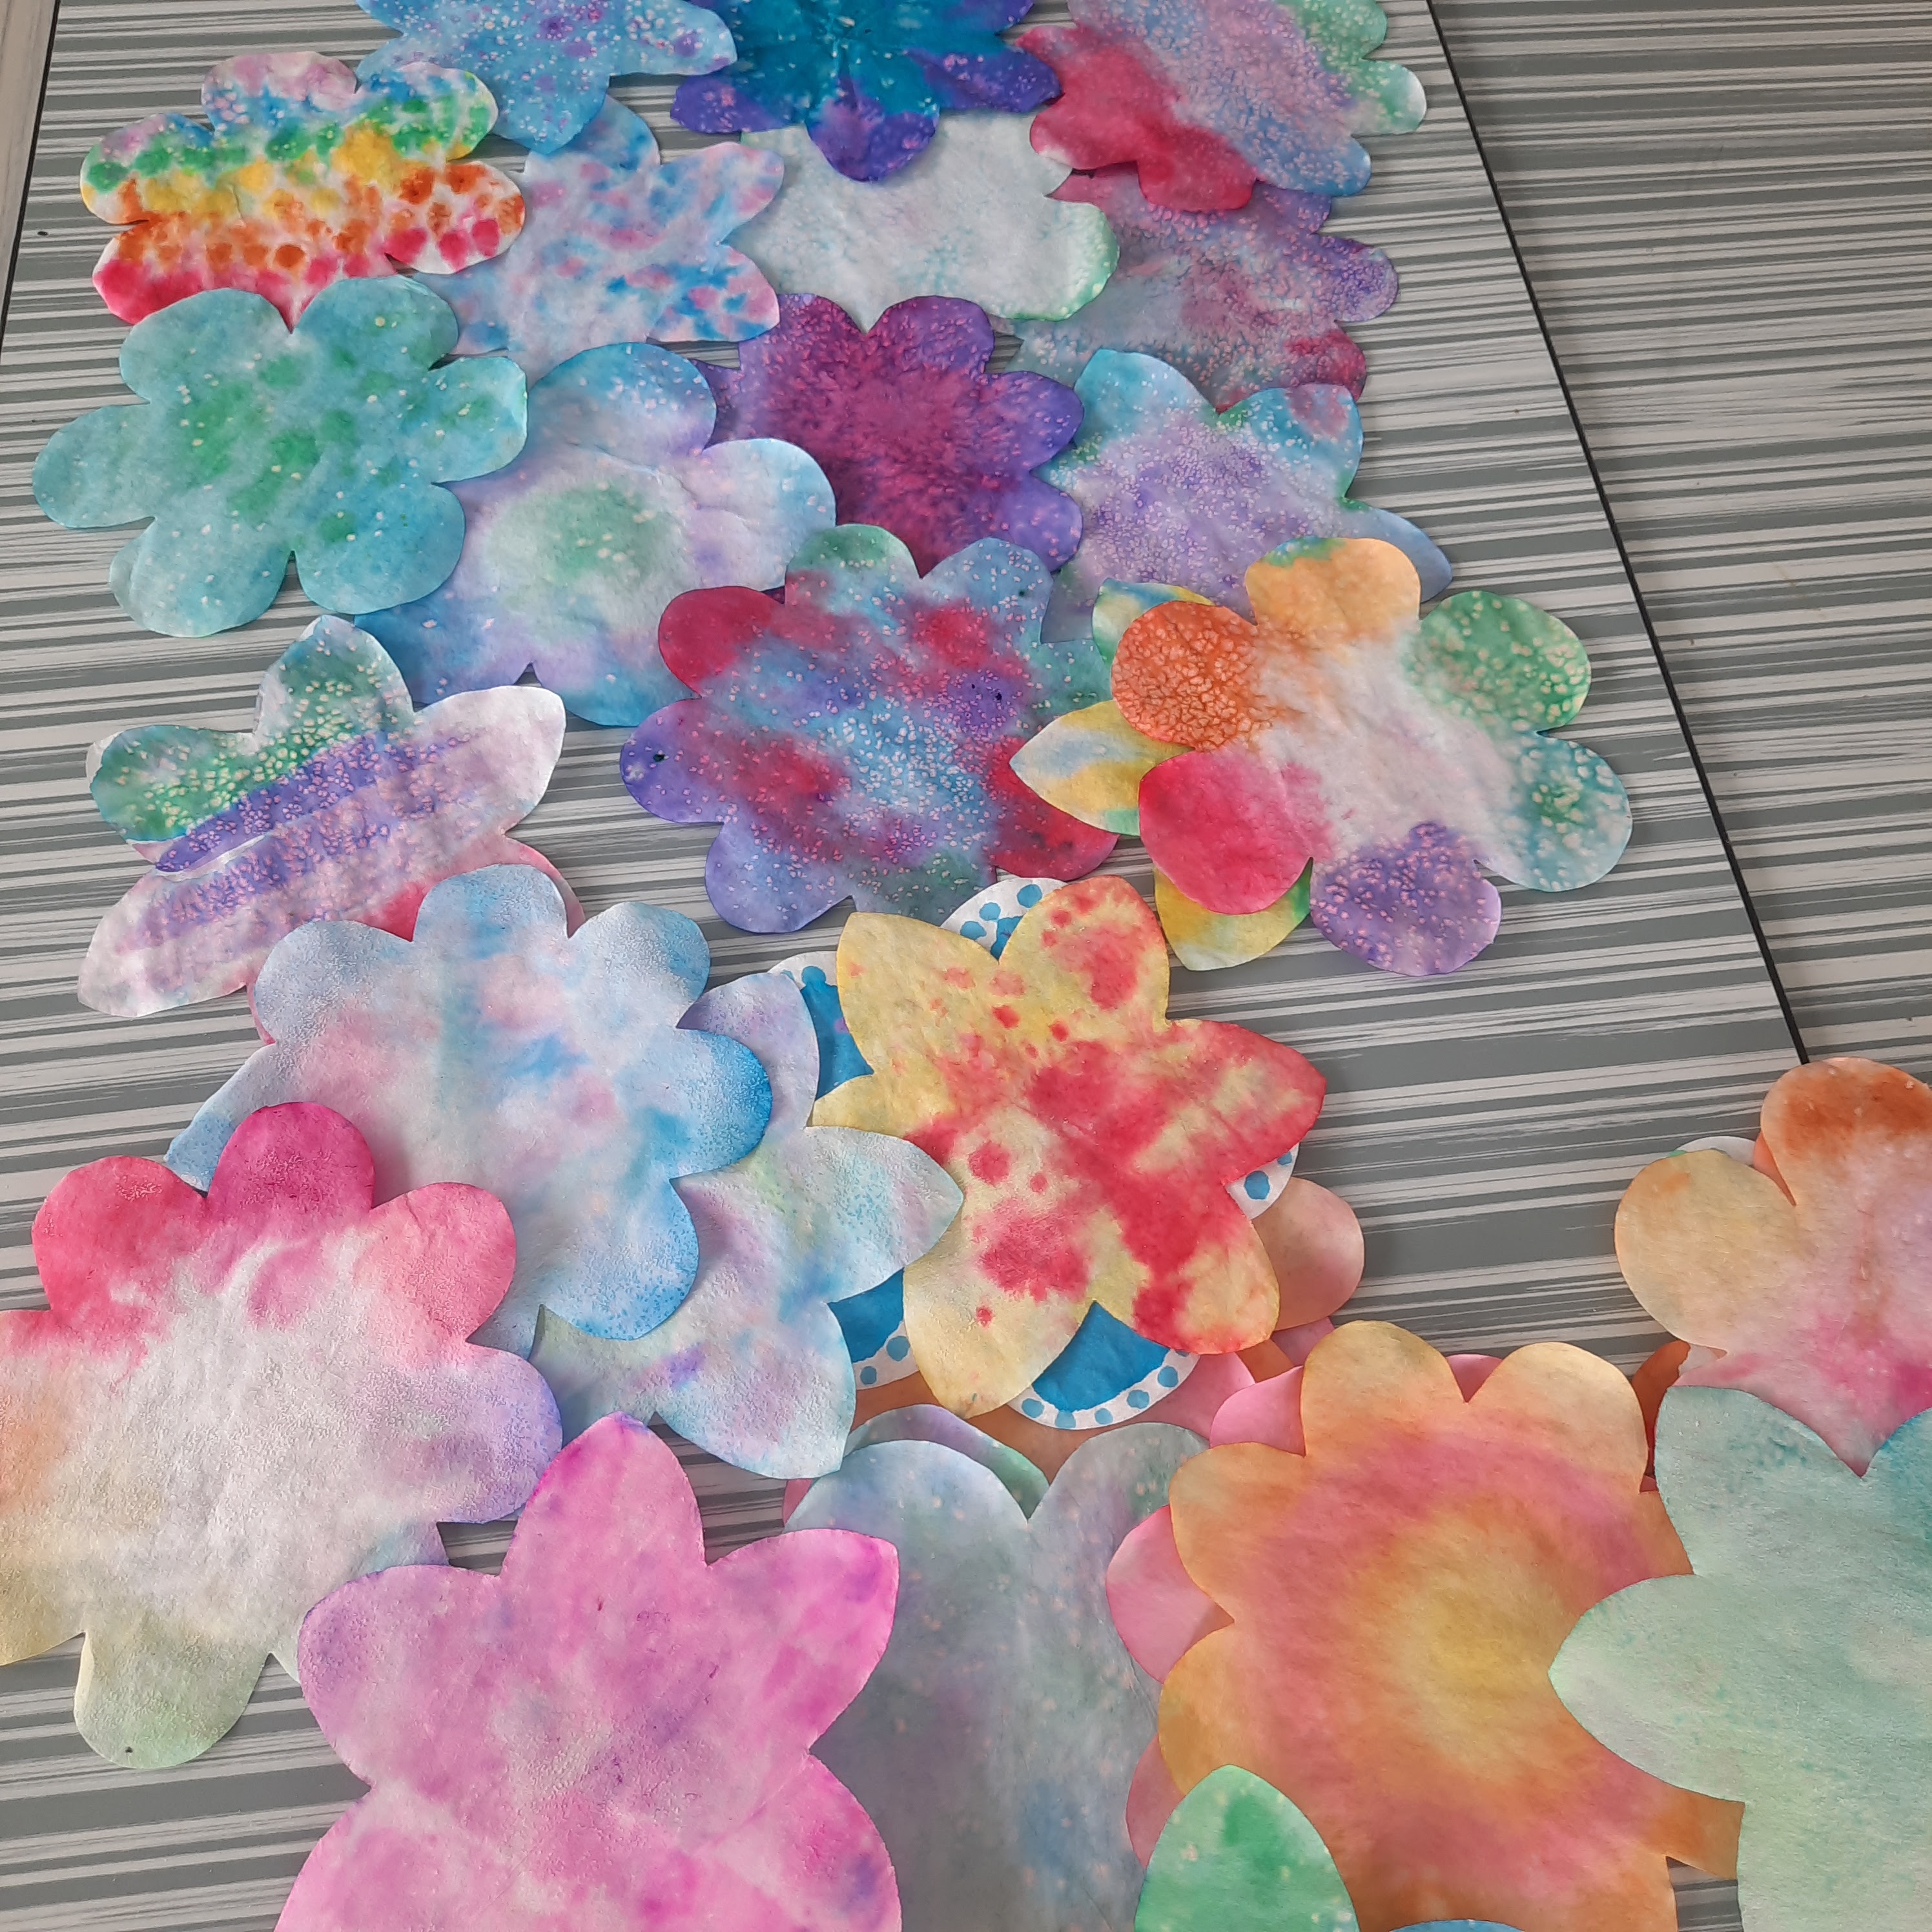
I ordered these colour diffusing paper flowers by Roylco.


Students simply chose a couple of flowers and painted them using liquid watercolours. 
Some sprinkled salt on top for a cool textural effect.


Once dry, they crumpled up orange tissue paper and glued it to the center. 
I'm sure there are many different ways of using these flowers 
but I kept it simple because JUNE, amirite, lol.
The important thing was my kids really enjoyed this as it was just free-flowing and fun!


Sunday, April 21, 2024

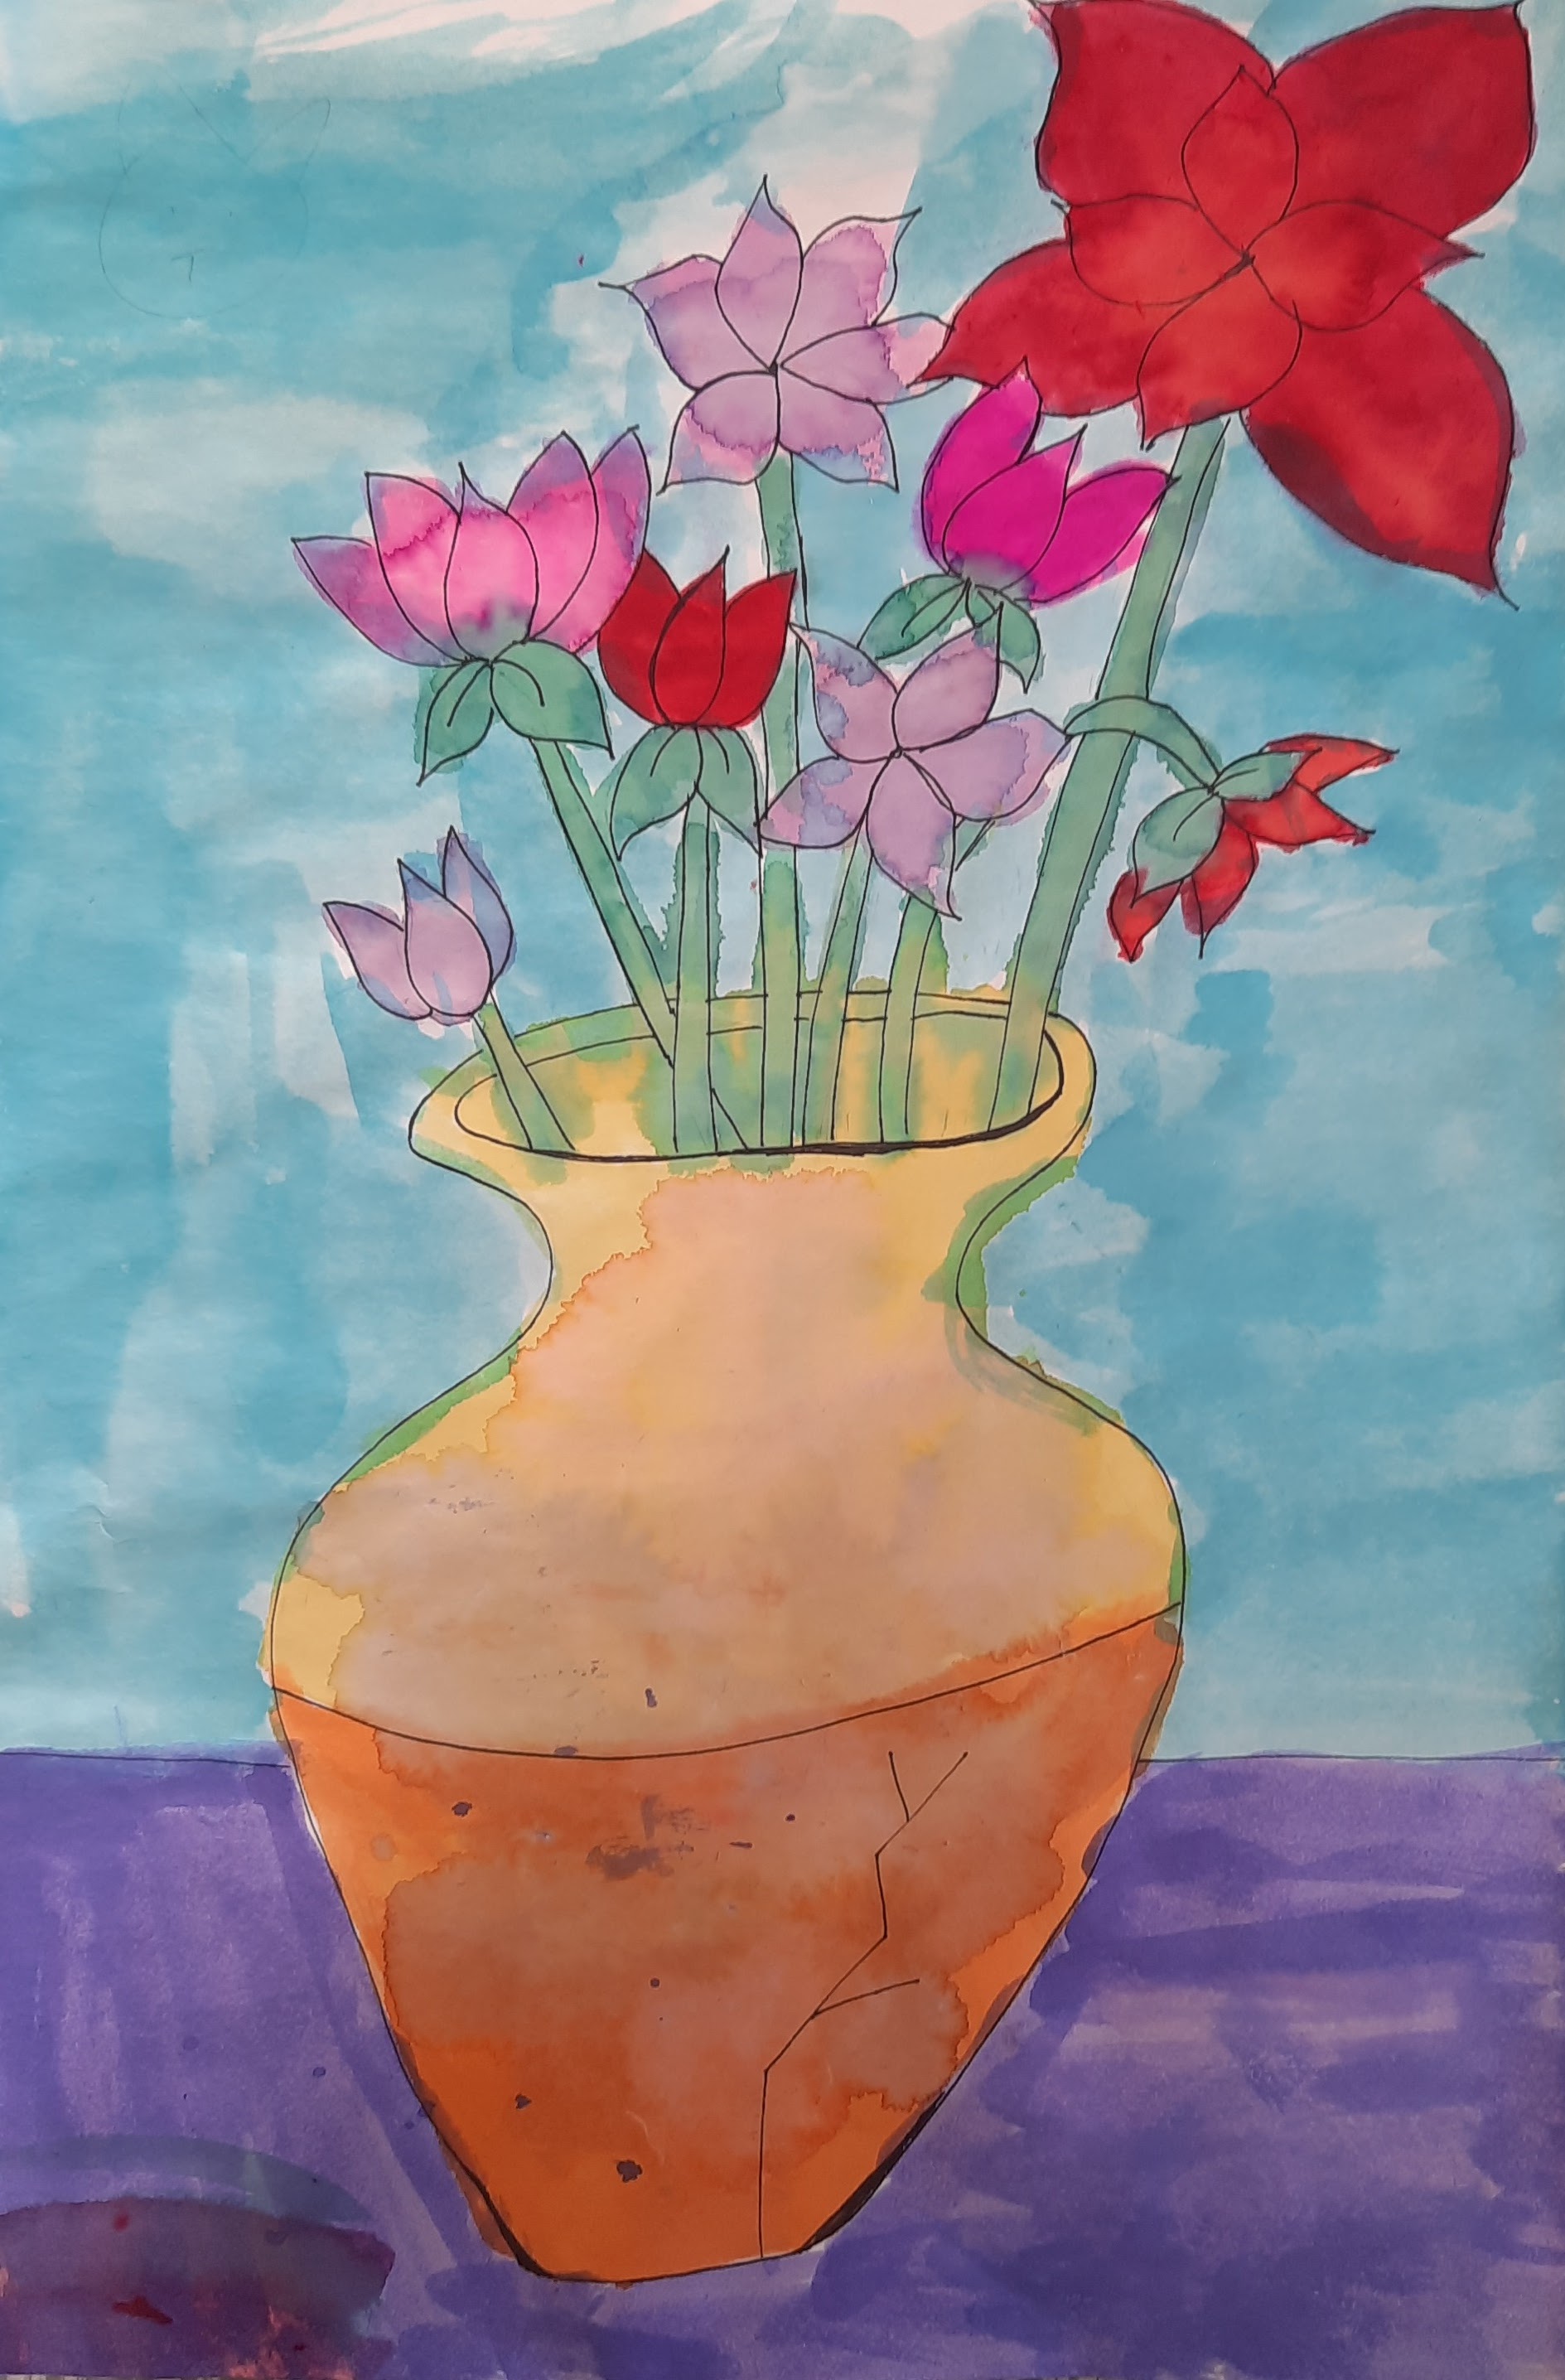
Flowers in a Vase Watercolor Painting


This is a classic still life painting lesson that was co-taught by one of my practicum students. 
Her background is not in art, so I suggested this project as it's fairly simple but allows for a lot of creativity for the students. This was taught to a mixed class of Grade 4 - 6 students. 

I found the inspiration from the wonderful Deep Space Sparkle website  HERE and HERE

Here is my quick demo showing how to draw a vase/vessel and then a variety of flowers- we also encouraged spring flowers such as tulips and daffodils.


Student drew their good copy on 12 x 18" heavy white paper. 


While the kids were drawing, I kept myself busy with one of my LEAST favourite art room tasks- refilling the liquid watercolours. I saw this sauce cup idea on a blog years ago, but I don't know, I think I need to re-think it. I feel like the paints evaporate so fast. I refill them, then a month later, the containers (with lids) are dried up. Don't get me started on how fast the yellow gets contaminated. 


Anyhoozle, once the kids are finished drawing, they outline everything with sharpie or black wax crayon (everyone chose sharpie). 


Some early starters used the regular pan watercolours, but we switched later to liquid watercolours. 


I gave an brief review and demonstration on how to use these. 


Some finished artworks!


Monday, May 28, 2012

Bubble Print Hydrangeas


Here's a fairly simple hydrangea project using bubble painting. The original project was posted on the Discount School Supplies website found via Pinterest. I think using bubble painting to create these hydrangeas is an absolutely brilliant idea and I was super excited to try out this project! It took a bit of time to figure out the best way that would work for my students, so this is what I came up with.

pretty hydrangeas


I've posted about bubble painting previously here and here.
Warning- this is a MESSY technique!!  Lay out lots of newspaper and cover your clothes. 
The bubble paint drips everywhere and when the bubbles pop, tiny specks of paint fly all over the 
place including your face, hands, clothes, etc. 

Basically, you mix up a big batch of bubble paint: some tempera paint with a big squirt of dish soap and then lots water to thin it out. I find an inky consistency works well. I'm sure there are more accurate recipes out there somewhere... Do some test bubbles on a sheet of white paper first. If the prints are too light, add more paint. Then, pour some paint into whatever size container you'd like the hydrangeas to be- if you want them nice and big and true to size, use aluminium pie pans. Using straws, blow the bubble paint so it comes over the edges of the container and lightly place a sheet of white paper on top. 


I find it takes students a few tries to get some really nice prints. So give them lots of paper to practice/work with. Some of the bubble prints just don't end up looking nice, so it's sometimes a bit of trial and error. They should make about 3 - 5 prints, depending again, on how large you're working. 


Let these sheets dry.


Next class, once the prints are dry, have students draw big 'hydrangea'-type flowers shapes around their bubble prints (post some photos of hydrangeas so students can refer to them). Cut them out.


Students can mix and match colours. 


We used green paper for the background. Arrange some blooms onto the paper and overlap them and move them around until you get a pleasing composition. Glue down. Then fold some green paper (we used two different shades of green for variety) a bunch of times and draw a leaf shape. Cut it out and glue the leaves under the blooms.


Some Grade 6 results:


Sunday, September 18, 2011

Coffee Filter Sunflowers


I was looking for a simple Fall sunflower craft to do with elementary students. I decided on this coffee filter craft as it's pretty straightforward and uses very inexpensive materials. I found the lesson on the Family Corner website and modified it into a painting project. The coffee filters (basket style-pack of 100) were bought at the Dollar store. Each students needs just 2 filters.


Start off by showing the kids a slideshow of Van Gogh's famous Sunflower series. He did a few different versions of sunflowers; his most famous ones being painted in Arles, when he lived in the South of France. They are some of his most famous and iconic works and one sold at auction in the 80's for almost $40 million dollars!!


Vincent Van Gogh, "Sunflowers", 1889
Using watered down tempera paint, students paint the filters in various shades of yellows and light oranges. Let dry.


While the filters are drying (doesn't take too long), have the students create the centers. We use plastic lids to trace- they are a perfect size, or you could free-hand draw the circles. We use the back of old cereal boxes, although any heavy paper will do.


Paint them with tempera in shades of browns and yellows- whatever you want, really.  If you make the edges darker, it looks quite realistic. We use round brushes and stipple the paint in an up-and-down motion to create some texture. Instead of paint, you could also collage on brown paper or glue on seeds, beads, etc.


Ok- once the filters are dry, stack two together.

Fold in half once. Then again in half.


Draw some long petals.


Cut out and unfold.


Layer one flower on top of the other, making sure to stagger the petals to allow the underneath ones to show. Glue together just in the center with white glue.


Then add some more white glue in the middle and glue on the painted cardboard center.


Once these are all completed, you could make a class version of Van Gogh's sunflowers in a big paper vase and hang them on the wall for a colourful display. Or students could attach green pipe cleaners (chenille stems) to them. We simply mounted ours on blue paper for contrast and to represent the brilliant blue Provençal sky.


Related Posts Plugin for WordPress, Blogger...