ABOUT THIS BLOG

"A Faithful Attempt" is designed to showcase a variety of K-12 art lessons, the work of my art students, as well as other art-related topics. Projects shown are my take on other art teacher's lessons, lessons found in books or else designed by myself.
Thanks for visiting!
LAND ACKNOWLEDGEMENT I acknowledge, with deep respect, that I am gathered on Treaty 7 territory. I acknowledge the many First Nations, Métis and Inuit whose footsteps have marked these lands for generations. I respect the histories, languages and cultures of all the Indigenous peoples of Canada, whose presence continues to enrich our community.
Showing posts with label papier mache. Show all posts

Sunday, August 24, 2025

Papier-mâché Fantasy Planet Sculptures


This is a papier-mache project I designed when I was a student teacher about 26 years ago!  Back then, papier-mache projects didn't faze me, lol. Now, they take so long to finish, plus you need a lot of storage space to store them all.

I have to admit, I've only taught it once since then. The problem I've found with this lesson is, if you only see your students once a week, like I do, the balloons deflate before students get a chance to put at least 4 layers of papier-mache on. I suppose now I could use plaster strips, but I'm not sure how heavy it might make these.

Anyway, you need balloons, acrylic paint, hot glue guns, paper towels, newsprint or newspaper, paste (I've always used the now discontinued Elmer's Art Paste which is essentially wallpaper paste). 


Day one: blow up the balloons to the desired size for your fantasy planet (I had to tie the knots for most of these!!). Add at least 3-4 layers of paper-mache. Set them on a plastic container to dry. I rotate them throughout the day so they dry fully and evenly.


Once the paper mache is fully dry, cut the end of the balloon off and pull it out of the sphere. Then patch that hole with more paper mache.  
Then students can start adding any accessories. This is where the kids can be really creative. You can use cardstock, cereal boxes/thin cardboard to cut out shapes and hot glue them onto the planet. You can use paper towel dipped in paste to create shapes and texture. You can create cones out of cardstock and hot glue them on.


Once everything is dry and ready, paint using acrylics. 


For a final touch, varnish them to protect the paint.


Finally, I used a long needle to poke a hole with thread so they can be hung


Some  completed works by Grade 7-9 students:


Friday, October 13, 2023

Papier Mache Monsters


This was a project I taught for the first time a couple of years ago. To be honest, papier mache projects aren't my favourite because, first of all, they take so long to complete when you only see your students once a week. Secondly, I find it really difficult getting my students to use good paper mache techniques- they want to rush, use huge pieces of paper and just don't take the time and care needed to get a nice smooth finished. 

Nonetheless, students tend to enjoy paper mache so I sucked it up and forged ahead!
I taught this to a mixed class of Grade 7-9.
I saw this lesson posted on Instagram, and, for the life of me, I can't find where I got it from. So, if you're the originator of this lesson, please leave a comment so I can credit you!

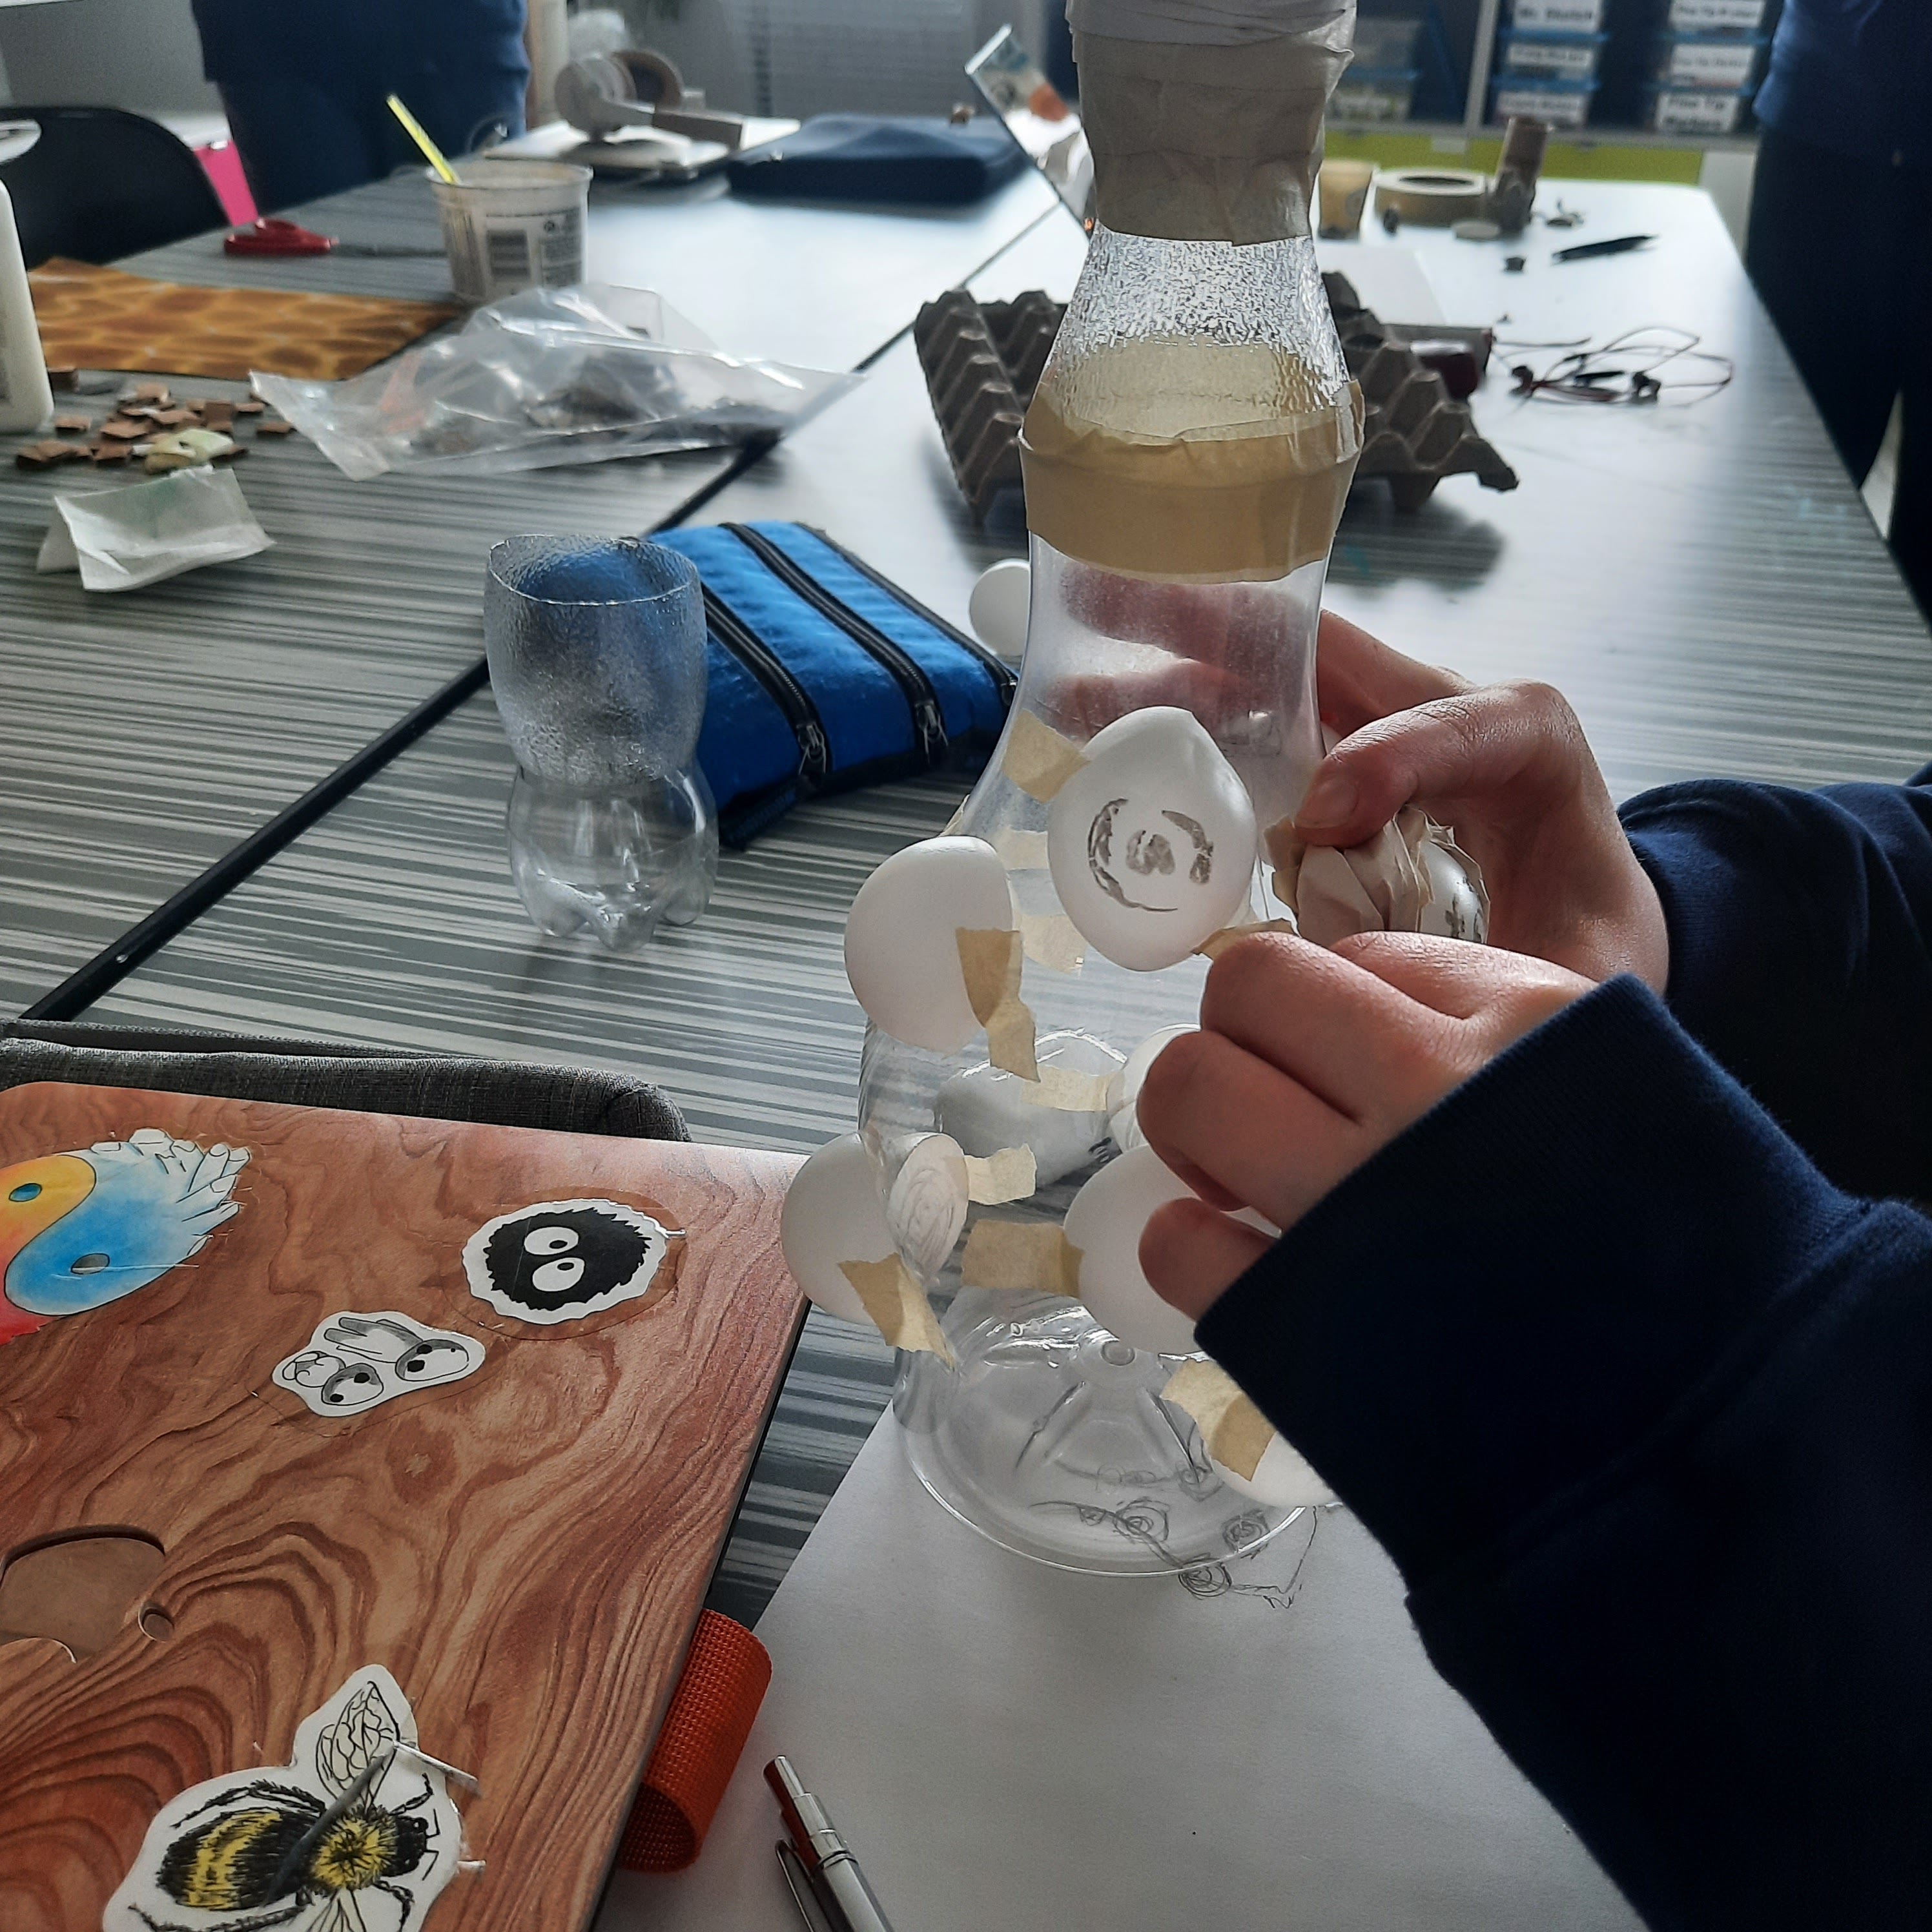
Materials you will need: black ping pong balls (I found it was cheaper to order beer pong balls off Amazon!), newspaper or newsprint, a variety of empty plastic bottles and small boxes, masking tape, acrylic paint.


I asked students months before to bring in empty coffee creamer. Spoiler alert: barely anyone did!  I find my older students are pretty much useless at bringing in things from home. So yeah, it mostly came from me!! I also asked staff. For boxes, I collected small ones such as kleenex, Kraft dinner, and any other small food boxes from home.


I have a large roll of newsprint that we used for paper mache-ing. 


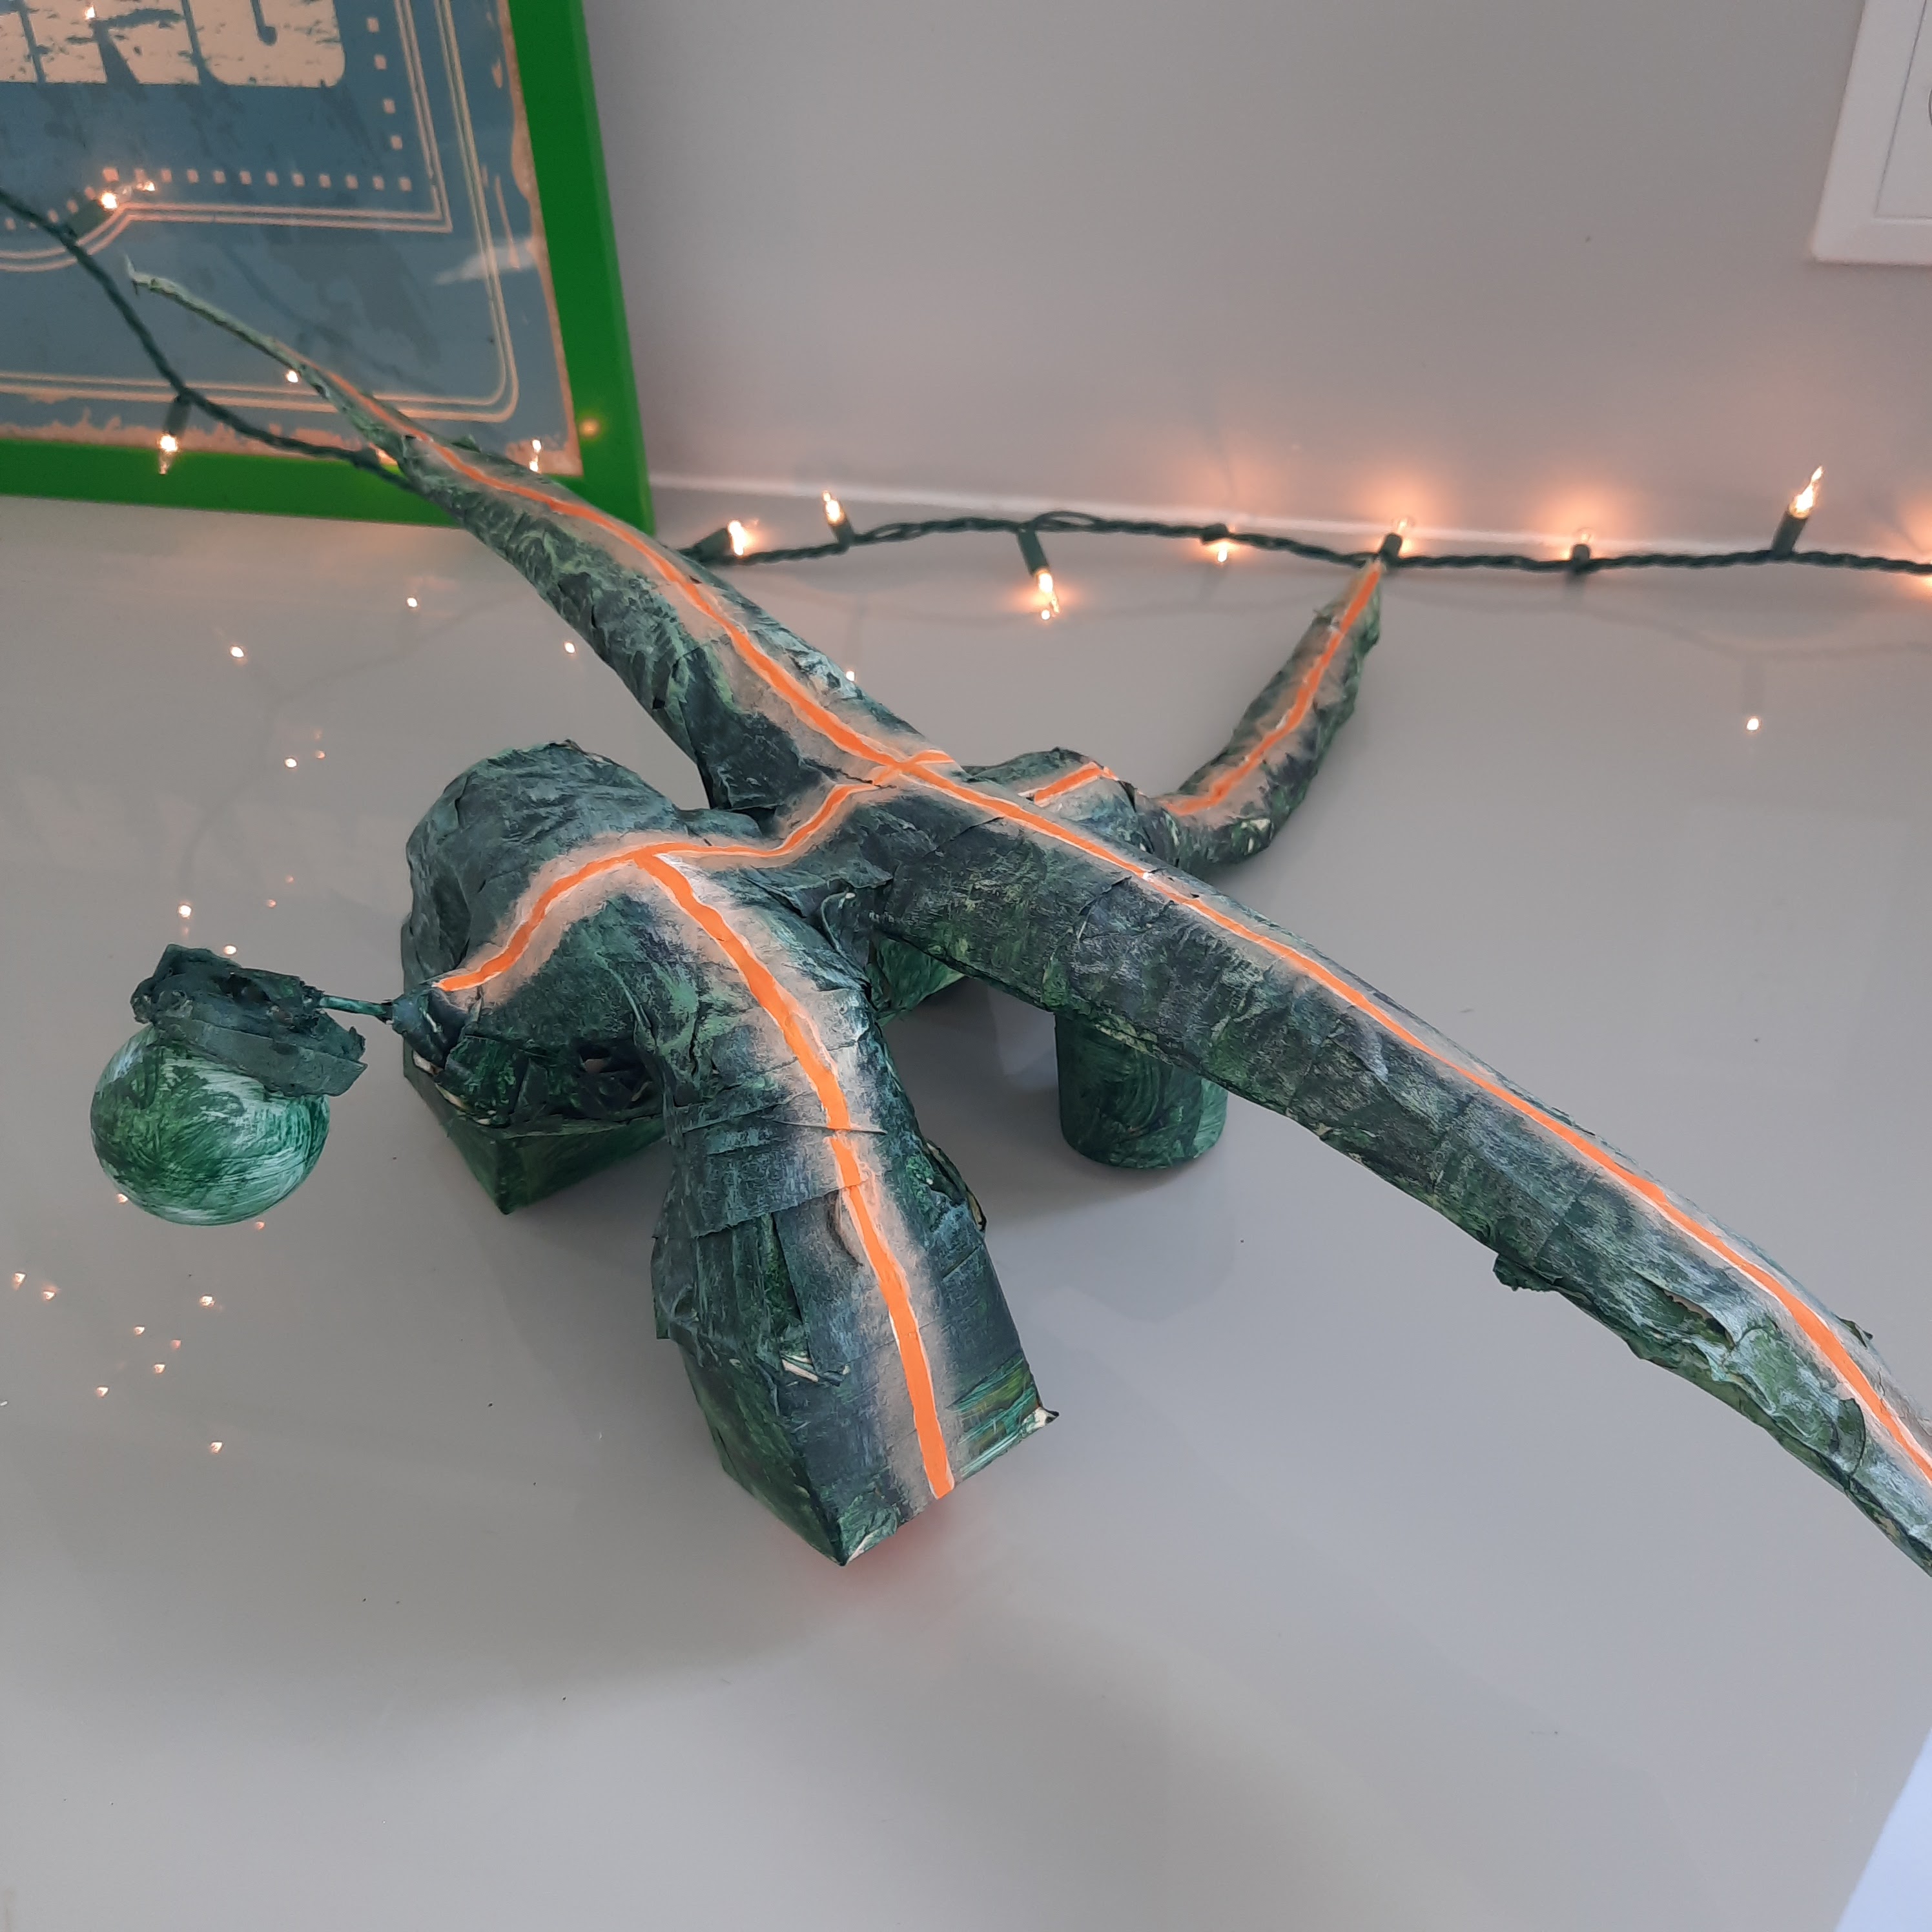
So students chose either a bottle or a box, then, using newspaper, the taped on arms and limbs and a head, making sue to include a ping pong ball for an eye. 

Here's my sample below:


They do a layer of papier mache. Let dry completely.


Then paint it however you like using acrylics.


Students work:


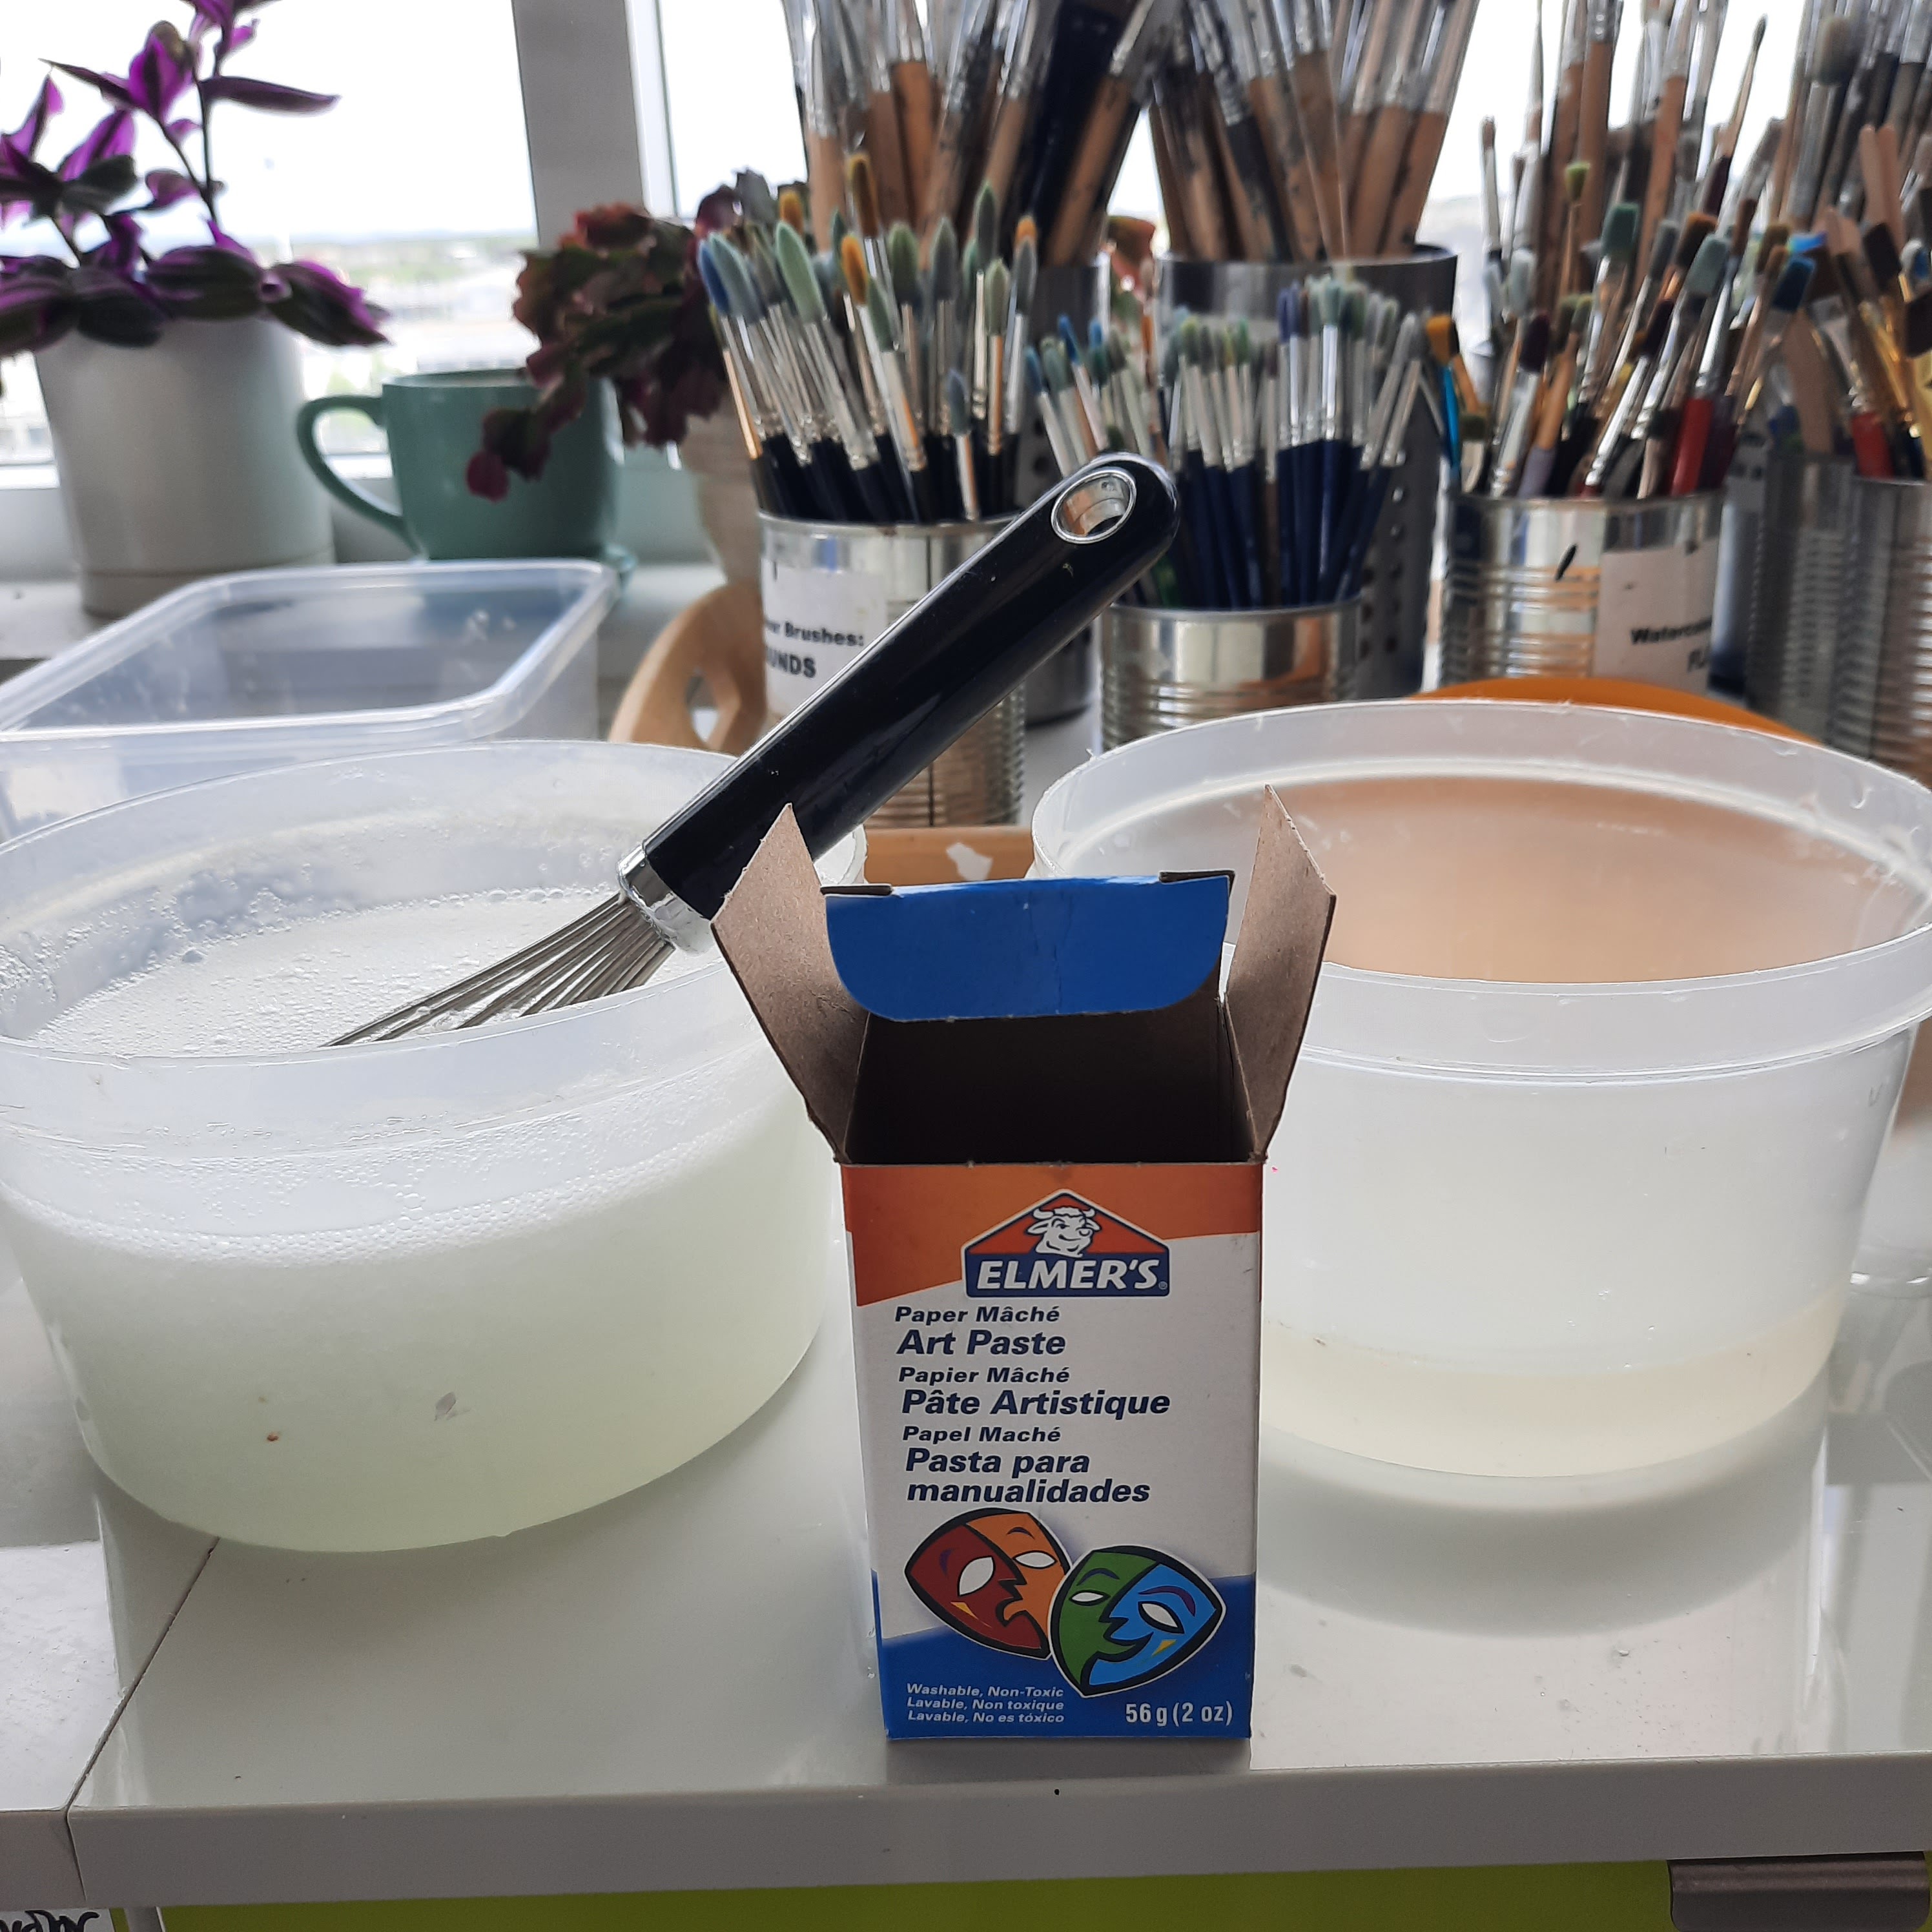
I use Elemer's Paste for my papier mache mix. 
It's essentially wallpaper paste. 


I made the biiiig mistake of also starting this project in may, forgetting how hectic and crazy May and June are at my school, with so many field trips and missing students. So I ended up with half the classes not finishing their monsters which was super sad for me!

Nonetheless, lesson learned maybe?!
Here are some completed monsters:


Monday, March 29, 2021

Paper Mache Foods with Moods


One of my most popular lessons according to my students! I enjoy it but these take forever to finish and there's lots of drying time involved- it helps to work on two projects simultaneously. 

I've posted this lesson previously HERE and HERE.

Grade 4 - 6 students started by building the general form of their chosen food using newspaper and masking tape. Make eyes and features separately and tape them securely on. 


Then cover them with paper mache- we use strips of paper towels or newsprint because we have lots in our classroom. As a paste, I use Elmer's Art Paste- it's essentially wallpaper paste. You just add water and it thickens up nicely. 


We set them on containers to dry overnight. 


Prime them with white acrylic paint or gesso.


Then paint them using acrylics. Varnish when dry and come up with a creative mood for your food!


Some finished work- Grade 4,5,6


Related Posts Plugin for WordPress, Blogger...