Every year on November 11, Canadians pause in a moment of silence to honour and remember the men and women who have served, and continue to serve Canada during times of war, conflict and peace. We remember the more than 2,300,000 Canadians who have served throughout our nation’s history and the more than 118,000 who made the ultimate sacrifice. Remembrance Day was originally called “Armistice Day” to commemorate armistice agreement that ended the First World War on Monday, November 11, 1918, at 11 a.m.—on the eleventh hour of the eleventh day of the eleventh month.
Some of the 54 Commonwealth member states, such as Canada, the United Kingdom and Australia, observe the tradition of Remembrance Day on the eleventh hour of the eleventh day of the eleventh month. Other nations observe a solemn day but at different dates. For example, ANZAC Day is observed in New Zealand on April 25. In South Africa, Poppy Day is marked on the Sunday that falls closest to November 11. In the United States, the day is called Veteran's Day. Many nations that are not members of the Commonwealth also observe Remembrance Day on November 11, including France, Belgium and Poland.
The poppy is the symbol of Remembrance Day. Replica poppies are sold by the Royal Canadian Legion to provide assistance to Veterans.
The very famous war poem "In Flanders Fields", was written during the First World War by Canadian physician Lieutenant-Colonel John McCrae. Its references to the red poppies that grew over the graves of fallen soldiers resulted in the remembrance poppy becoming one of the world's most recognized memorial symbols for soldiers who have died in conflict. The poem and poppy are prominent Remembrance Day symbols throughout the Commonwealth of Nations, particularly in Canada, where "In Flanders Fields" is one of the nation's best-known literary works. On January 28, 1918, while still commanding No. 3 Canadian General Hospital at Boulogne, France, McCrae died of pneumonia.

Most schools in Canada observe Remembrance Day with a school assembly and moment of silence. The music department at my school does a beautifully poignant assembly every year with our choir performing, student poetry readings, guest speakers (veterans) and artwork provided by the art department.
Grade 7 -9 students created these radial poppy paintings. They were photographed and projected on a big screen behind our choir during the Remembrance Day assembly at my school.
I found the initial project inspiration from THIS post.
I pre-traced 2 large circles onto 12 x 18 heavy white paper. I used two circles so students would have a chance to create two paintings and then pick their favourite one for the assembly or just use one for practice.
Using a wide flat brush, students painted a textural neutral toned background- I demonstrated black and white as well as sepia, but students could choose any somber, muted colour they wanted.
While those were drying, students practiced painting poppies. They had to try and paint realistic poppies from different angles. I showed them how to mix colours for shading and realism.
They have laptops to use to look at reference photos online.
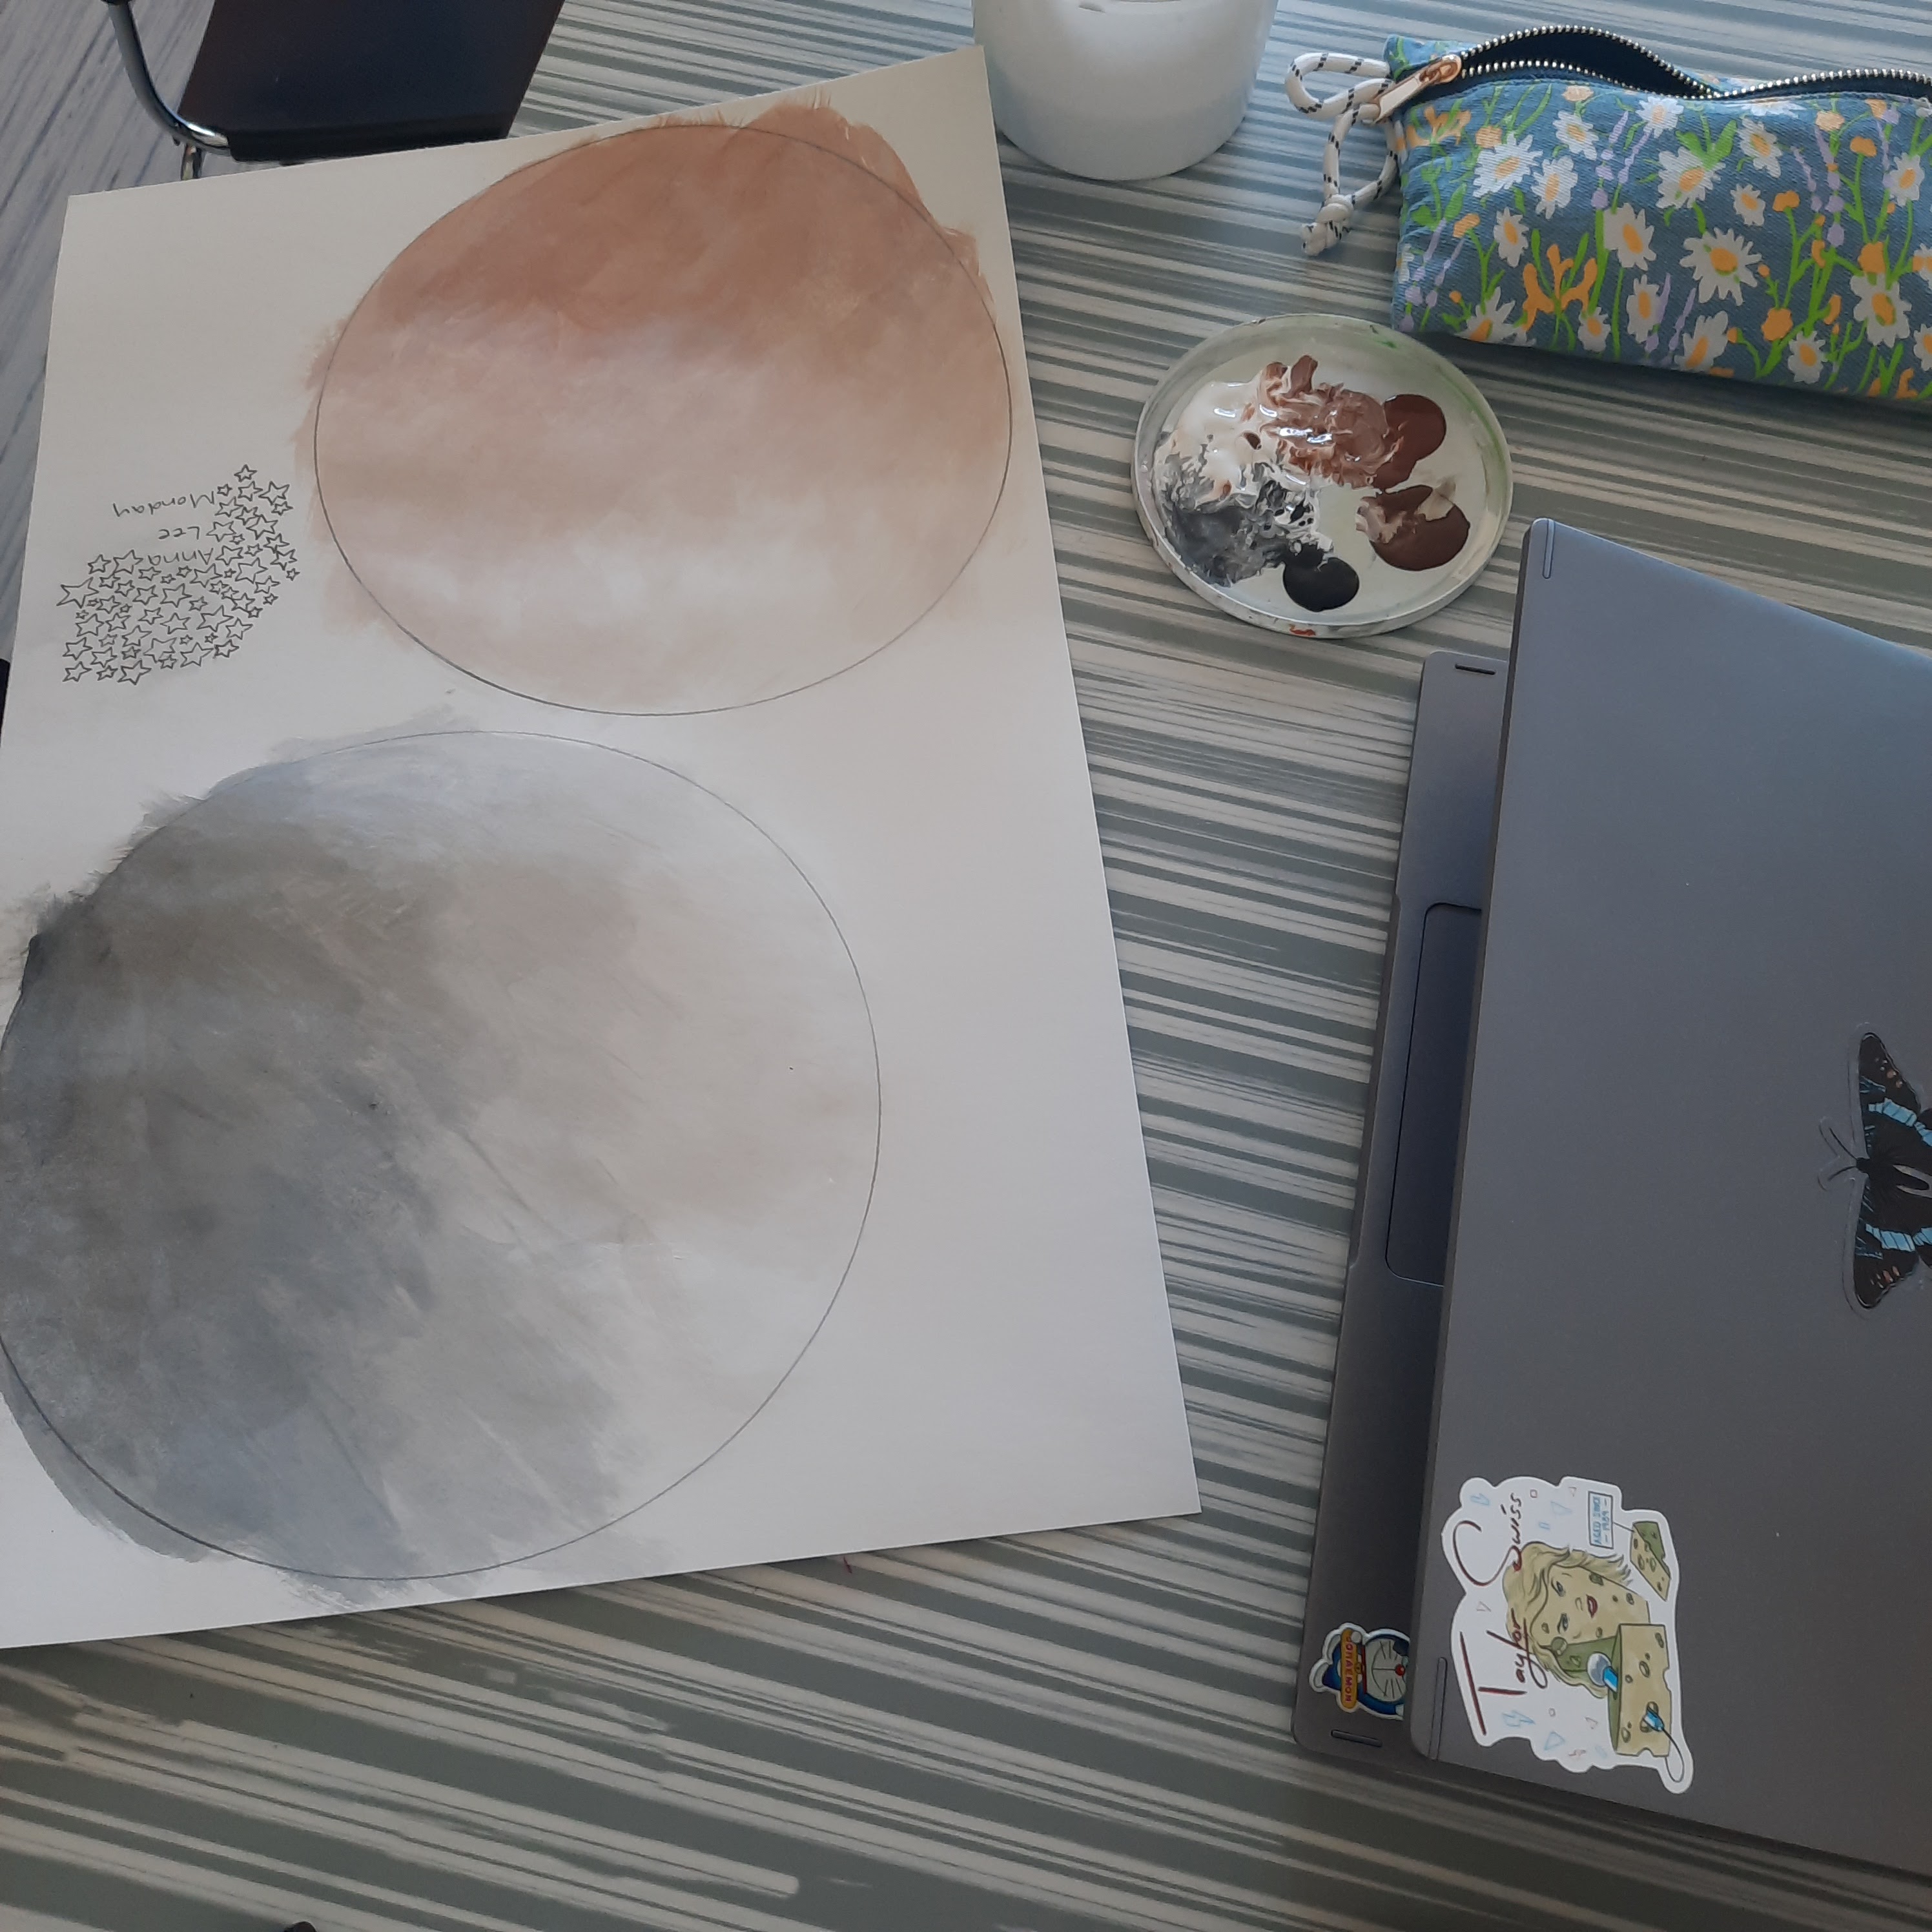


Once everything was dry, they re-traced their circles and carefully cut them out.
I love how individual they all turned out.