ABOUT THIS BLOG

"A Faithful Attempt" is designed to showcase a variety of K-12 art lessons, the work of my art students, as well as other art-related topics. Projects shown are my take on other art teacher's lessons, lessons found in books or else designed by myself.
Thanks for visiting!
LAND ACKNOWLEDGEMENT I acknowledge, with deep respect, that I am gathered on Treaty 7 territory. I acknowledge the many First Nations, Métis and Inuit whose footsteps have marked these lands for generations. I respect the histories, languages and cultures of all the Indigenous peoples of Canada, whose presence continues to enrich our community.

Thursday, August 11, 2022

Mosaic Plant Pots


This was my first time teaching mosaic work to my students. I went through a phase when it was trendy back in the 90's- I decorated small tables and other decorative objects with basically broken crockery I bought at thrift stores. So I had some experience with the craft, just not teaching it.
A fellow colleague asked me to teach this class with her- she had always wanted to try making something, so she learned along with our students.

For supplies I bought:

* terracotta plant pots from Wal mart- about 6 inch size
* from the hardware store: spackle and pre-mixed tile grout
* from Dollarama- sponges
* from Amazon- we ordered tiles for mosaic crafts- they were MUCH SMALLER than the photo depict!! But they worked well- just very expensive for the small bags we received. Why are Amazon photos so deceiving??


So first I made a sample, as I always do, to make sure things go smoothly. I initially tried to glue the tiles onto the pot with white glue. But they just slid down the sides. So I switched to drywall spackle applied with a palette knife. The spackle was super cheap for a large amount.


This took about 3 classes (40 min each).


Once the pot is covered and dry (see below), it's time to grout.
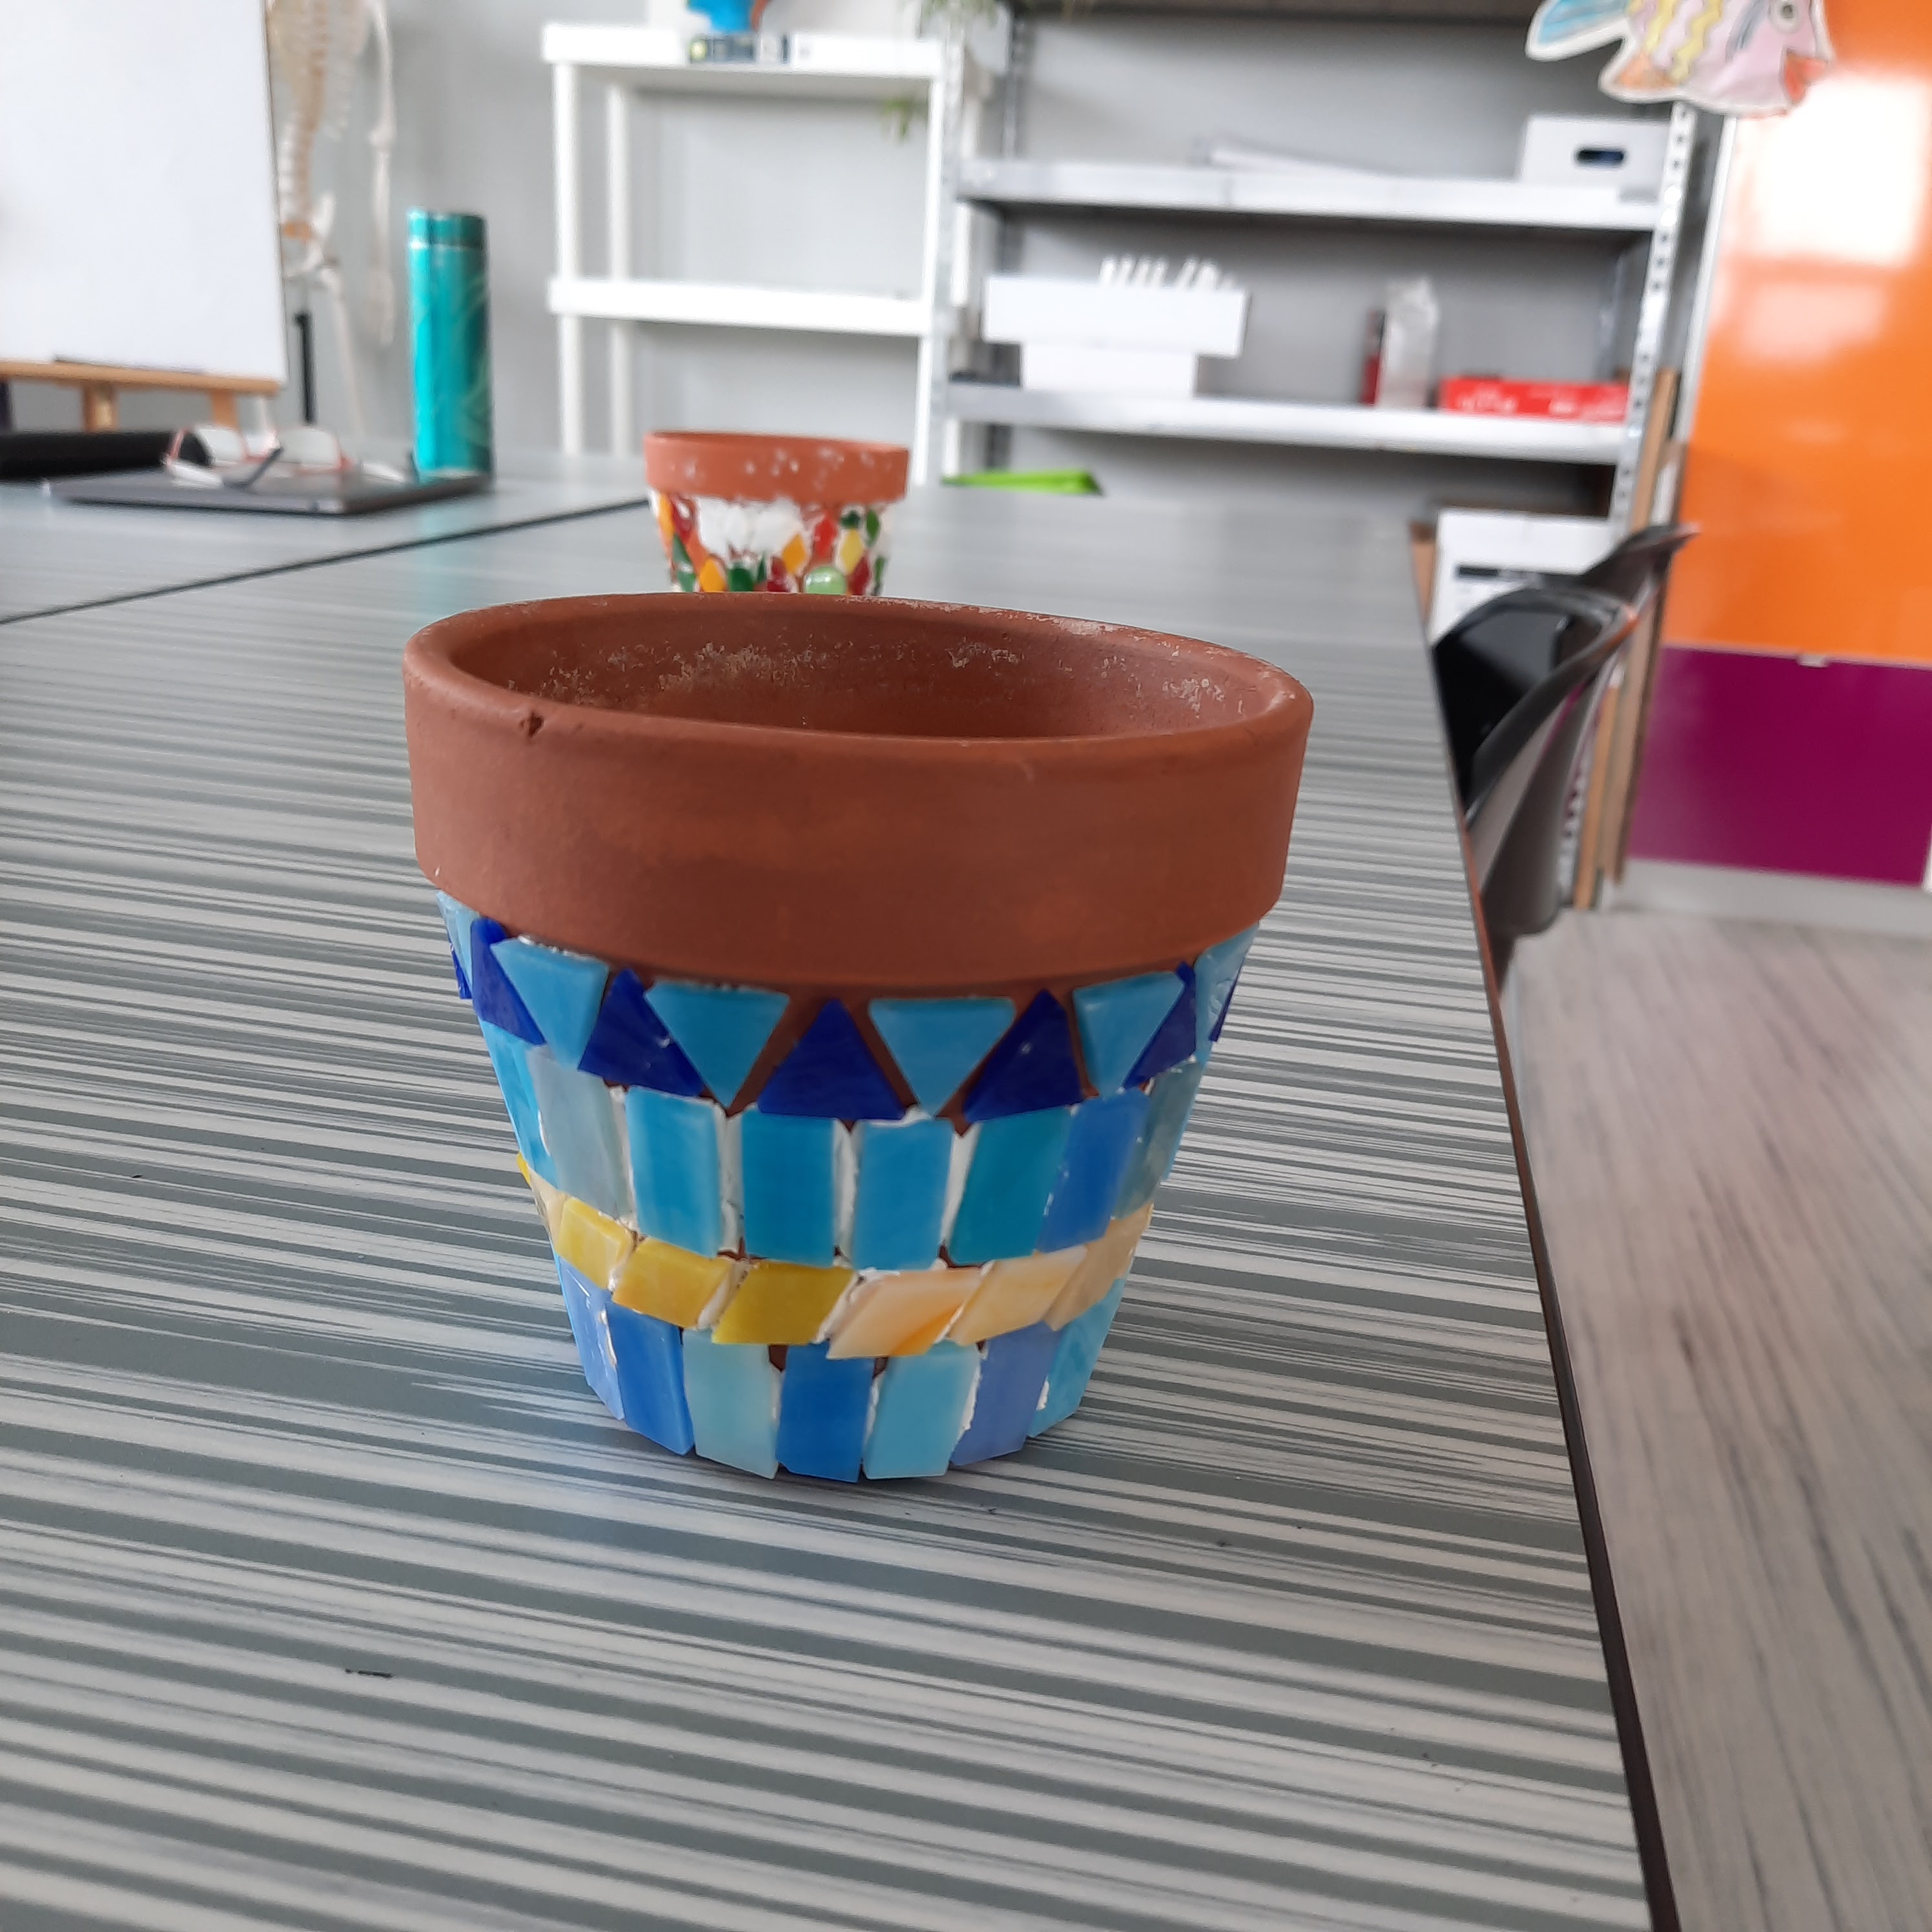


Wearing rubber gloves, just throw that grout on and push it into all the cracks and crevices. 
This was a super fun step!!


Really take your time and then try and wipe off the excess before cleaning the pot with a sponge.
We used buckets of water at the tables to continually wipe/rinse/wipe/rinse until the tiles are essentially clean. Then we buffed each tile with a dry microfiber cloth. 


Some finished pots created by Grade 8 and 9 students:


Tuesday, August 9, 2022

Endangered Animals Art Project


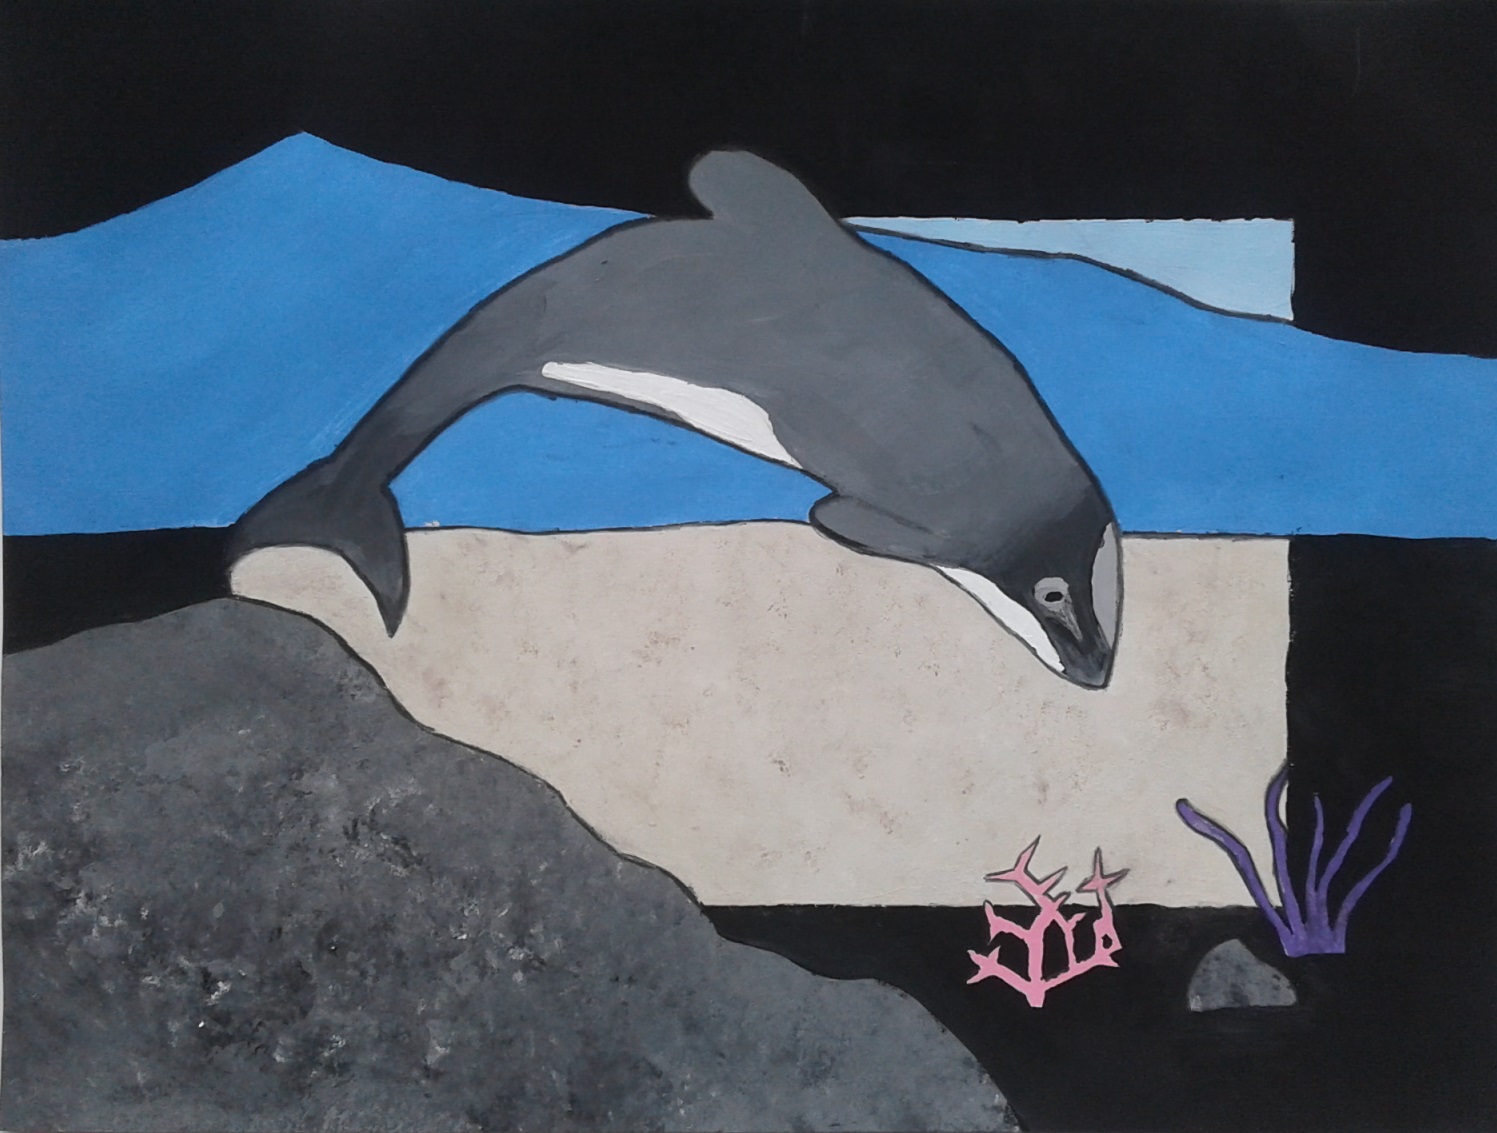
This is an art lesson I found on the beautiful art website: Create Art with Me. The original lesson is HERE. Michelle did an AMAZING work with her students!!

With my lessons I just tweaked a couple of things. I had my Grade 7, 8,9 students choose an endangered animal. I also let them use media of their choice.  Next time I teach this, I think I'm going to stick with watercolour and micron pens and see how they turn out. You could further tweak this by having students choose an animal native to your country or Province/State. 

Students started by researching an endangered animal on their laptops. 
They needed to find a good reference photo to work from.


On large heavy white paper, they measured out a thick border- maybe 2-3 inches wide.


They drew out their animal- it needed to extend beyond the border.


Then they needed to include some of it's natural habitat in the background.


Then they used media of choice to colour. At the end, they needed to type out a little bio about the animal and these were printed and glued onto the artwork.

Some Grade 7 - 9 results:


Tuesday, August 2, 2022

Scrap Paper Abstract Collage


This was a paper collage lesson I did with my Grade 4,5,6 students for our last project in June. 
It's that chaotic last week when some students are missing, they're hyper, I'm tired, so us teachers need a simple yet engaging art project to get us through the last days.

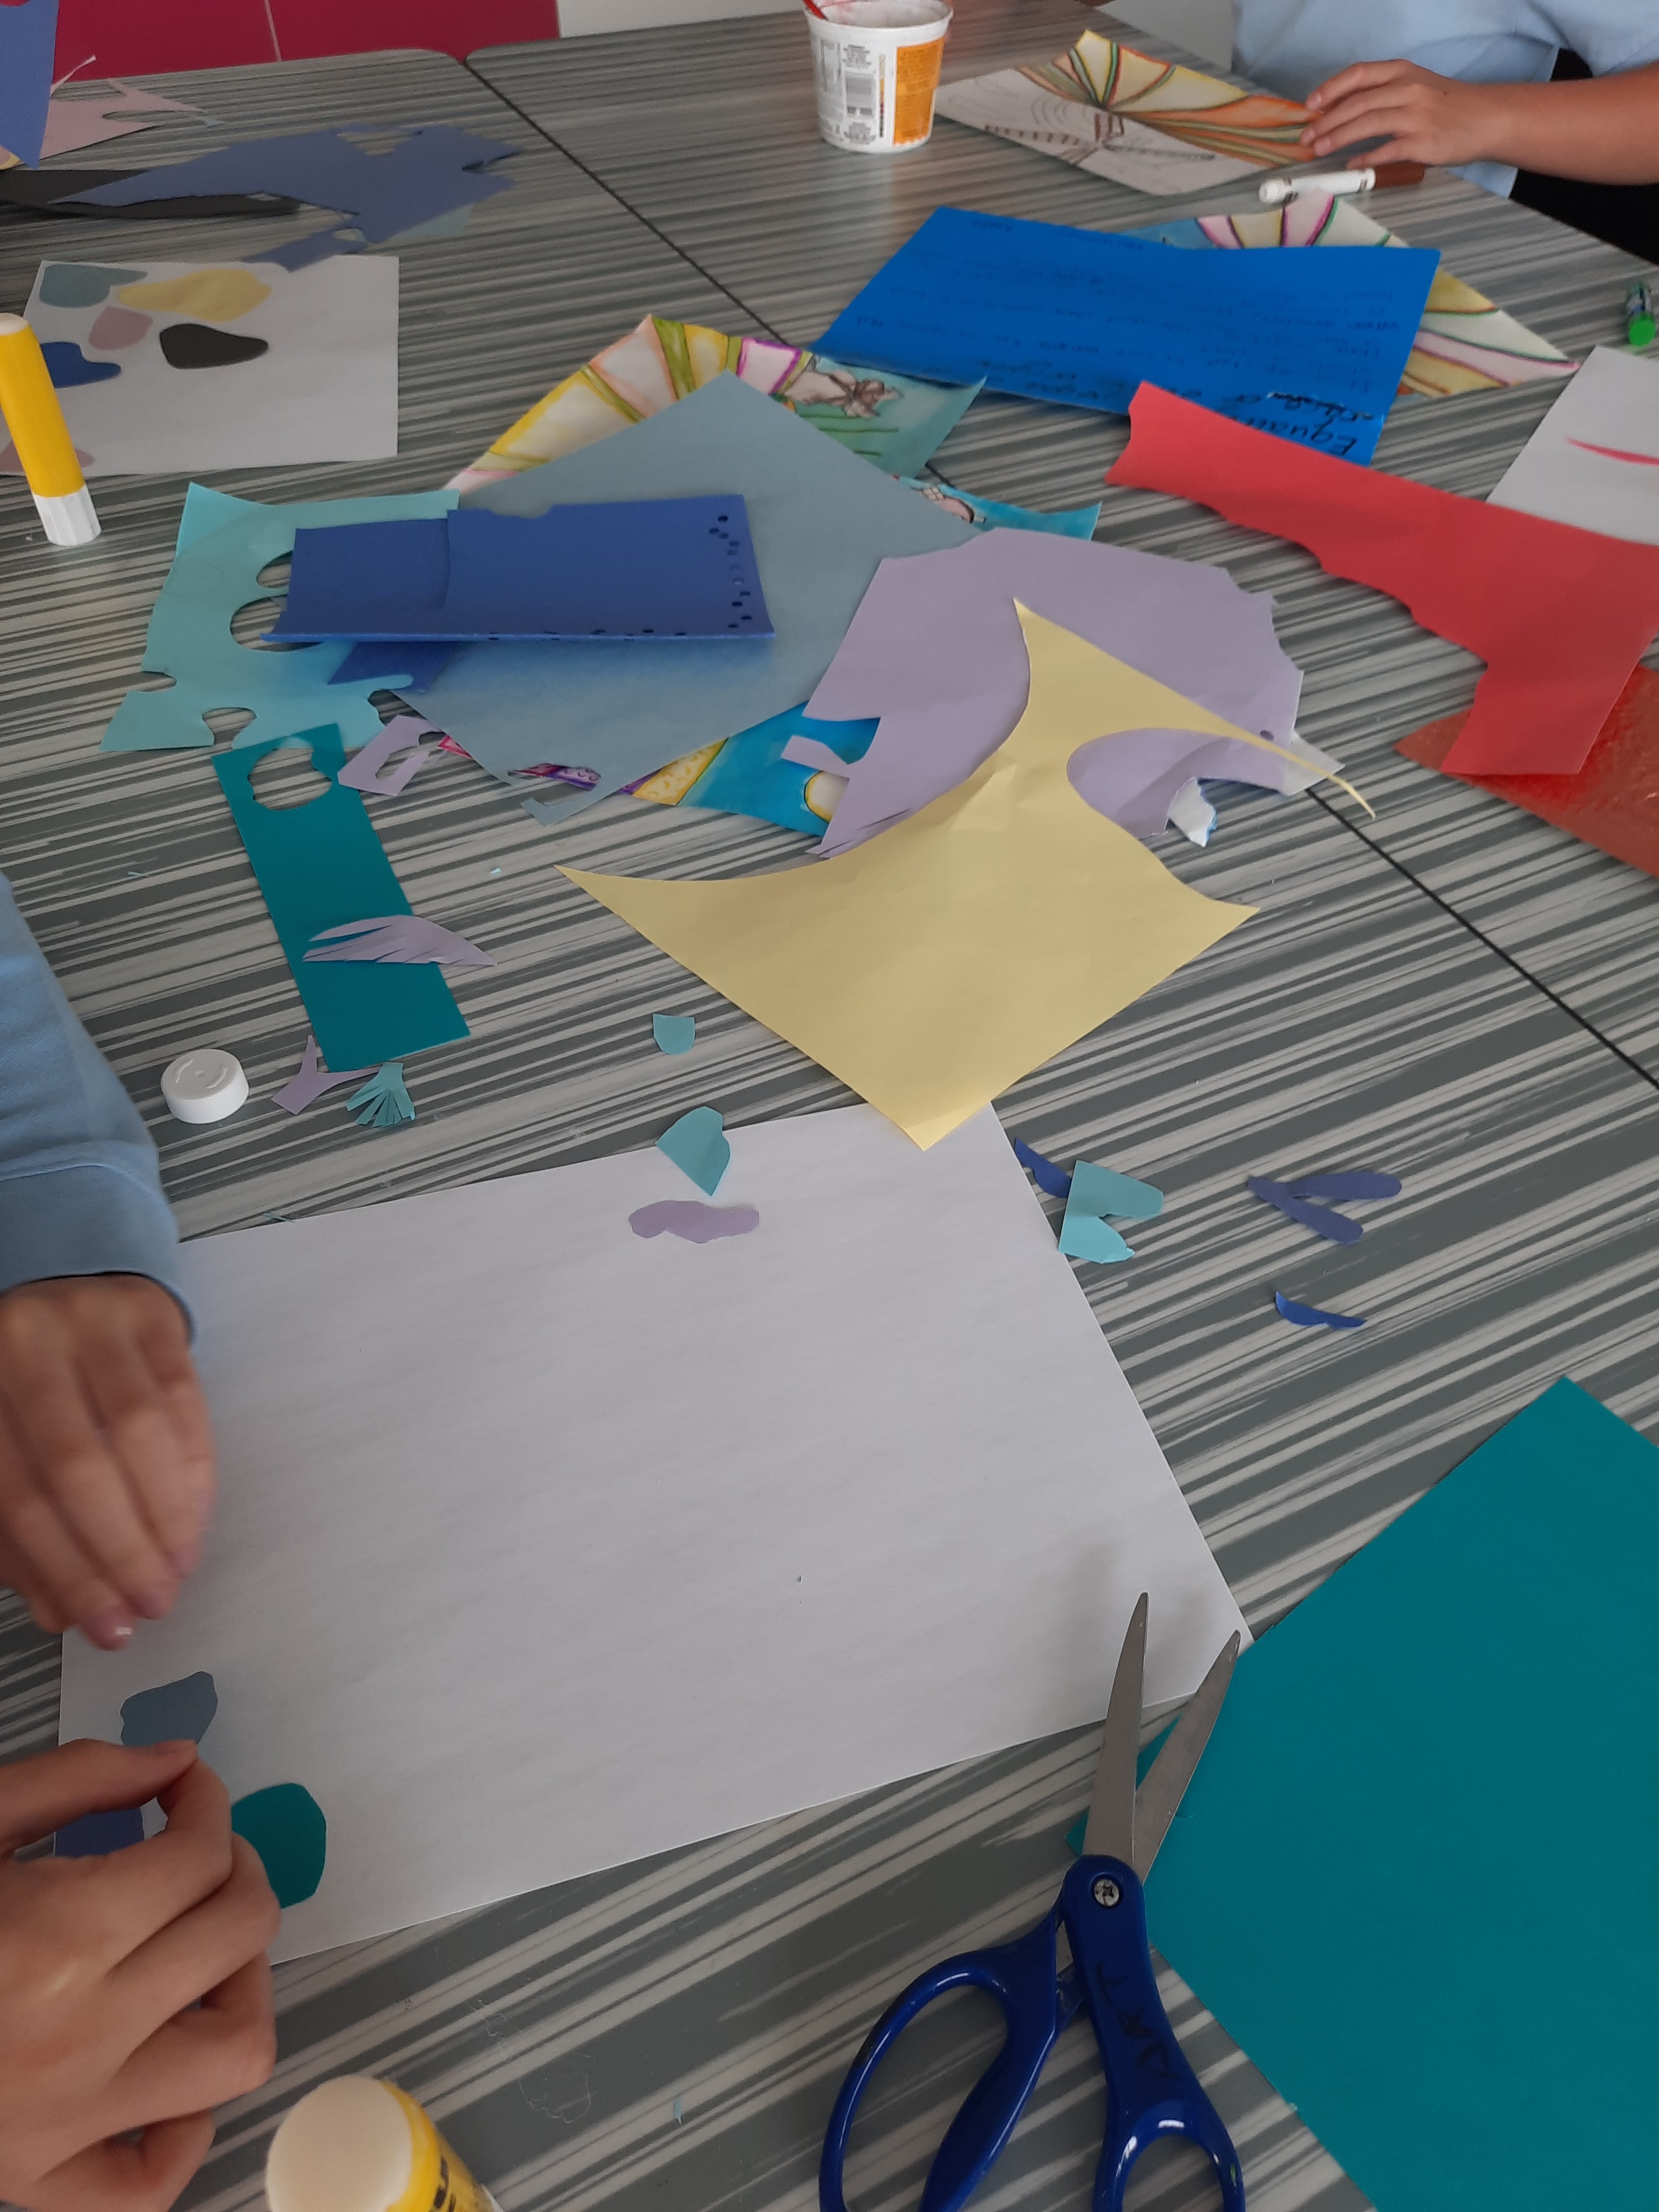
So this project only needs scrap colored paper, scissors and glue sticks. I keep a big box in my room where kids put any leftover pieces of paper we use in projects. It fills up FAST yet I still find it difficult to purge this crazy box of scrap paper, lol


So I asked students to choose a colour scheme and then simply cut out organic shapes and try to really fill their paper with lots of shapes.


Once everything was glued down, they had the option of adding some lines with markers.
I didn't get many pics of finished pieces but hopefully you can get the idea. 


Thursday, July 28, 2022

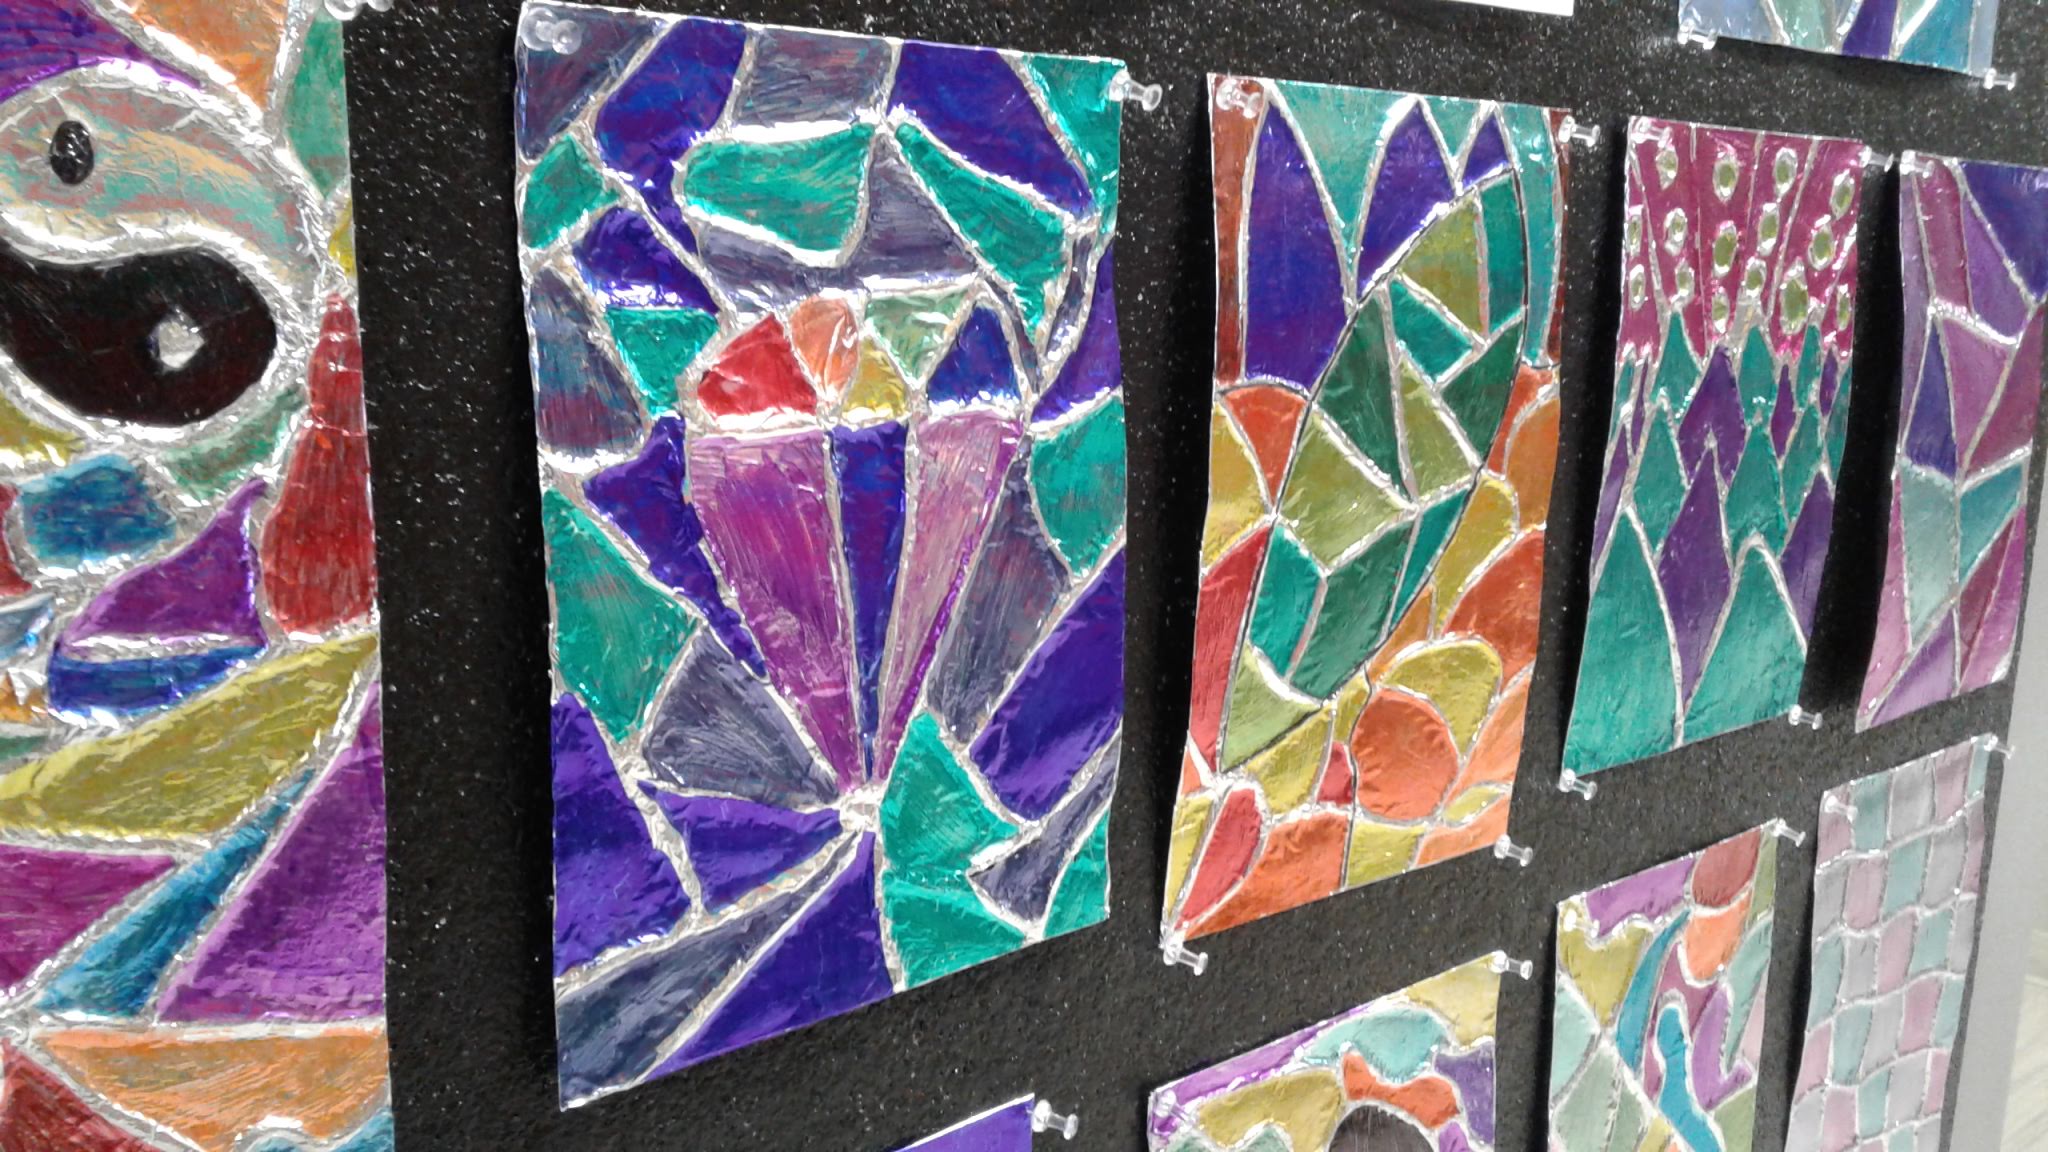
Foil Embossing: tin foil & sharpies art project


A very popular lesson with both my students and parents which yield fantastic results for all kids. 
I've posted about this lesson previously: HERE and HERE.

I teach this to Grades 4 through 6. We use cereal boxes as a base but any cardstock would work as well. 
We also use just regular yarn (any colours, doesn't matter) and white glue.

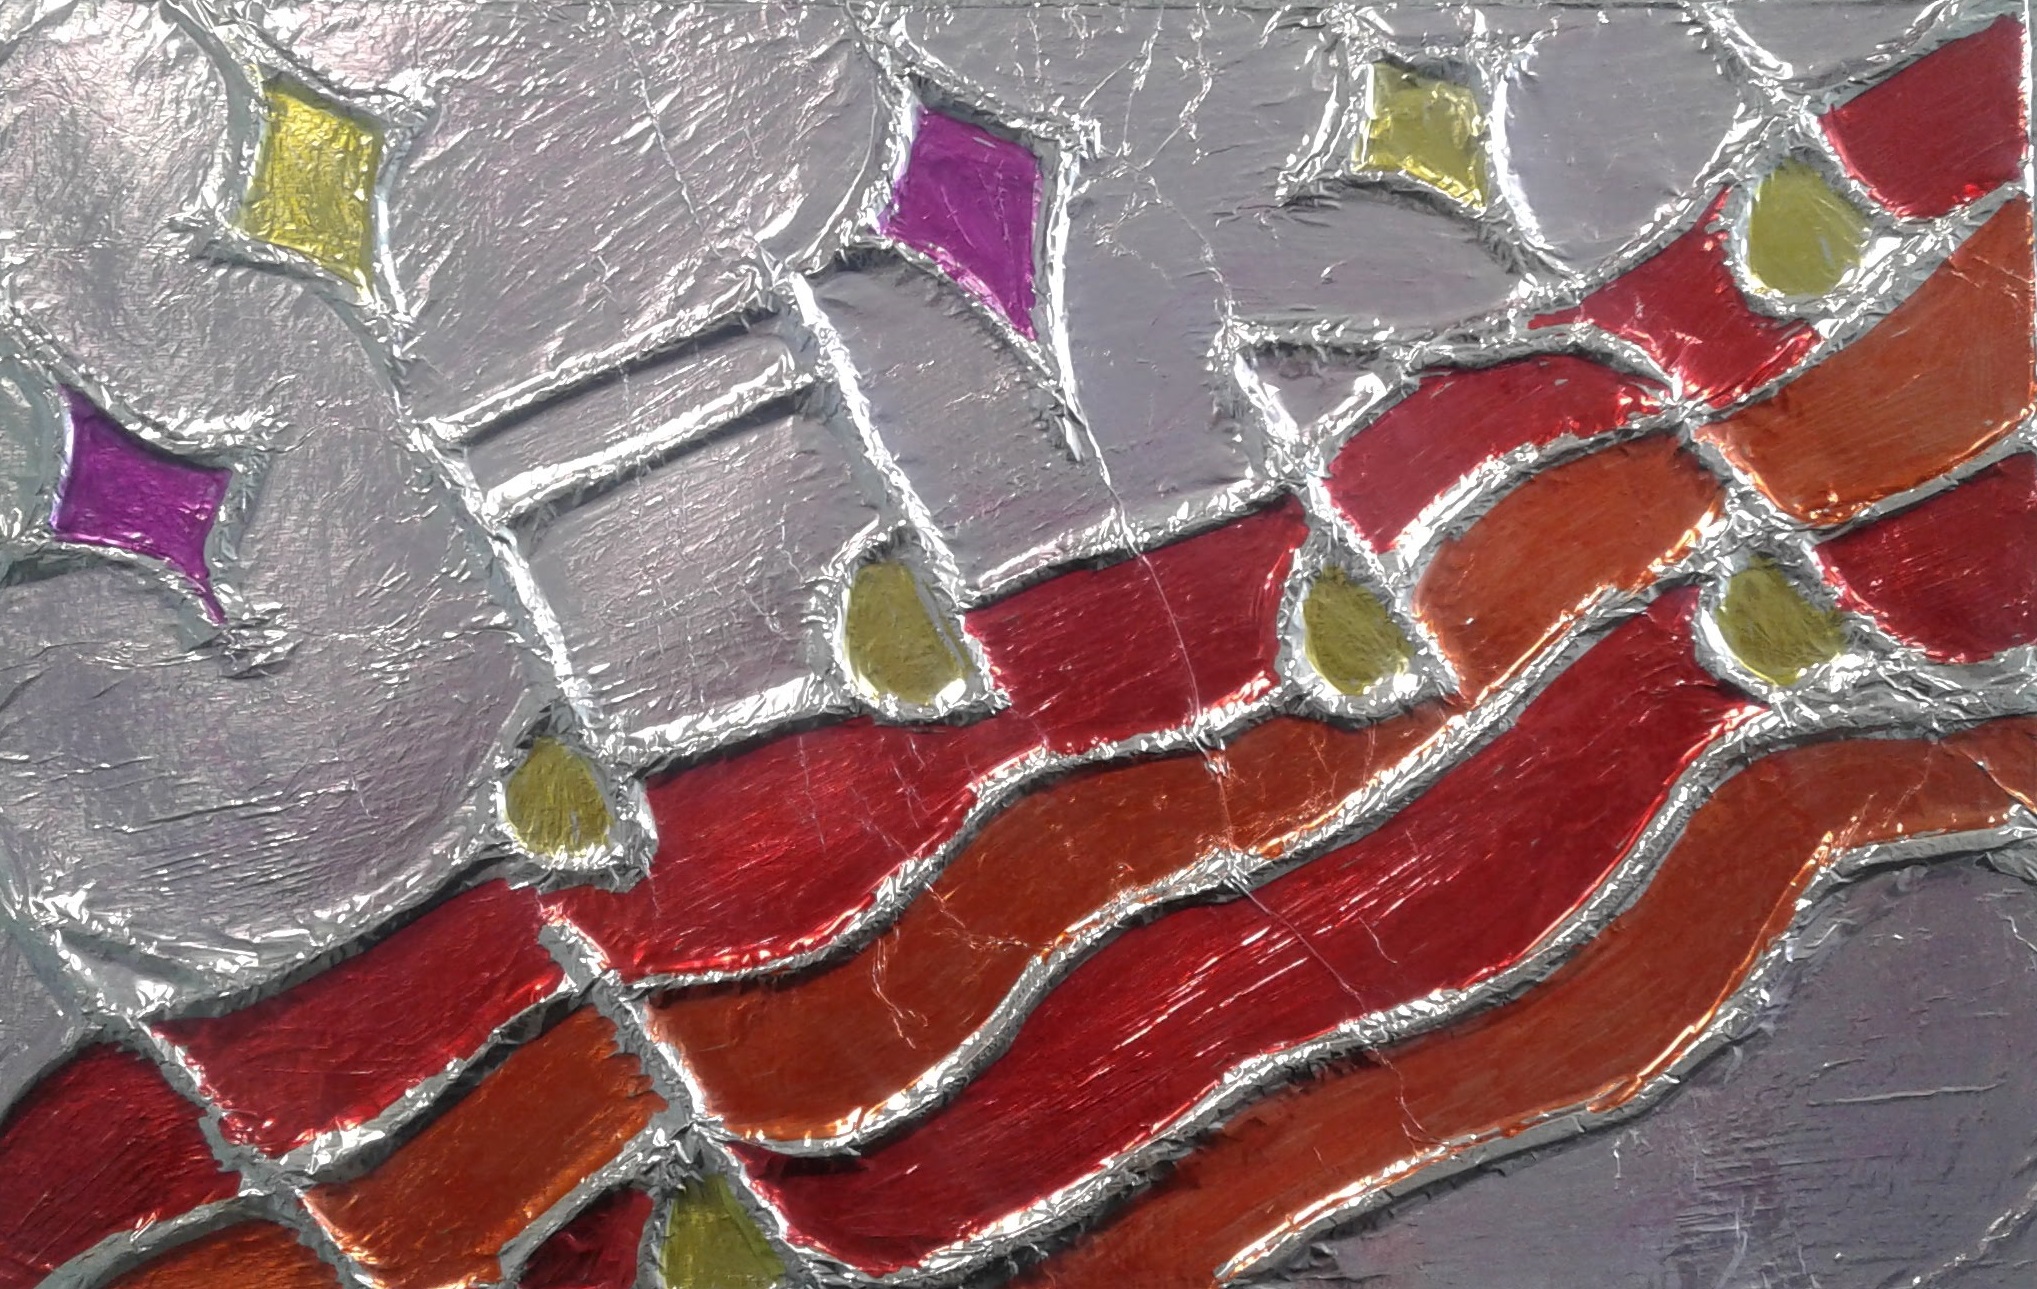
Cut the yarn and glue down whatever design you like. I just tell kids that the design has to have all enclosed shapes (nothing open). This is a great lesson to teach line and shape. Let dry overnight. 
The cardboard will curl a bit but that's ok. 


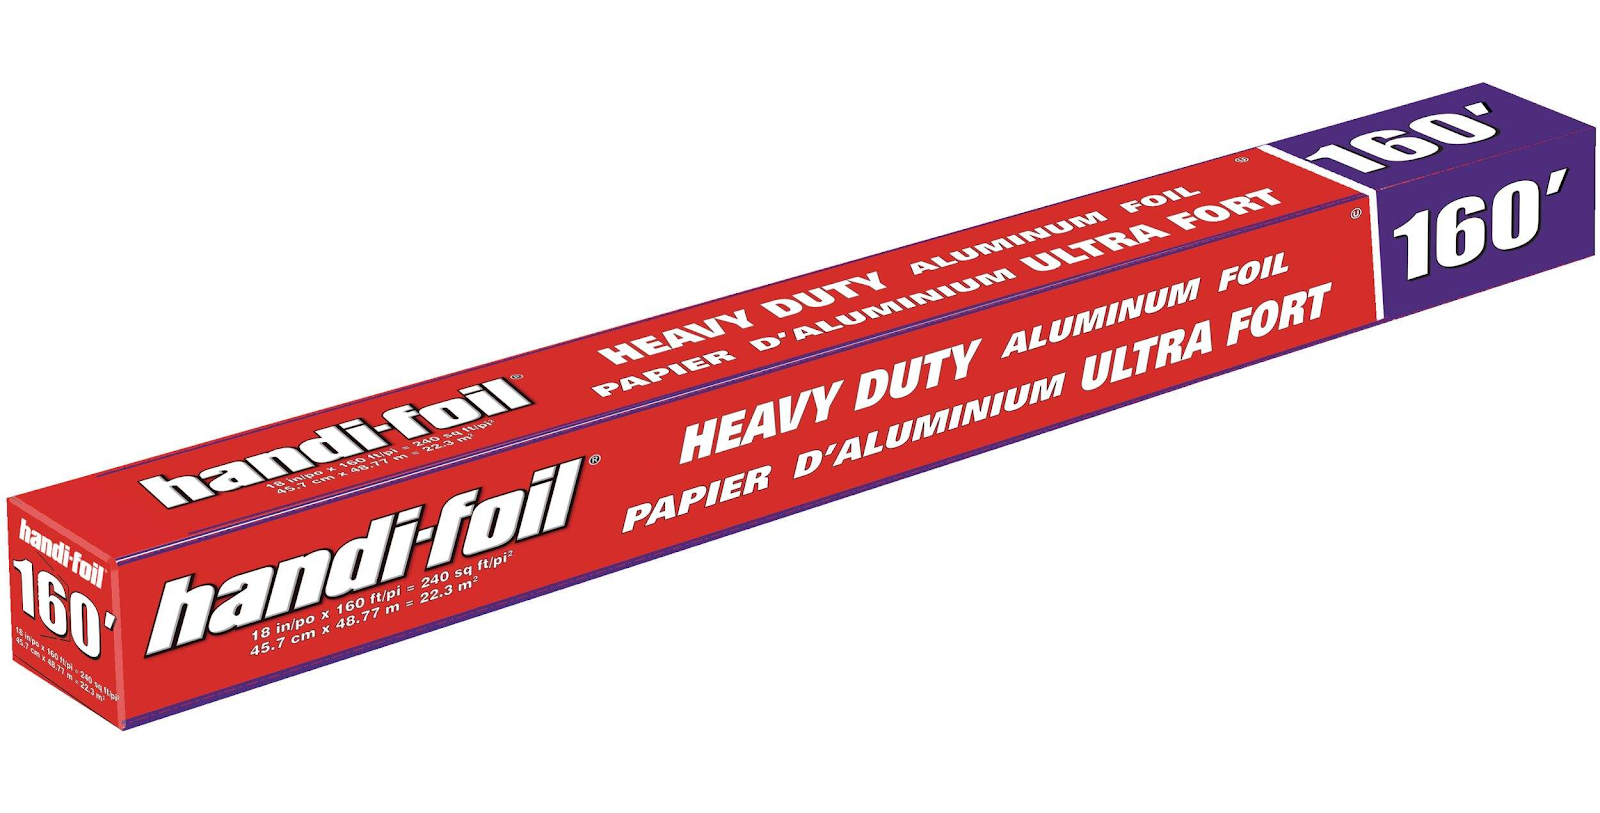
Cover the whole image with a thick layer of glue stick and glue on a piece of BARBEQUE ALUMINUM FOIL or HEAVY DUTY FOIL that's about an inch larger on all sides. 
Regular aluminum foil is too thin and could rip. 


Rub it carefully with a piece of felt, starting from the center and working your way out. We use small pieces of felt to carefully emboss all the edges. Take your time with this step- it is the key to a nice crisp design. Then colour with sharpies, leaving the raised yarn part un-coloured (or silver)


Some finished pieces:


Related Posts Plugin for WordPress, Blogger...