ABOUT THIS BLOG

"A Faithful Attempt" is designed to showcase a variety of K-12 art lessons, the work of my art students, as well as other art-related topics. Projects shown are my take on other art teacher's lessons, lessons found in books or else designed by myself.
Thanks for visiting!
LAND ACKNOWLEDGEMENT I acknowledge, with deep respect, that I am gathered on Treaty 7 territory. I acknowledge the many First Nations, Métis and Inuit whose footsteps have marked these lands for generations. I respect the histories, languages and cultures of all the Indigenous peoples of Canada, whose presence continues to enrich our community.

Thursday, February 11, 2016

Henna Hands


This is a project I do every year to support the learning of the Grade 3's regular classroom teacher. They study India in Social Studies so I do a big "Art of India" unit each year with them. This year I did henna hands again, but was inspired by a student to add the lacing around the border. He did it once during class when he had some free time, so I thought it would look nice as a border to their finished henna hands.
 
Students watched a video of an Indian woman applying mendhi for a wedding. Then we looked more specifically at the types of patterns and designs used. They were given a hand template to trace (I've had kids trace their own hands before but because this age can have such small hands, there wasn't much space for them to draw their designs! So now I give them a photocopy of a large outline of a hand. They cut this out (harder than it seems for some of them!) and use this as a template. Then they trace it onto some brown construction paper (I order specifically multicultural/skin coloured construction paper for this). Once drawn, they draw their designs directly using a fine tip brown marker. Then they cut them out and glue stick them to fuchsia/purple construction paper.
 
For the border, they used a single hole punch to punch holes around the edges. Then they used yarn to lace all through the holes. They really enjoyed this part!


Saturday, January 23, 2016

Dali Inspired Surrealist Animals

 
This project was inspired by the 1948 painting The Elephants by the Spanish surrealist artist Salvador Dalí. I introduced my Grade 4 students to the work of Dali and we discussed his style- barren landscapes with a real sense of depth and space, highly realistic details, lots of random objects grouped together.


Using this painting as a starting point, students were asked to think of some type of animal they could give really long, spindly legs to. This was pretty hard for them and they had to do quite a few rough copies before they actually achieved long legs!  
Once they had a decent rough copy, they drew their good copy on heavy white paper.
They outlined their drawing in Sharpie and then used watercolours to paint it.


this is a walrus!! lol


Tuesday, December 29, 2015

Abstract Tape Paintings


This was a project I had such high hopes for. However, by skipping one crucial step, the project (well, the end result at least) was a bit of a fail for most of my poor students. It was inspired by one of those abstract tape canvas paintings that are all over Pinterest. One of my students made one at school as a birthday present to a friend. She was storing it behind my desk as she worked on it after school in the Art Room. It came out really nice. One of my Grade 8 girls asked me if we could do that as our next project. I thought it would be a great lesson in abstract/non-representational art. 

Normally, I always make a sample of the project beforehand (to iron out all the kinks) but figured this one was pretty fool-proof. My biggest mistake was using paper instead of canvas. I figured using heavyweight paper and taking the stickiness off masking tape with lint from our clothes (like I do with my birch tree project) would work well. WRONG! It didn't work at all- once the paint dried and we tried peeling off the tape, it was so difficult. There were lots of paper tears and such. The acrylic paint really basically glued the tape down so it was really hard to get off. Watercolour doesn't seem to have the same effect because I've used masking tape with watercolours without major issues.
Anyhoo, some students worked really hard to touch up their paintings and they ended up looking really nice in the end. So if you try this project, don't be cheap like me and use canvas :)

Here are some of the 'rescued' paintings:


Sunday, December 20, 2015

Wycinanki Christmas Tree Paper Cuts


"Wycinanki" pronounced Vee-chee-non-kee is the Polish word for 'paper-cut design'. Polish wycinanki became a popular folk craft in the mid-1800's. Colorful wycinanki were pasted on furniture or roof beams as decoration, hung in windows, and given as gifts.The most well known modern styles of Wycinanki comes from two districts. One is the Kurpie cut out. This is usually a symmetrical design, cut from a single piece of colored paper, folded a single time, with spruce trees and birds as the most popular motifs. The second style comes from the area of Lowicz. It is distinguished by the many layers of brightly colored paper used in its composition. (Source)

Grade 4,5 and 6 students made Christmas trees in the Lowicz style. They folded a 12 x 18" piece of green construction paper in half vertically. They drew and cut out a fir tree design, then, keeping it folded, cut the typical wycinanki 'notches' into the edges. Then, using scraps of colored paper from my big box of scrap paper, they added decorations, with the goal of keeping it all fairly symmetrical. 
This project took about 2 - 80 minute periods. 

The inspiration for this project came from image below which I found online.
Image Source


Tuesday, December 15, 2015

Elf Drawings


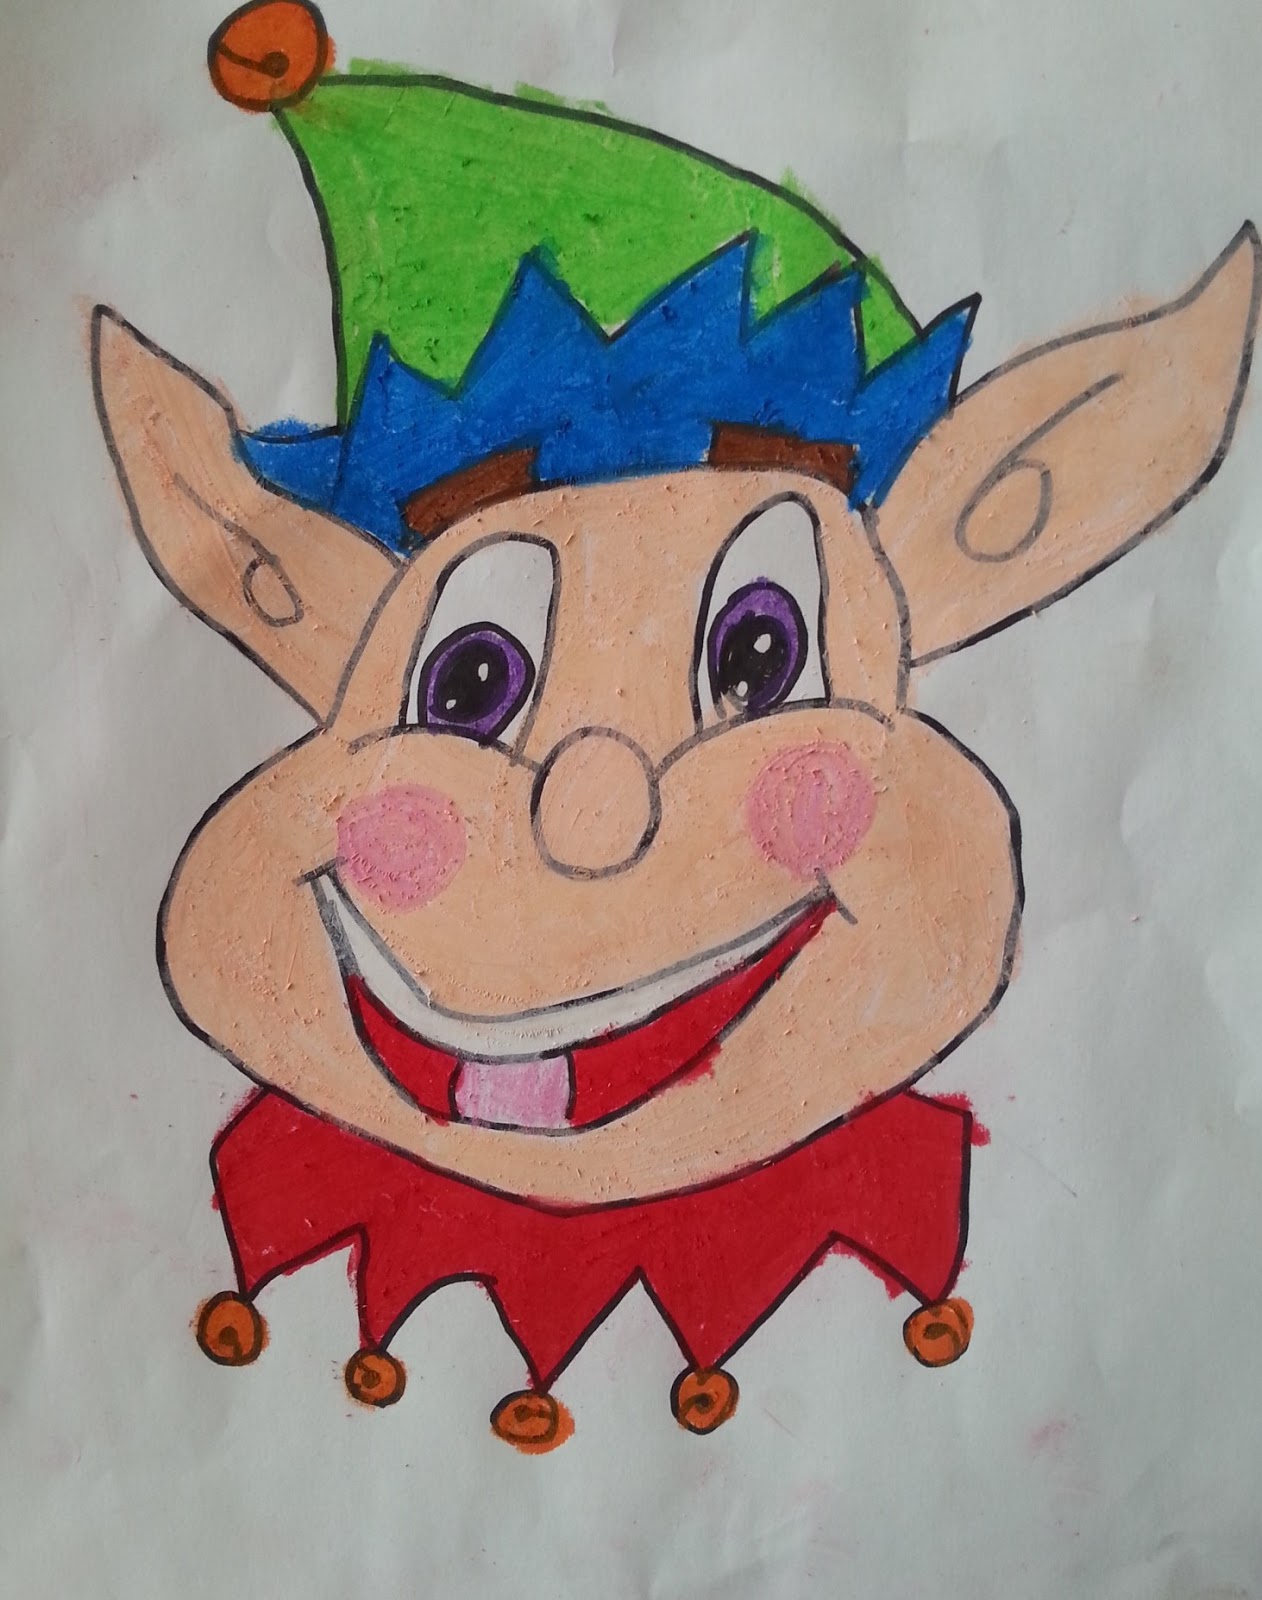
This was a fun *almost* one day lesson that's perfect for the last week before school breaks for the Xmas holidays. I'm tired, the kids are buzzed and I need a simple but fun lesson that keeps them focused the entire period- this one fits the bill!  It's a guided drawing lesson from a great website called Artforkidshub and I found the lesson HERE. I supplied the kids with regular white drawing paper, plugged in my laptop to my big screen TV and hit play! The guided drawing part takes about 10 minutes with the rest of my class (ours are 40 minutes long) devoted to coloring.


After it's drawn in pencil, the kids outline their drawing in Sharpie. I told them they could colour their elf with any media they wanted but the majority chose oil pastels like the artists in the video did.
I also told them to colour them however they wanted but again, the majority colored it like the artists in the video- go figure!


Here are some Grade 3 results- about half the class finished in a 40 minute period.


OK- this one below is from one of the funny kids in my class. He said "I decided to make mine into a scary clown-elf. I'm going to hang it in my bedroom to give me nightmares!" 


My Grade 4's also tried these:


Related Posts Plugin for WordPress, Blogger...