
This is a fun and relatively simple papier mache 'shortcut' project involving a heart.
A great artist to look at beforehand with the students would be
American Pop artist Jim Dine and his heart series.
Here's how we made these:
Cut two matching hearts from 2 sheets of cardstock. (our were simply 81/2 x 11")

Open up a paperclip and tape it securely to the top of one of the hearts.
This will be the hanger.

Close the heart and tape all the edges together with masking tape,
leaving one section open for 'stuffing' purposes....

tape, tape, tape...

Now stuff it with bunched up paper towel or tissue. Something soft-ish.

Tape it shut.

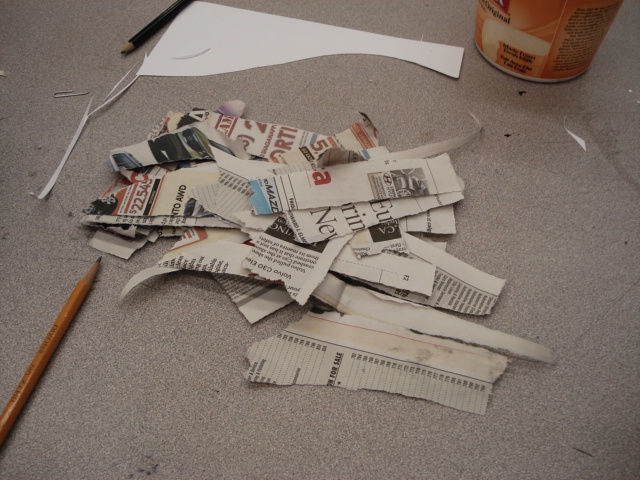
Now rip up a sheet or two of newspaper- these are about 4" strips.
Using wallpaper paste (or watered down white glue- I prefer wallpaper paste as it's not sticky and easy to wipe off the tables), apply the strips, making sure to slightly overlap them.
You only need one layer.

This is what you'll get.

Now do the same thing with the paste but use paper towel and create lots of wrinkles.
This creates both interesting texture and blocks out the newspaper patterns
so you don't need to prime them with gesso/white paint.

Let the hearts dry overnight.
Students then painted them with acrylics.
I demonstrated how to achieve a silver and gold faux finish.
First a dark colour, then lightly dry brush a lighter colour overtop.
For old silver or pewter, for example, paint the heart black first. Let dry, then dry brush on silver paint and rub off excess with a paper towel. Fiddle around with this technique until you get the look you want.
So here the student is beginning the base coat of black- make sure to get into all the crevices
and not leave any white showing.

Let dry 10 minutes or so....

Dry brush on a metallic paint such as silver.

The silver will highlight all the ridges and emphasize the texture.

Add a ribbon/yarn/string for hanging and you're all finished.
Some students also chose to collage on words cut from magazines.
These were made by Grade 7 students:
Ta da!


6 comments:
I like the ones that use a color also like the purple and black and the red and silver ones. Good work by your kiddos!
Thanks! We had alot of fun making them- I think they enjoyed the colour mixing the most.
I like these a lot. Have you tried any other variations as far as shapes? Very nice.
Gabriela- yes, I've made an ice cream cone shape and students have made other shapes. It's another version of this project that I'll post soon. As long as the shape is relatively simple, this method works.
I did this with my grade 9 students this week and they turned out beautifully! They decided they wanted to make larger hearts than I had anticipated, so we used 12X18" paper to cut out each heart. We had some trouble with the hangers, as not all students attached their hanger paper clips as securely as needed for hearts of this size. But overall, this was a wonderful project.
I'm glad they worked out for you Aimee. My kids also had some problems with the paper-clip hangers- if you bend them too much, they can break easily. Next time I'll use the larger, stronger type and see if that helps. And yes, I think they need to use alot of masking tape to hold down the paper-clips. Maybe adding hot glue on top will help as well.
Post a Comment