ABOUT THIS BLOG

"A Faithful Attempt" is designed to showcase a variety of K-12 art lessons, the work of my art students, as well as other art-related topics. Projects shown are my take on other art teacher's lessons, lessons found in books or else designed by myself.
Thanks for visiting!
LAND ACKNOWLEDGEMENT I acknowledge, with deep respect, that I am gathered on Treaty 7 territory. I acknowledge the many First Nations, Métis and Inuit whose footsteps have marked these lands for generations. I respect the histories, languages and cultures of all the Indigenous peoples of Canada, whose presence continues to enrich our community.

Tuesday, August 8, 2023

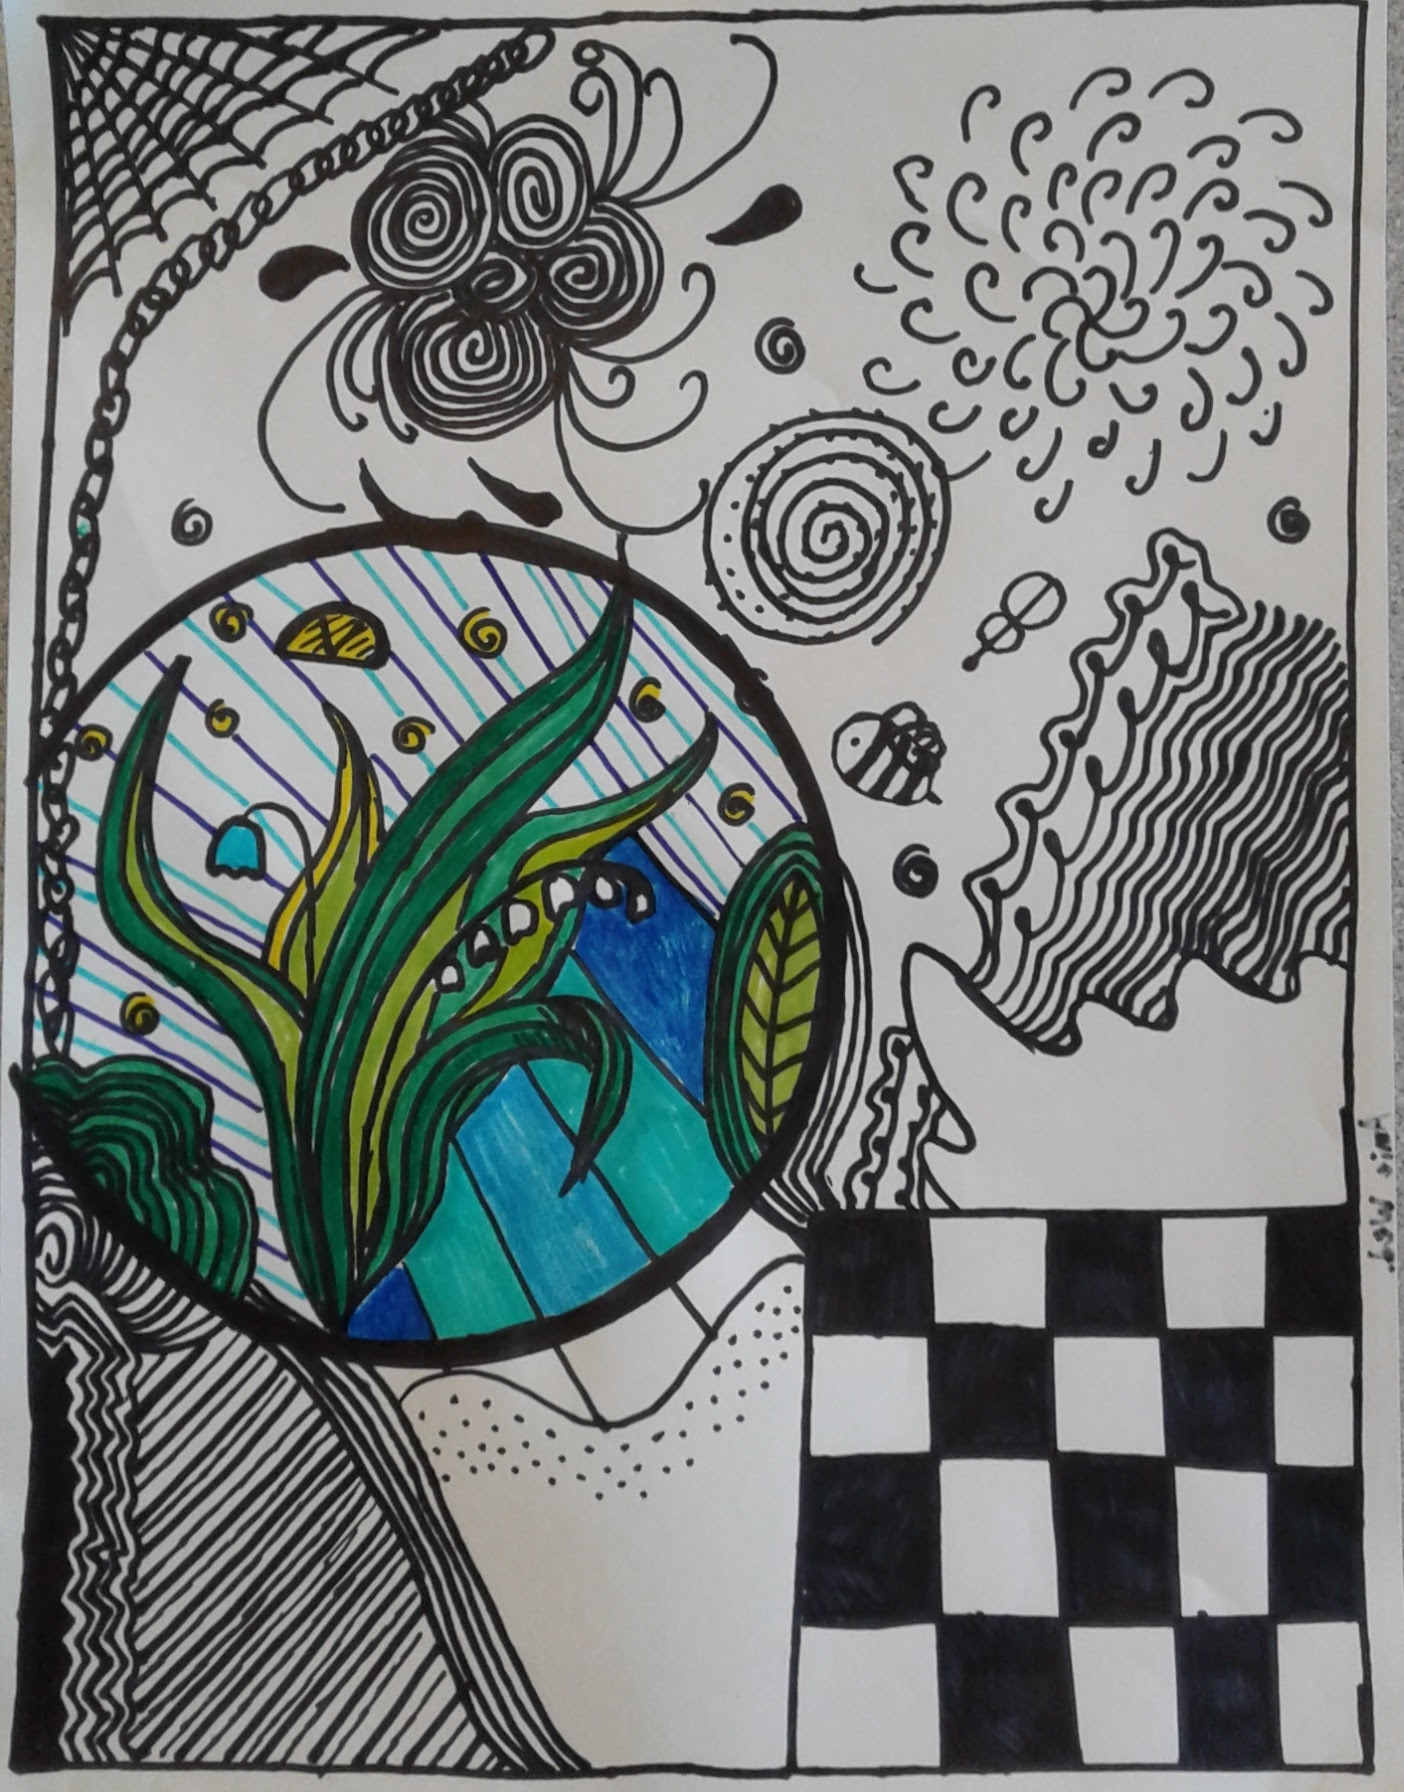
Black & White Doodle Design with Pop of Colour


This is a project I first blogged about back in 2011. I've taught it once more since then, but now keep this art project in my sub folder in case I'm sick and require a substitute teacher. It only uses markers and paper so it's a perfect lesson to leave.

See all the steps posted HERE.
I found the original lesson HERE.

You can choose what size paper you use- this time we used 8.5 x 11" copy paper as it goes by much faster. Start with a hand drawn border:


Using a black marker, start drawing a variety of patterns. Emphasize pattern and line variety. 
Print off handouts from the internet to help give kids ideas. The challenge with this lesson is that kids only draw with a marker- there is no pencils or erasers. So it's all about working with their 'mistakes'. 


Once the whole page is filled, use a lid to trace a circle (or circles) somewhere on the page.


Colour in the circle using markers.


Some finished Grade 4,5,6 artworks:


Sunday, July 30, 2023

Cyanotype Printing


Summer holidays is when I get the chance (and energy!) to take some art workshops. I'm lucky to live in a large city which has a couple of galleries that offer FREE workshops. 

This was a great cyanotype workshop I took one afternoon. It was actually for kids and their parents. I don't have kids so took (forced) my *somewhat* willing niece, lol. 

They provided all the supplies and great instruction.

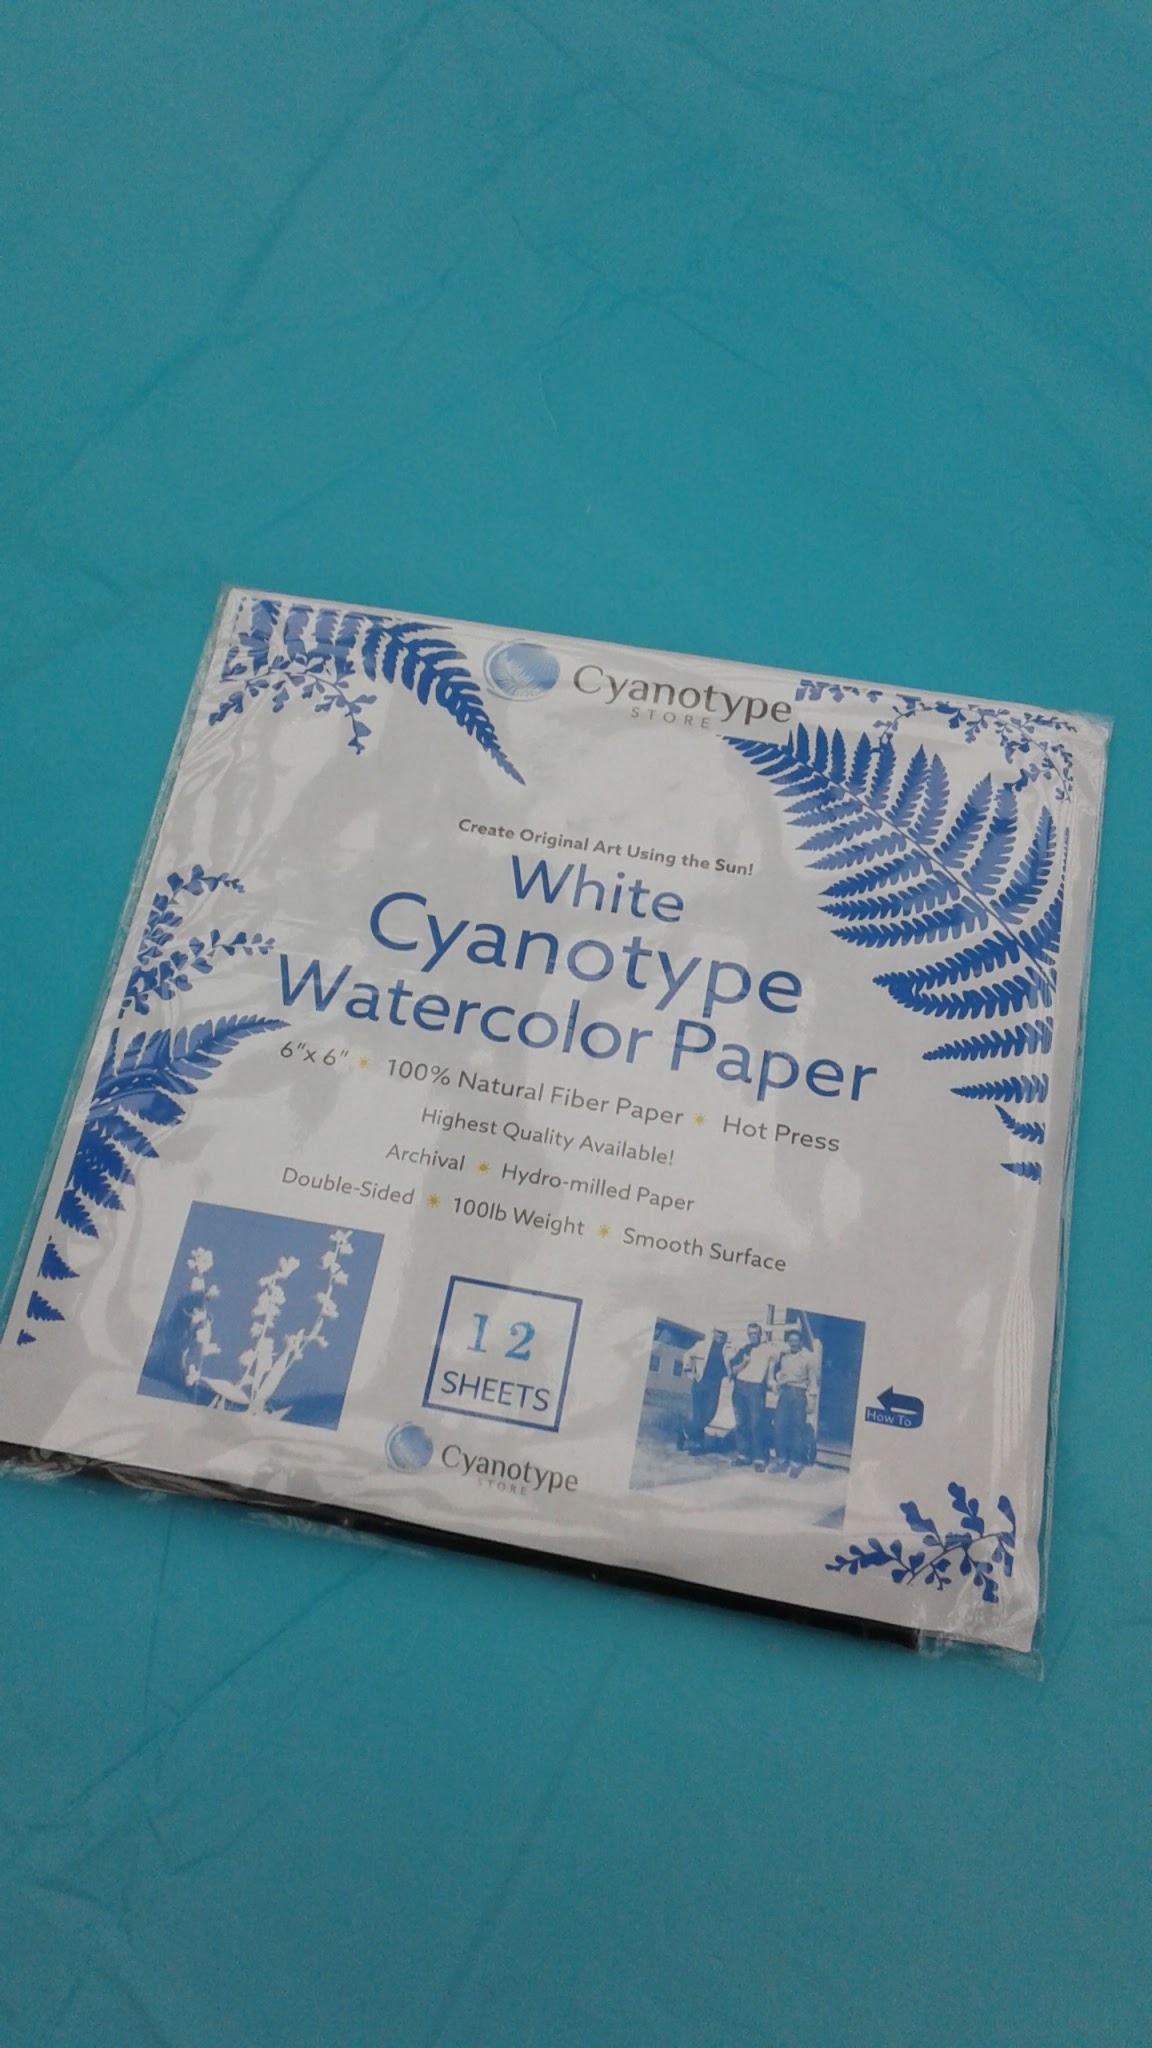
They used pre-bought cyanotype paper. I can't wait to buy my own chemicals so I can paint it onto watercolour paper to get that cool jagged rough painted edge.

The process involves mixing two chemicals: potassium ferricyanide and ammonium citrate to create a photosensitive solution. This is then applied straight after mixing to an absorbent surface (paper, fabric).
But this pre-painted paper is convenient for classroom use for sure. 


Traditional cyanotype is a camera-less photographic process that produces beautiful Prussian blue prints. This process was discovered by Sir John Hercshel in 1842, and was used as a means of reproducing drawings and diagrams (blueprints).

In the mid-nineteenth century, artist and botanist, Anna Atkins brought the process to the attention and imagination of the public when she produced a series of cyanotype prints of seaweeds. She placed the algae specimens directly on to photosensitised paper creating a silhouette effect, known as a photogram.


They started with a slideshow showing examples from contemporary artists. The creative possibilities of objects that they used was amazing!!


We were shown all the objects we could use for our print. They encouraged the use of transparent glass pieces, seen below. These were convenient because they were heavy, and would not blow away in the wind (my city is VERY windy). Otherwise, for the typical botanical and feather prints, you each need to have a piece of glass to put over your print so the pieces don't fly away. 


On the back of our paper, we were told to write the exposure time down- this would show us how to get the richest blues. Go from 5 min to 10 min. This was full summer sun. 


Place your paper on cardboard (so you can carry it easily outside) and put your glass pieces on top however you want. 


Place in full sun and set your timer.


Bring back inside, remove the glass pieces and then place in a water bath.
They also had a bin filled with diluted hydrogen peroxide- this really speeds up the process.


So they had two bins below- one with water and then hydrogen peroxide. I forget the ratios unfortunately. 


Then leave your print to dry on newspaper. Overall a really cool and fun art project!


Monday, July 24, 2023

Faith Ringgold Style Story Quilts


This is a great back to school art project because you could have students illustrate their favourite event/activity from summer vacation. This project is inspired by the story quilts created by American artist Faith Ringgold. 

I have posted previously about this lesson- check HERE for all the instructions and background info. 
Lesson plan this is loosely based on HERE.

I have a template I made on 11 x 17" photocopy paper. I've updated it to include a thin border where the kids write their sentence describing the event. 
 
In the center of the paper, students illustrate a favourite memory. Of course, you could make it more specific (summer vacation, family event, etc.) but I always make it general. 
I have them colour it in using coloured pencils and they can also outline everything in ultra fine sharpie.


I have pre-cut cardboard squares that students use as a template. They fit the border around the illustration. They use these to trace onto magazine pages. Look for interesting colours or textures and patterns. 


Some students choose a theme of colours or images. 


Glue them around the border using a glue stick. 


Once glued, you can trim off any rough overhanging edges with scissors.


Finally, add faux stitch marks using a black fine sharpie.


Grade 4, 5 and 6 artworks. I mount them onto construction paper for a nice border and added weight. 


Related Posts Plugin for WordPress, Blogger...