ABOUT THIS BLOG

"A Faithful Attempt" is designed to showcase a variety of K-12 art lessons, the work of my art students, as well as other art-related topics. Projects shown are my take on other art teacher's lessons, lessons found in books or else designed by myself.
Thanks for visiting!
LAND ACKNOWLEDGEMENT I acknowledge, with deep respect, that I am gathered on Treaty 7 territory. I acknowledge the many First Nations, Métis and Inuit whose footsteps have marked these lands for generations. I respect the histories, languages and cultures of all the Indigenous peoples of Canada, whose presence continues to enrich our community.

Friday, December 11, 2020

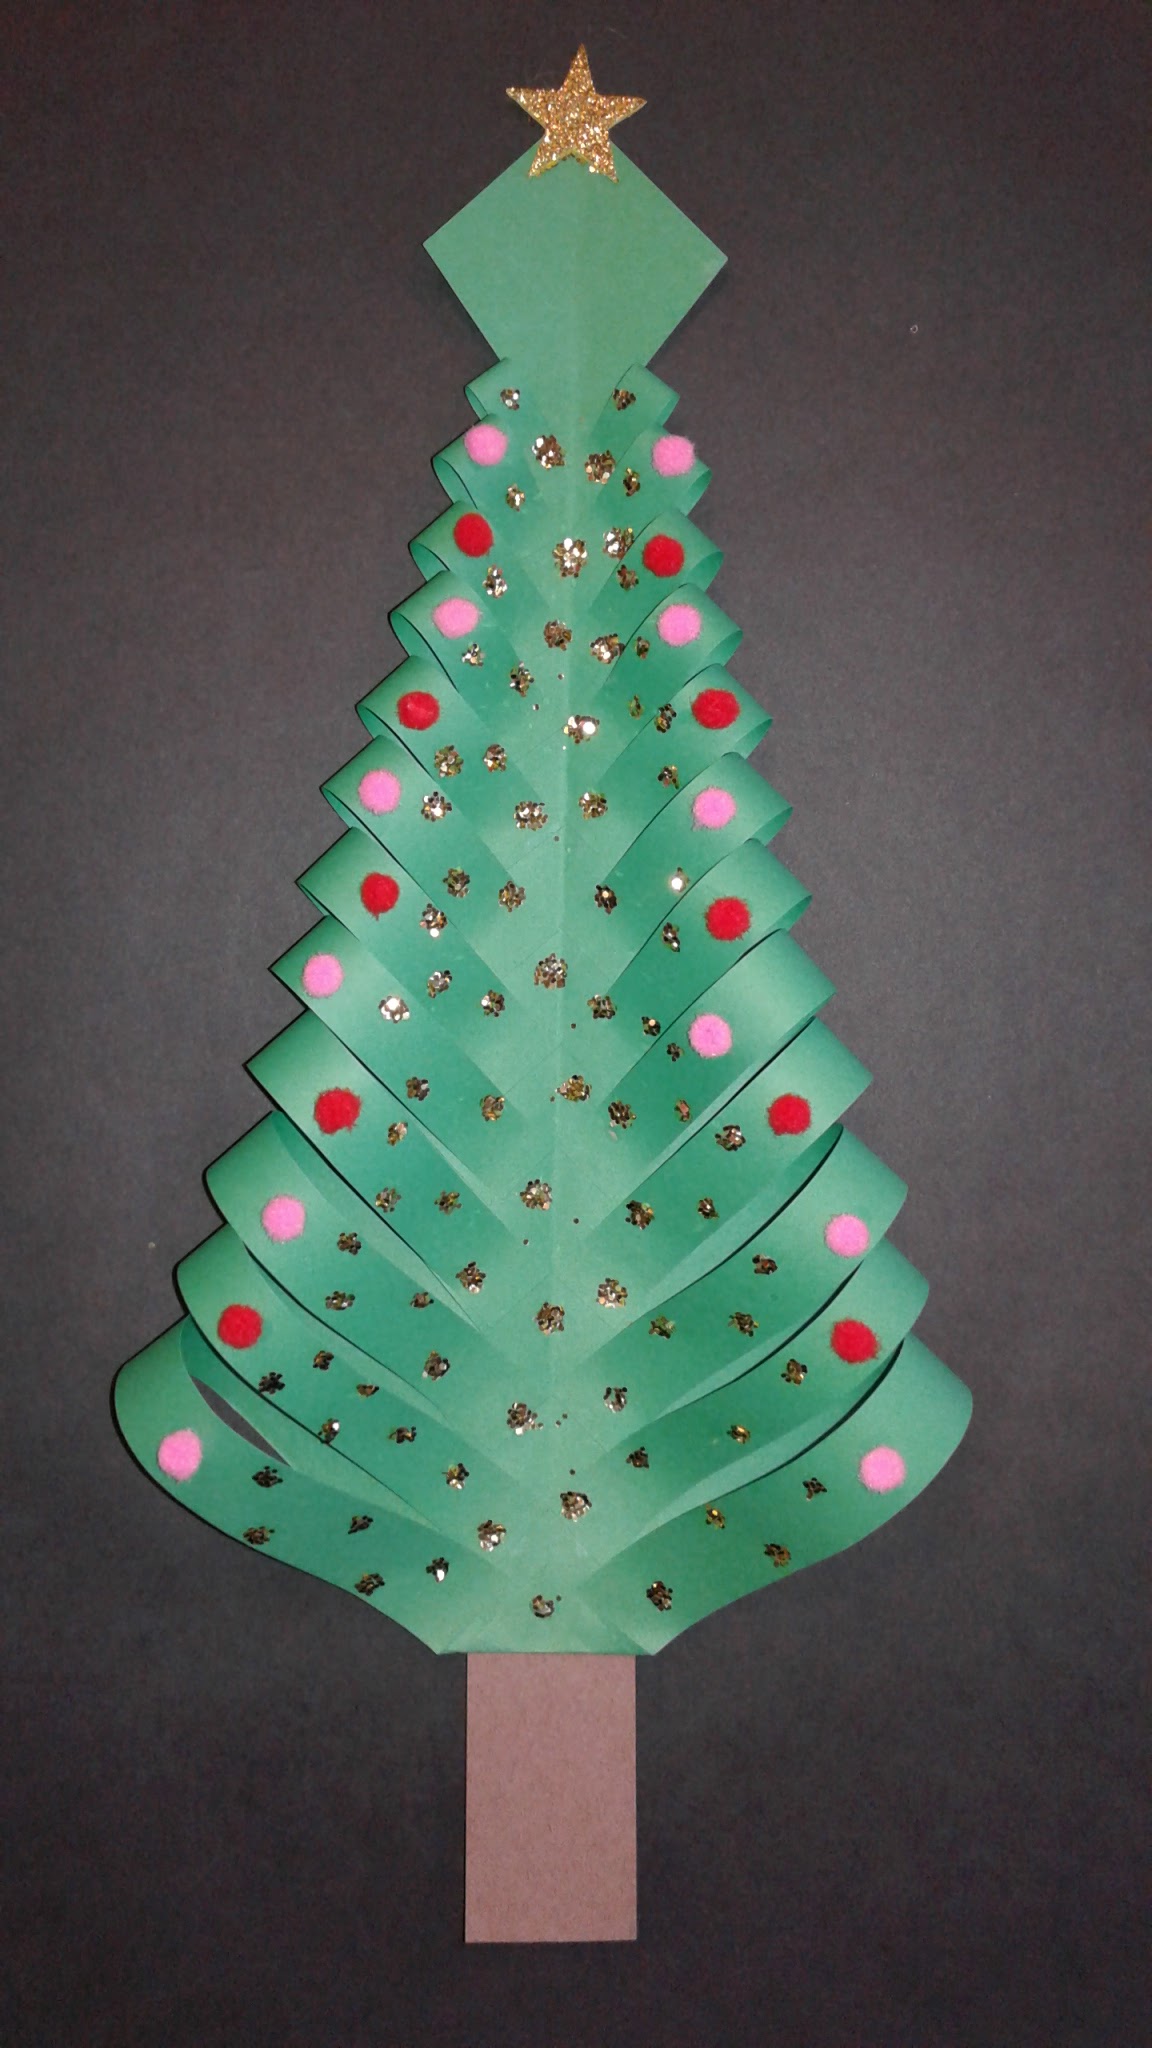
Paper Christmas Tree Craft


This holiday paper craft makes a wonderful last week of school project if you're allowed to do 'holiday/Christmas' themed projects in your school.
I found it HERE on the website: krokotak. I believe this is an Eastern European website and it has an amazing variety of unique art projects and craft ideas. 

Students followed along with me for the first steps of folding and cutting the tree. 
We used colored photocopy paper.
Then they glued it all together with a glue stick.


This took abut one period.


The next class they glued on pom poms (I bought tiny mini ones from the Dollar store), added a star (foam glitter stickers, Dollar store) to the top and a tree trunk from construction paper. 


Lastly, studentes used white glue to add dots of glue all over their tree, then they came to my table, and chose a colour of glitter.


Grade 6 results:


Monday, December 7, 2020

Faux Stained Glass with Sharpies


This is a beautiful December project that yields gorgeous results. I give my Grade 7 - 9 students the choice to do something holiday-themed or any subject matter they want. 
See my original posting HERE.

They sketch their stained glass design on regular 8 1/2 x 11" photocopy paper. They each have their own laptop so find images to reference online. 


Then slide the finished drawing into a sheet protector and trace over all the lines with a permanent black marker- make the lines nice and thick as these will be the 'lead' lines. Then colour in the whole picture using coloured permanent markers.


After one class (80 minutes).


For the background, cut a cereal box the same size as the page protector image and cut it out. Cover it in glue stick and then wrap it in crumpled up aluminum foil. 


Finally. cut out the sheet protector and staple it to the foil covered cardboard. Sometimes we use washi tape or coloured tape to wrap the edges. Depending on the brand, though, it can peel off the plastic unfortunately. 

Some Grade 7 - 9 finished pieces. These photos don't convey how stunning these are in person, especially when the light catches them!!


Related Posts Plugin for WordPress, Blogger...