ABOUT THIS BLOG

"A Faithful Attempt" is designed to showcase a variety of K-12 art lessons, the work of my art students, as well as other art-related topics. Projects shown are my take on other art teacher's lessons, lessons found in books or else designed by myself.
Thanks for visiting!
LAND ACKNOWLEDGEMENT I acknowledge, with deep respect, that I am gathered on Treaty 7 territory. I acknowledge the many First Nations, Métis and Inuit whose footsteps have marked these lands for generations. I respect the histories, languages and cultures of all the Indigenous peoples of Canada, whose presence continues to enrich our community.

Sunday, February 9, 2014

Shadow Portraits


These charming 'portraits with shadows' were made by Gr.3 students. 
I found the idea at the elementary art blog: "An Art Room Filled with Fauves". 

The supplies you'll need are:
  • white drawing paper
  • strips (1-2") of colored paper
  • black paper (for the shadow)
  • colored paper (for the background)
  • glue stick, scissors, pencils
  • colored pencils or markers

 So start off with the kids drawing a full figure person- you could make it a self-portrait lesson, 
or kids might research a famous historical person (to link with Social Studies), whatever. 
I gave the kids free reign to choose whomever they liked. 
Draw this lightly in pencil, then colour with media of your choice; we used colored pencils. 


Carefully cut out the figure. Place upside-down onto black paper and slowly trace 
with a light colored pencil. This will be the shadow- cut out.


Decide where is the best placement for the shadow- I found it works slightly above or below to 
either the left or the right hand side. 


For the border, I pre-cut a bunch of construction paper using a paper cutter- it went really fast. These were about 1 inch thick or so. Kids will cut these into squares and glue them around their background paper to create a simple border.


Ta da!


Sunday, January 12, 2014

Volcanoes


Grade 3 students were learning about volcanoes in their Science unit so we made illustrations of them in Art. We talked about some of the more famous volcanic eruptions such as Vesuvius (Pompeii), Mount St. Helens (USA),  and my favourite, the unpronounceable Eyjafjallajökull (Iceland- the one that threw tons of volcanic ash into airspace over Europe that lasted 6 days). 
Even the iconic Mount Fuji in Japan is a volcano (last eruption in 1708).

There's actually a new movie coming out in February about Pompeii (I'm super excited about it as it's starring JON SNOW from Game of Thrones (for any GOT fans out there)


So students had already researched volcanoes, so they looked through books for images to inspire them. We talked about volcanoes main featured such as the lava, ash cloud, and the crater at the top. 
On black construction paper, students sketched out their volcano first in pencil, then passed over the lines with a thick line using a black wax crayon (you could also use oil pastels).


Then they were coloured in using chalk pastels- this medium was especially useful for creating 
the ash cloud as it's nice and soft and blend-able.

Ta da!


Wednesday, December 18, 2013

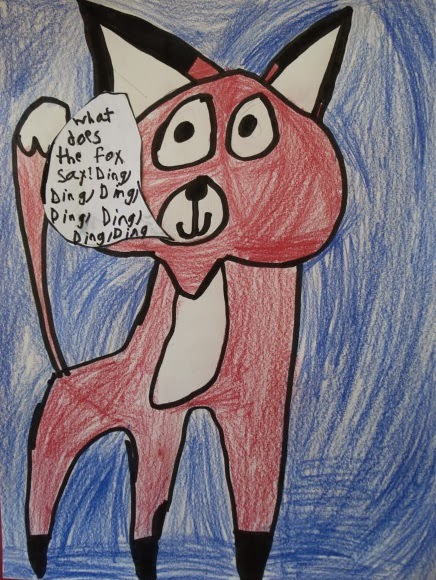
"What Does the Fox Say?" Drawings


This was a fun 'extra' project perfect for the last week of school before the December holidays. It's based on the viral video/song "What Does the Fox Say?" by the hilarious Norwegian comedy duo Ylvis


The tune was so catchy and cute and the kids were singing it all the time -so I thought I could make a fun art project out of it. I chatted with the kids about what a fox does sound like (because honestly, who really knows?! I sure didn't! haha). Then we watched videos of actual fox sounds (there's alot of Yotube- wow- it's a really disturbing sound! haha)
So I demo-ed how to do some simple fox drawings after discussing fox features (pointy nose, distinctive fur markings, fluffy tail, etc.) I realized it's actually quite tricky to draw a fox so it doesn't look like a cat or a weird cat/raccoon/dog hybrid ;)
Kids drew these in pencil, outlined with a black marker and then coloured (crayons, watercolours or coloured pencils all work well). Then they had to add a speech bubble of what they thought a 'fox says'. 
Warning- the song will be in your head ALL DAY if you do this project!! 


Saturday, November 30, 2013

Winter Styrofoam Prints


Styrofoam prints are always a sure-fire hit with kids. They're pretty easy to make as well; you just need to set up some effective printing stations.
For these prints created by Grade 2 students, they first drew a winter scene 
into a piece of styrofoam with a dull pencil.


Once the drawing was finished, using a foam brush, students painted over the styro with white acrylic paint. Place a piece of coloured paper on top (choose something darker for contrast) and rub firmly with a brayer, a rolling pin or simply your hand. Peel off carefully and students will be amazed!


Tuesday, November 19, 2013

Fall Trees


The last of the fall leaves are slowly falling off the trees. Kids drew these Fall trees in pencil first, 
then colored with oil pastels. Color mixing and blending was encouraged. 
I was inspired by these charming trees done my students at Cedar Creek Elementary.


Saturday, November 9, 2013

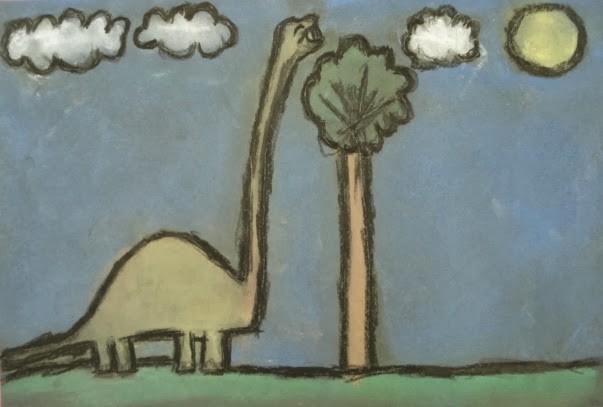
Chalk Pastel Dinosaurs

LOVE the cheeky grin on this guy

Any dinosaur project tends to be a big hit with elementary students. Grade 3 kids had a blast with this project and I was super thrilled with the variety of dinos the kids created.

I was inspired by the wonderful dinosuar project posted on 
one of my favourite blogs: Deep Space Sparkle
She did hers with Grade 1 students and they are all adorable.

So, to start, have kids research different dinosaurs (internet, books, posters, whatever you have) and have them choose one to re-create. They loved discussing all they knew about dinos and they really get into it! 
I demonstrated on the board how to draw a simplified dinosaur, to look at it's 
overall shape and pick out the main parts to draw. 
We ideally want these drawings to be bold and fairly simple. Sometimes kids at this age can get too caught up in tiny details and trying to get the drawing 'just right' then it's too small and detailed and tricky to colour with chalk pastels...

So the kids then draw their good copy on large black construction paper. I really model and encourage the kids to 'fill the space' - draw BIG!! If there's large areas of empty space leftover, kids can add a sun, clouds, stuff in the background, whatever they want.

Once drawn in pencil, pass over all the lines with a black wax crayon or black oil pastel.
Once outlined, kids colored them in using chalk pastels. Roll up sleeves- this media is M-E-S-S-Y.
Kids could color these however they wanted- fantasy-like or realistic- it was up to them.
I encourage blending to blend out the colours- fingers work fine but many kids prefer using a tissue.

Ta da!

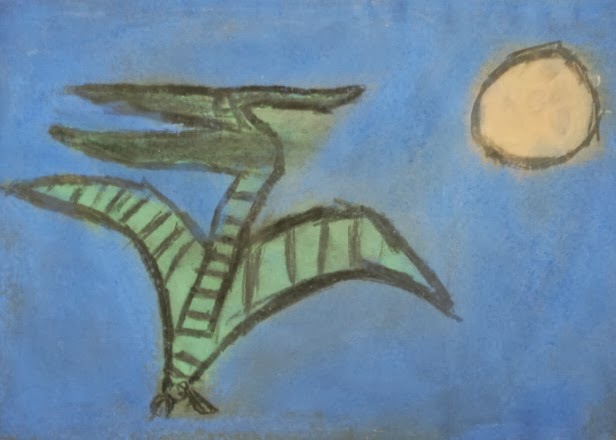
love the eeevil sun...and scared look on the dinos face...


I believe this is supposed to be a Pterodactyl but it really reminds me of
the winged alien creatures from the movie "Pitch Black"  creeeeepy


Friday, November 1, 2013

Autumnal Fingerprint Trees


Grade 1 students learned how to draw a 'realistic' Autumn tree with falling leaves. 
This is a classic Art Teacher project and most kids can find success with this!
Students practised drawing a bare tree first in their sketchbook. I demonstrated on the board. I have students describe a bare tree and what they see. We talk about the difference between the thick, strong branches and the thinner twigs. We start with the trunk, then add some thick branches and then the thinner twigs last.

For the good copy, students worked on regular construction paper. They drew their grass line and tree first. Then, using oil pastels (you could also use wax crayons), students colored the grass and tree. Once everything was good and colored, I passed out plastic lids with a squirt of yellow, orange and red tempera paint. Students needed to choose one finger only (to minimize mess- which there still was a lot of!) and then they dipped their finger in the paint and created all the leaves. The kids had alot of fun with this!


Related Posts Plugin for WordPress, Blogger...