
This is a cute Fall and/or Thanksgiving craft I did with a Grade 2 class.
Start off with a coffee filter: basket-style.

Fold it in half, then half again. Cut a scalloped edge to respresent the feathers.


Students roughly colour in the filter with waterbased markers. Encourage the students to really colour in the filter well, in order to get a bright finished product. Then I just walked around and sprayed each one a couple of times with a water mister. The colours will bleed and blend together.


Let dry.

Draw and cut out a simple turkey body shape out of brown paper or the inside of a cereal box.

There are two ways to create the legs: spring type, which are more difficult, and a simpler accordion fold. Decide which works best for your students- I did the accordion fold with Grade 2 students.
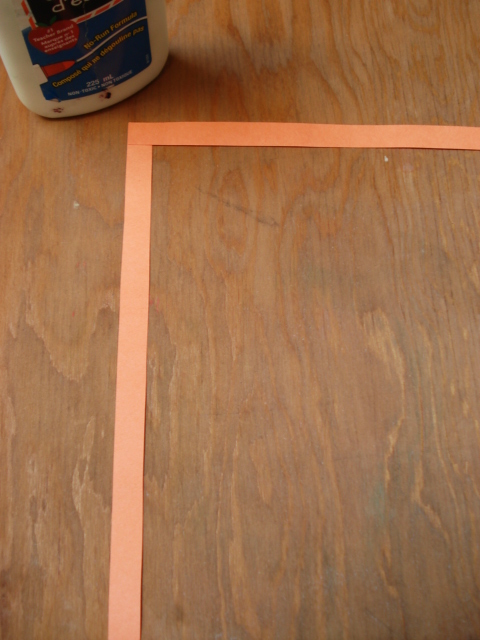
For the spring-y legs, glue two long strips of paper together to form a "L" shape.

Then alternate folding each strip over the other until you reach the end. Glue the end together.

It's helpful to watch this video below to see how to make these 'paper spring' legs:


You can also make accordion fold legs. Glue these onto the turkey body (the spring legs are more tricky to glue on- I recommend a glue gun for them, or use a paper-clip to help attach them to the body with white glue while they dry.) Cut out two feet from orange paper and glue them to the ends of the legs.
Glue on a paper beak, eye and red dangly thingy (aka: wattle).


Finally, glue the body onto the coffee filter. Ta da!


The students' classroom teacher made this lovely display outside her classroom of their work.

Cute turkeys.
ReplyDeleteI love the paper spring legs.
This looks like a fun project that the kids will really like! They do love their turkeys!!! Thanks!
ReplyDeleteHI Miss, Love these turkeys- gee I wish Australia did Thanksgiving so I could try them out too.
ReplyDeleteThanks for leaving a comment on Elle and Lou. I bought the paper spheres from an art supplier but I have also seen them in Lincraft which is like a fabric/craft store here in Australia, Hope that helps a bit.
Lou
These are very cute!
ReplyDeleteMolly
artideasthatgrow.blogspot.com
How long did it take for the coffee filters to dry, thinking about doing this with my second graders
ReplyDeleteAnonymous: good question. The filters are pretty wet, so it takes at least a couple of hours or longer for them to dry. We did the filters during one class, then finished the project the next day/class once they were dry.
ReplyDeleteThanks for sharing! We made these turkeys on Friday. What a fun project.
ReplyDeleteHello! Love your coffee filter turkey idea! So cute! We are featuring this craft on our blog and pinterest :)
ReplyDeleteWe have "clubs" once a month and my club is Crafty Kids Make and Take for 1st and 2nd graders. I LOVE this but we have a 45 minute block. Am thinking I could have a blow dryer blowing them dry. Any thoughts on that?
ReplyDeleteEmily: thanks so much :)
ReplyDeleteNaci: great question. The filters are pretty wet once sprayed. I've never tried using a hair dryer but it's worth a shot. I'd do a test one beforehand to see how long it actually takes to blow dry.